Autonomous Rotating Claw Mechanism
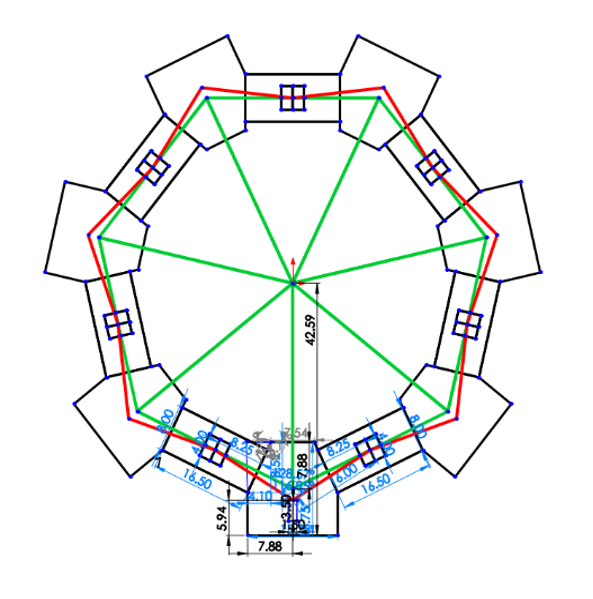
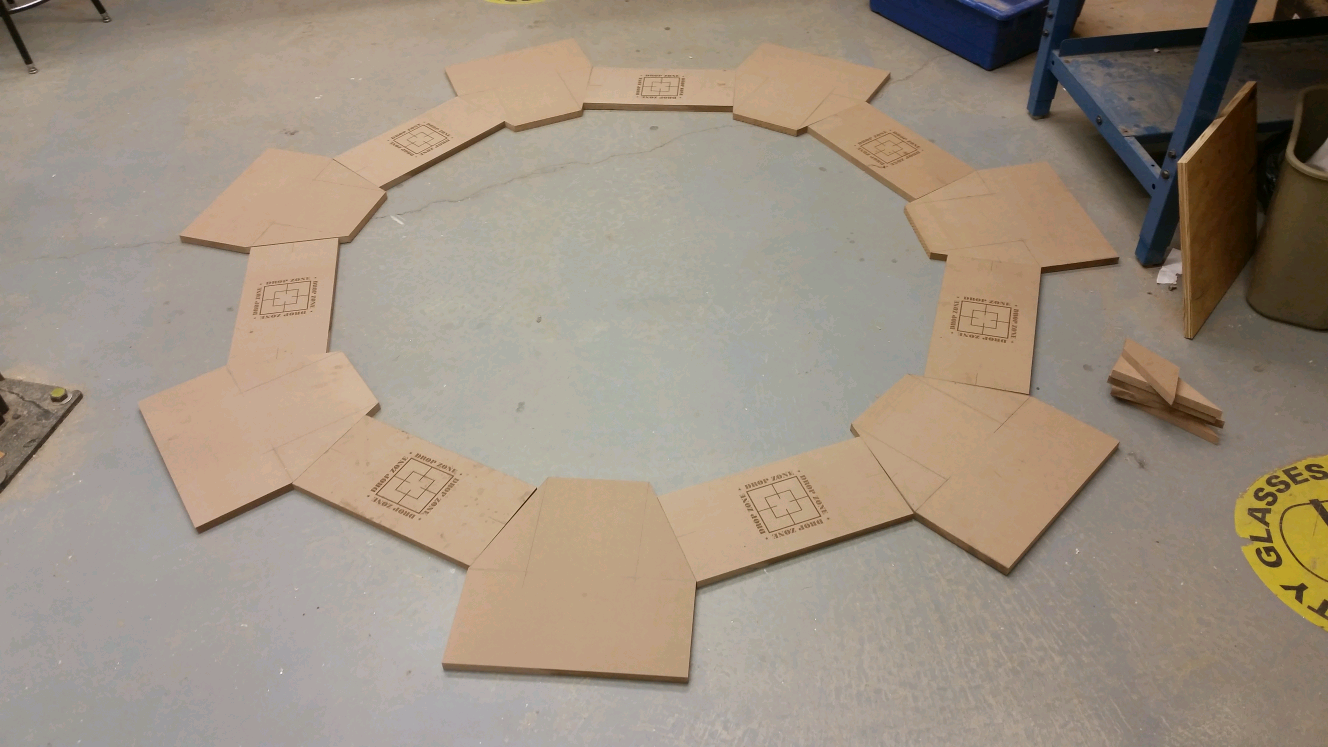
Throughout my first semester at Rowan University, a team of 3 other engineering students and I created an autonomous rotating claw mechanism capable of grabbing a custom 3D printed object from one square and place the object in another square for our Intro to Mechanical Design course. The mechanism was comprised of two solenoid valves, two pneumatic cylinders, laser cut parts, a unidirectional motor, and an Arduino Uno. The following video shows our mechanism in action:
Solution
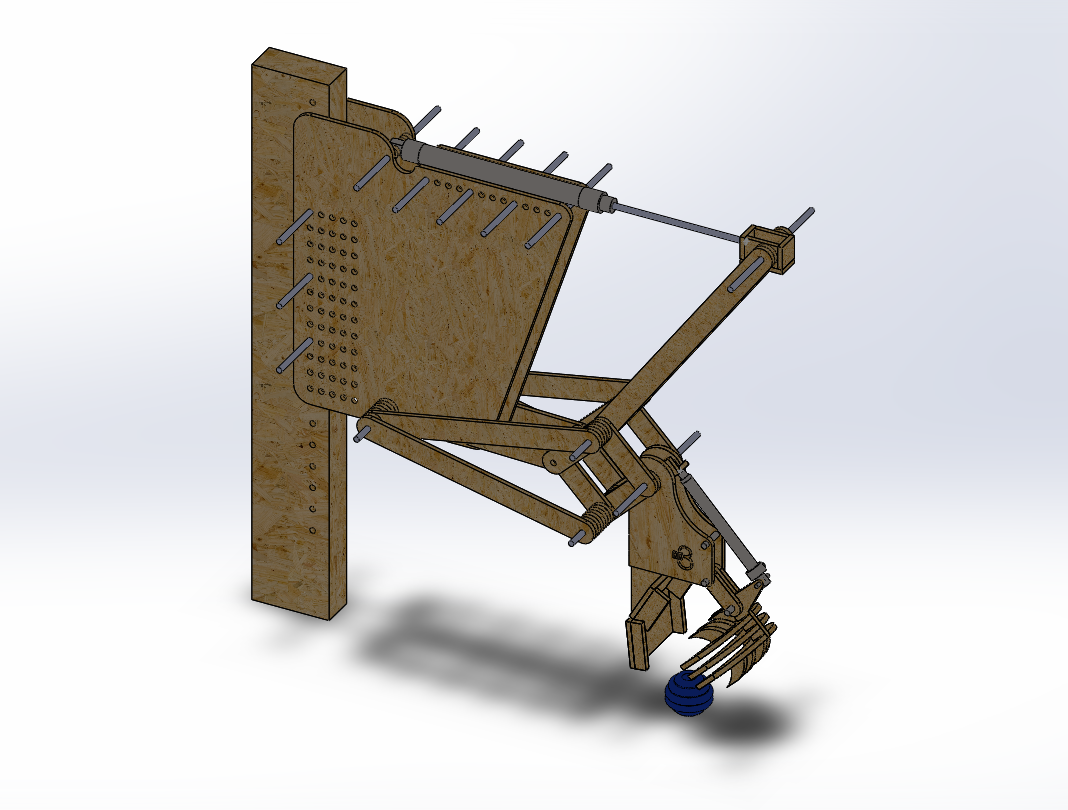
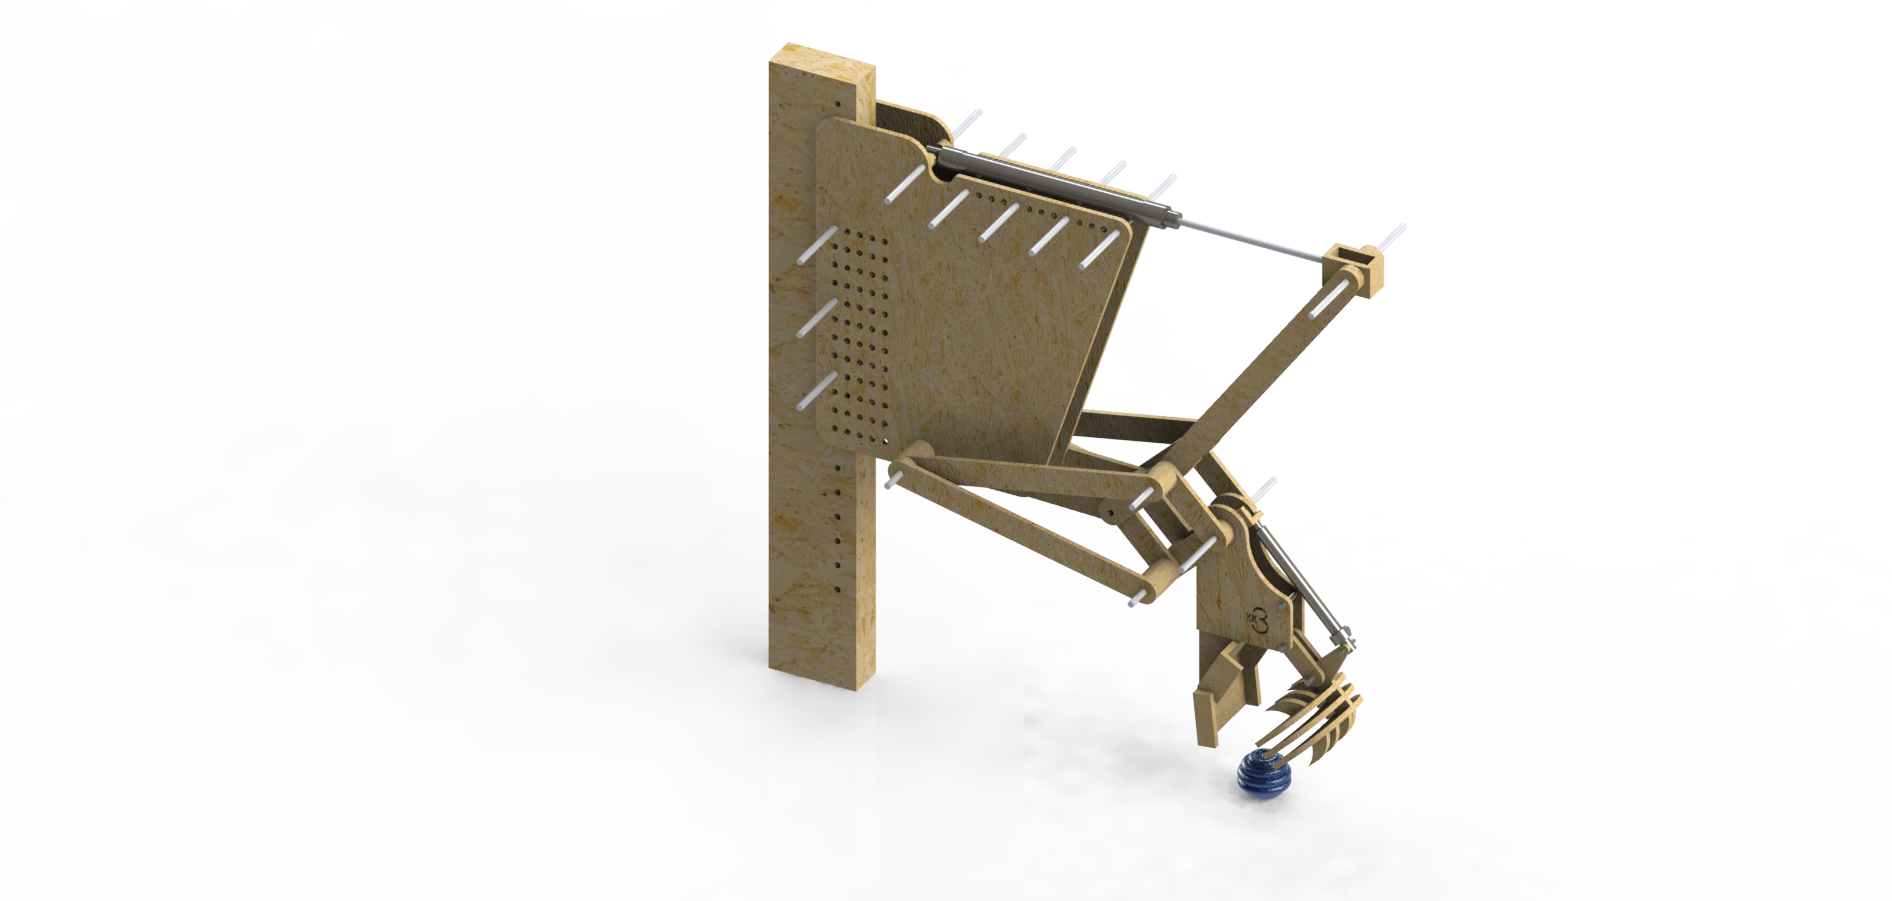
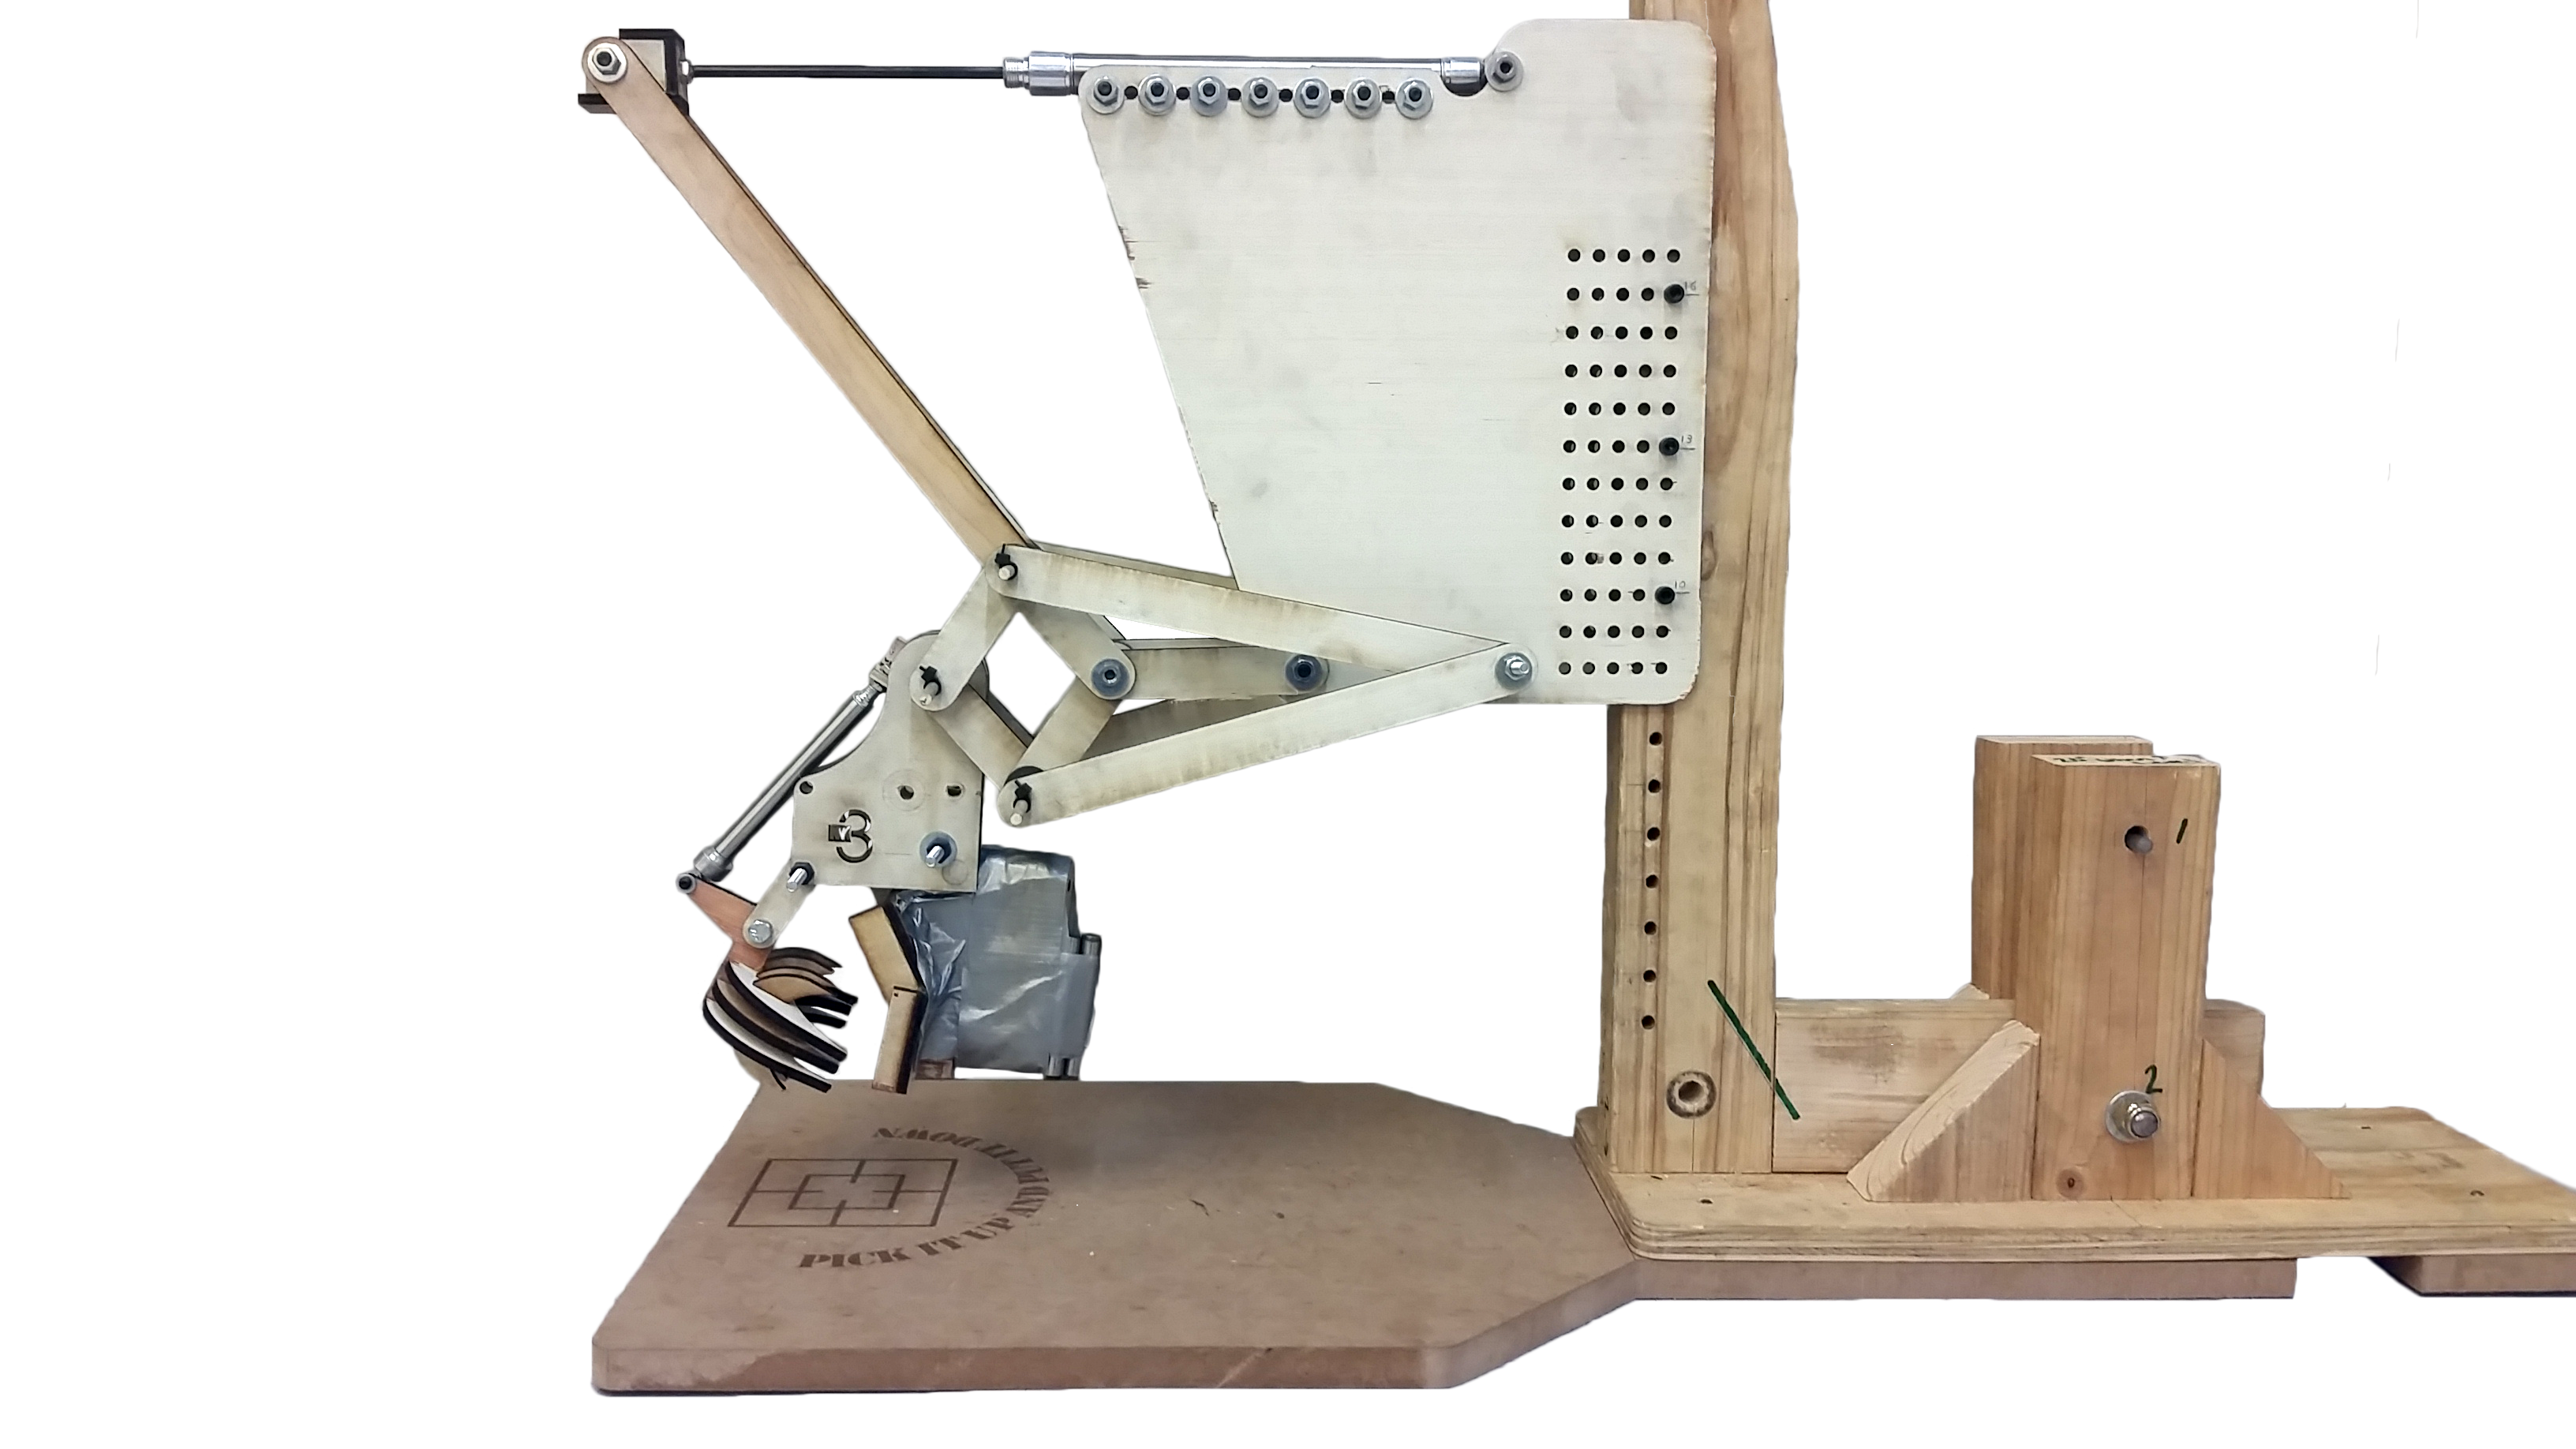
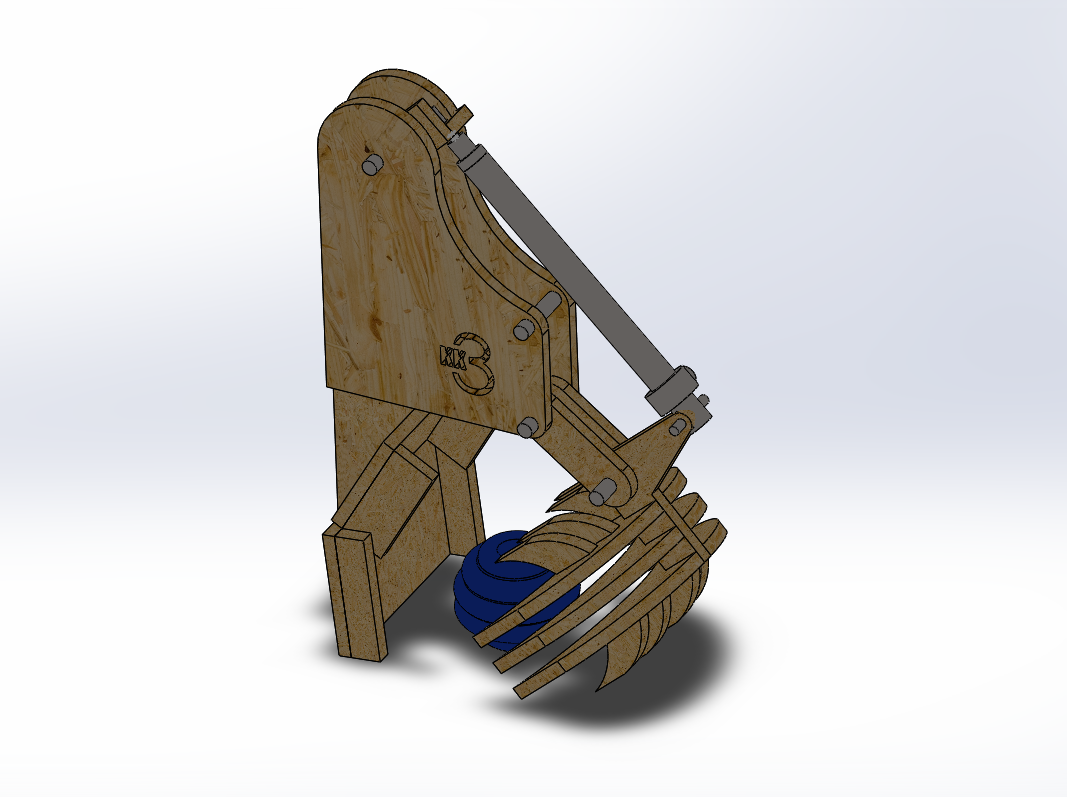
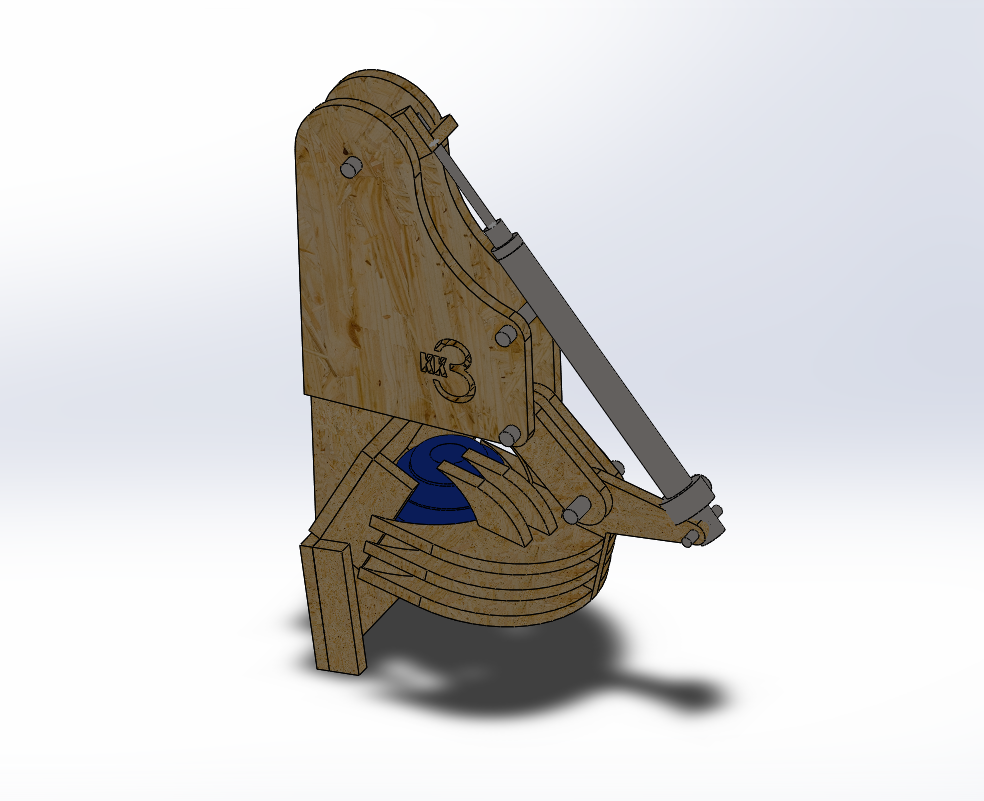
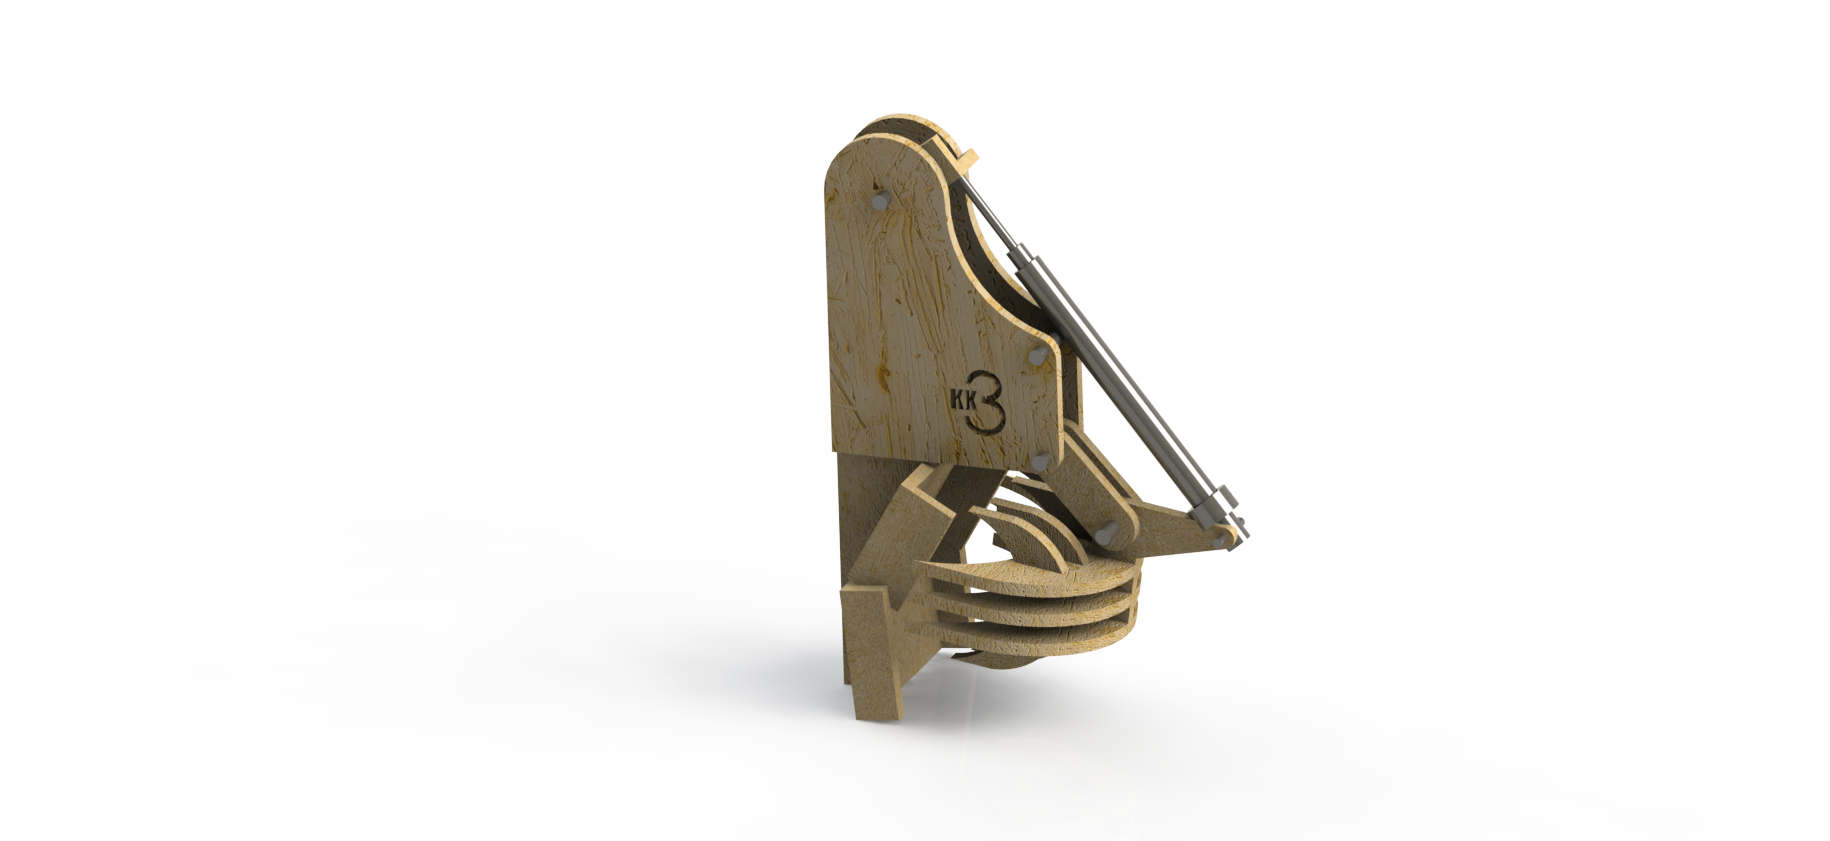
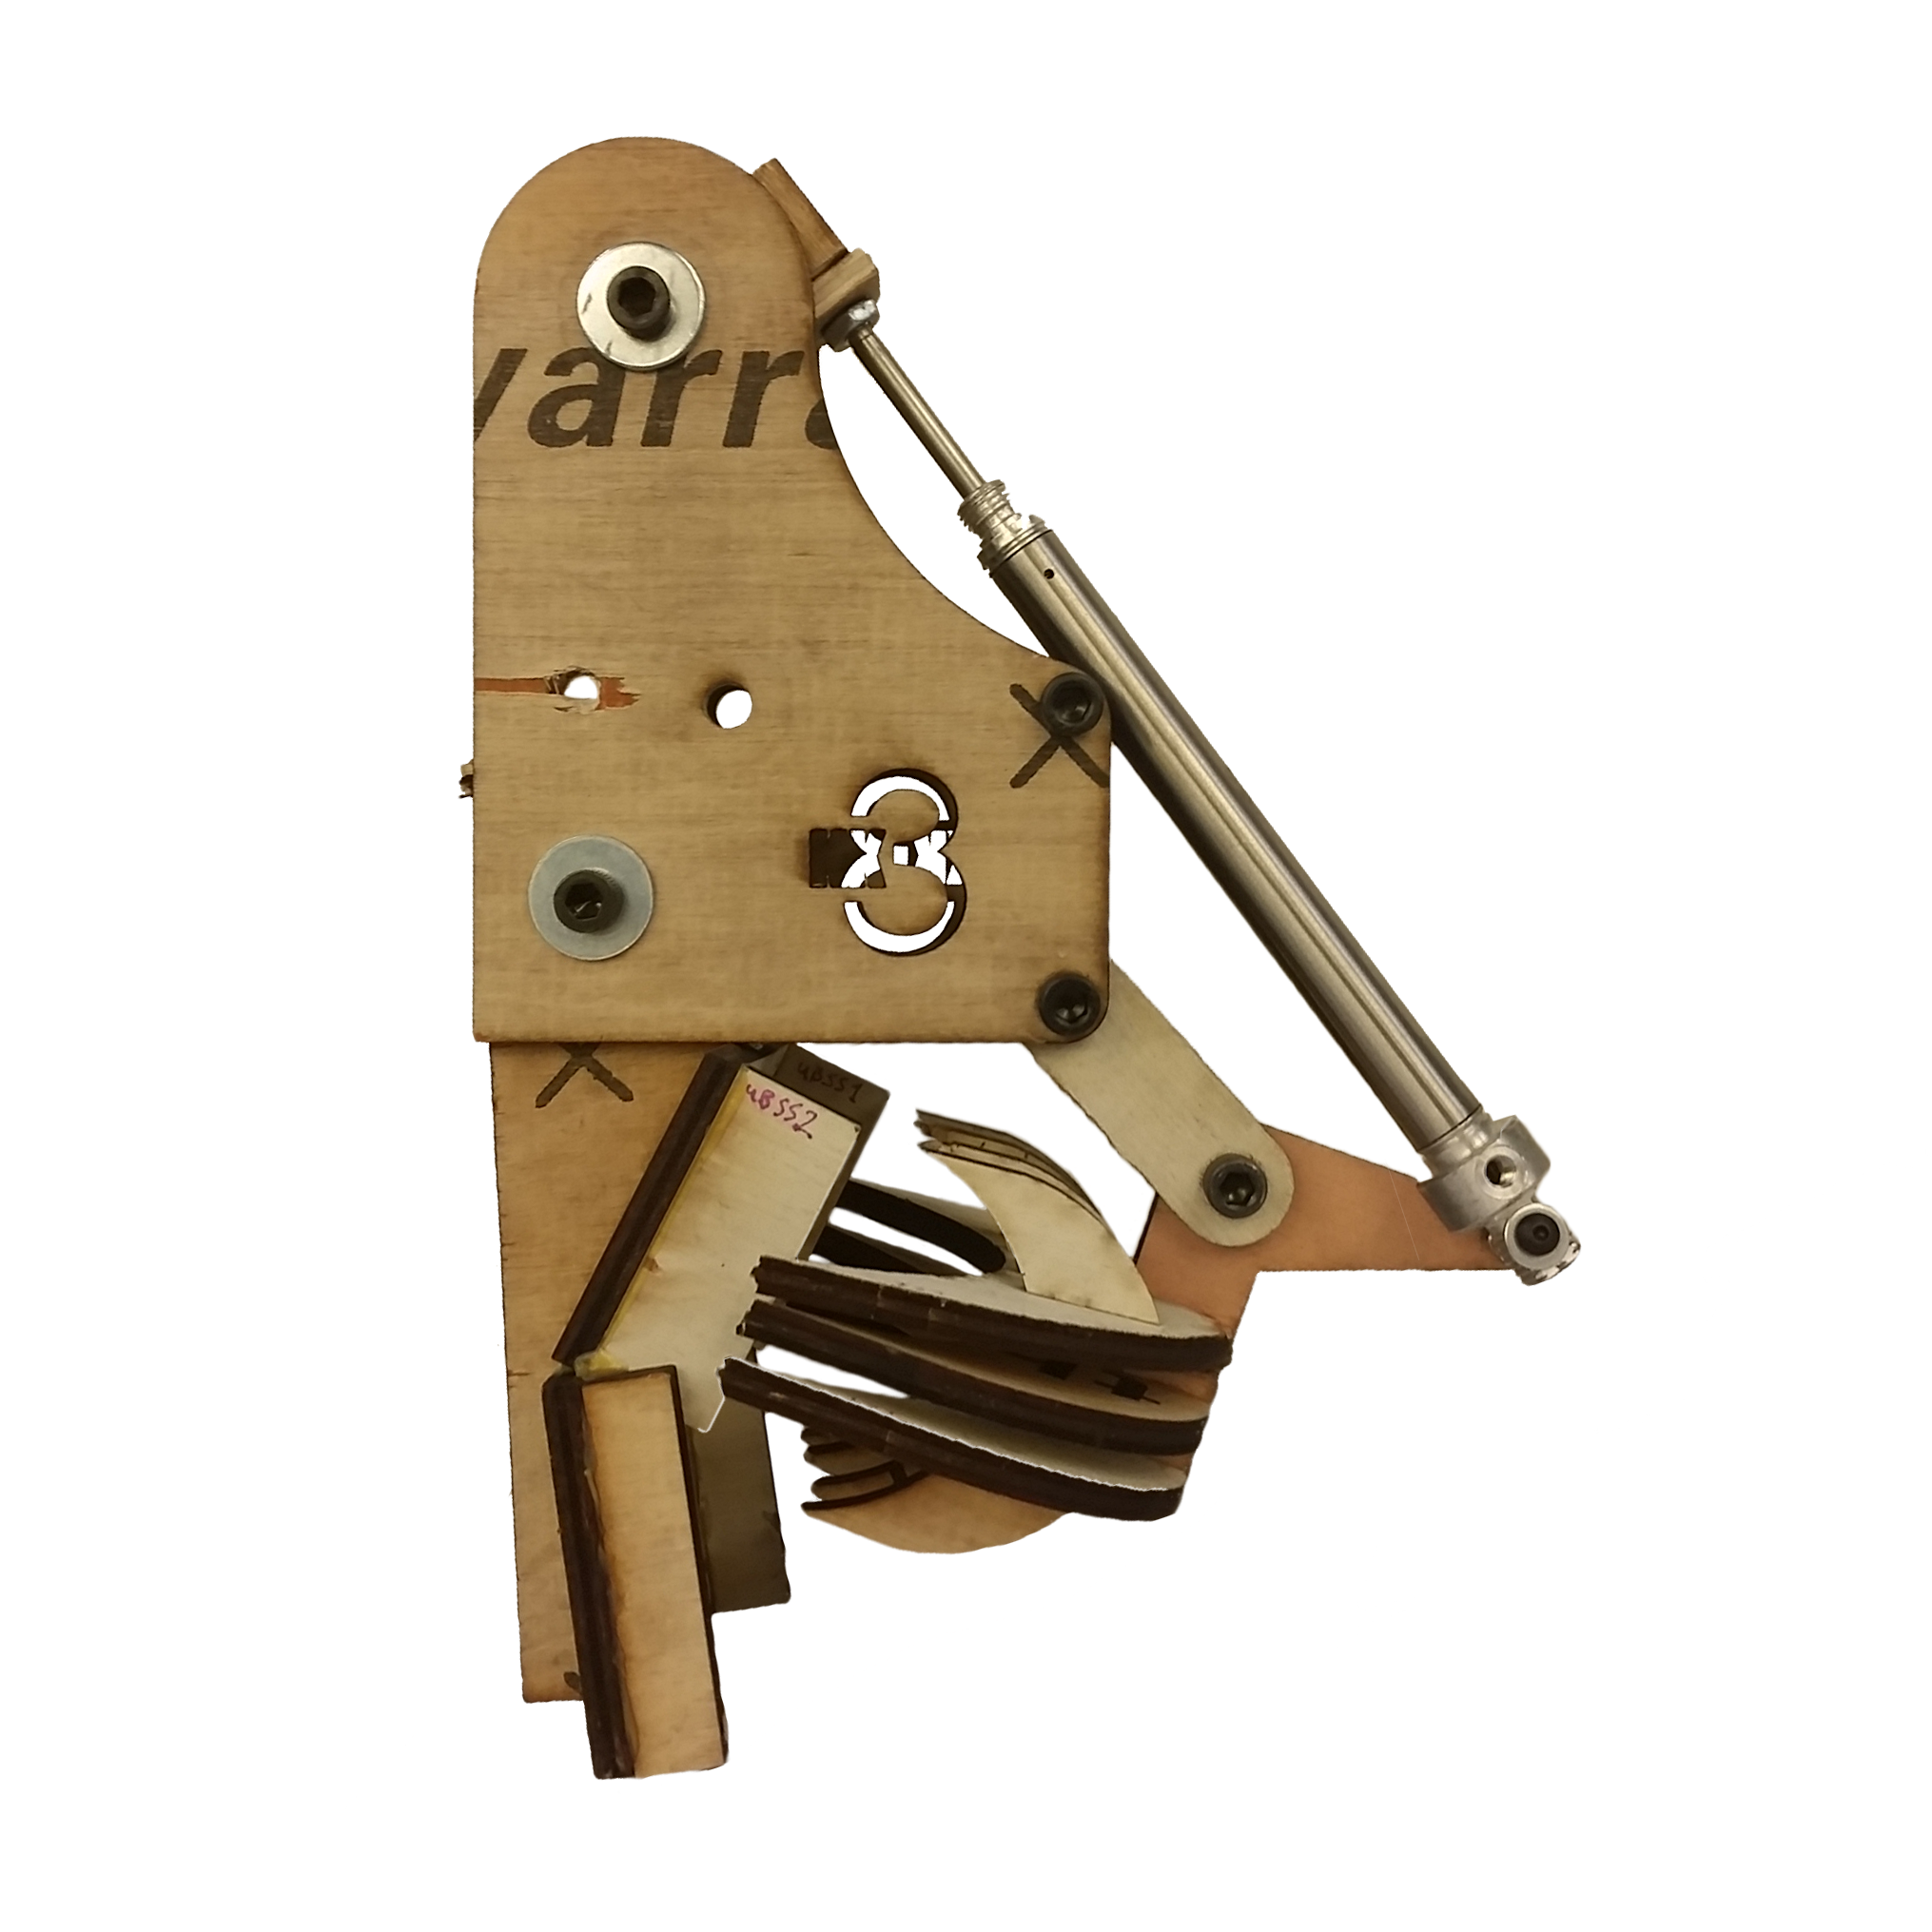
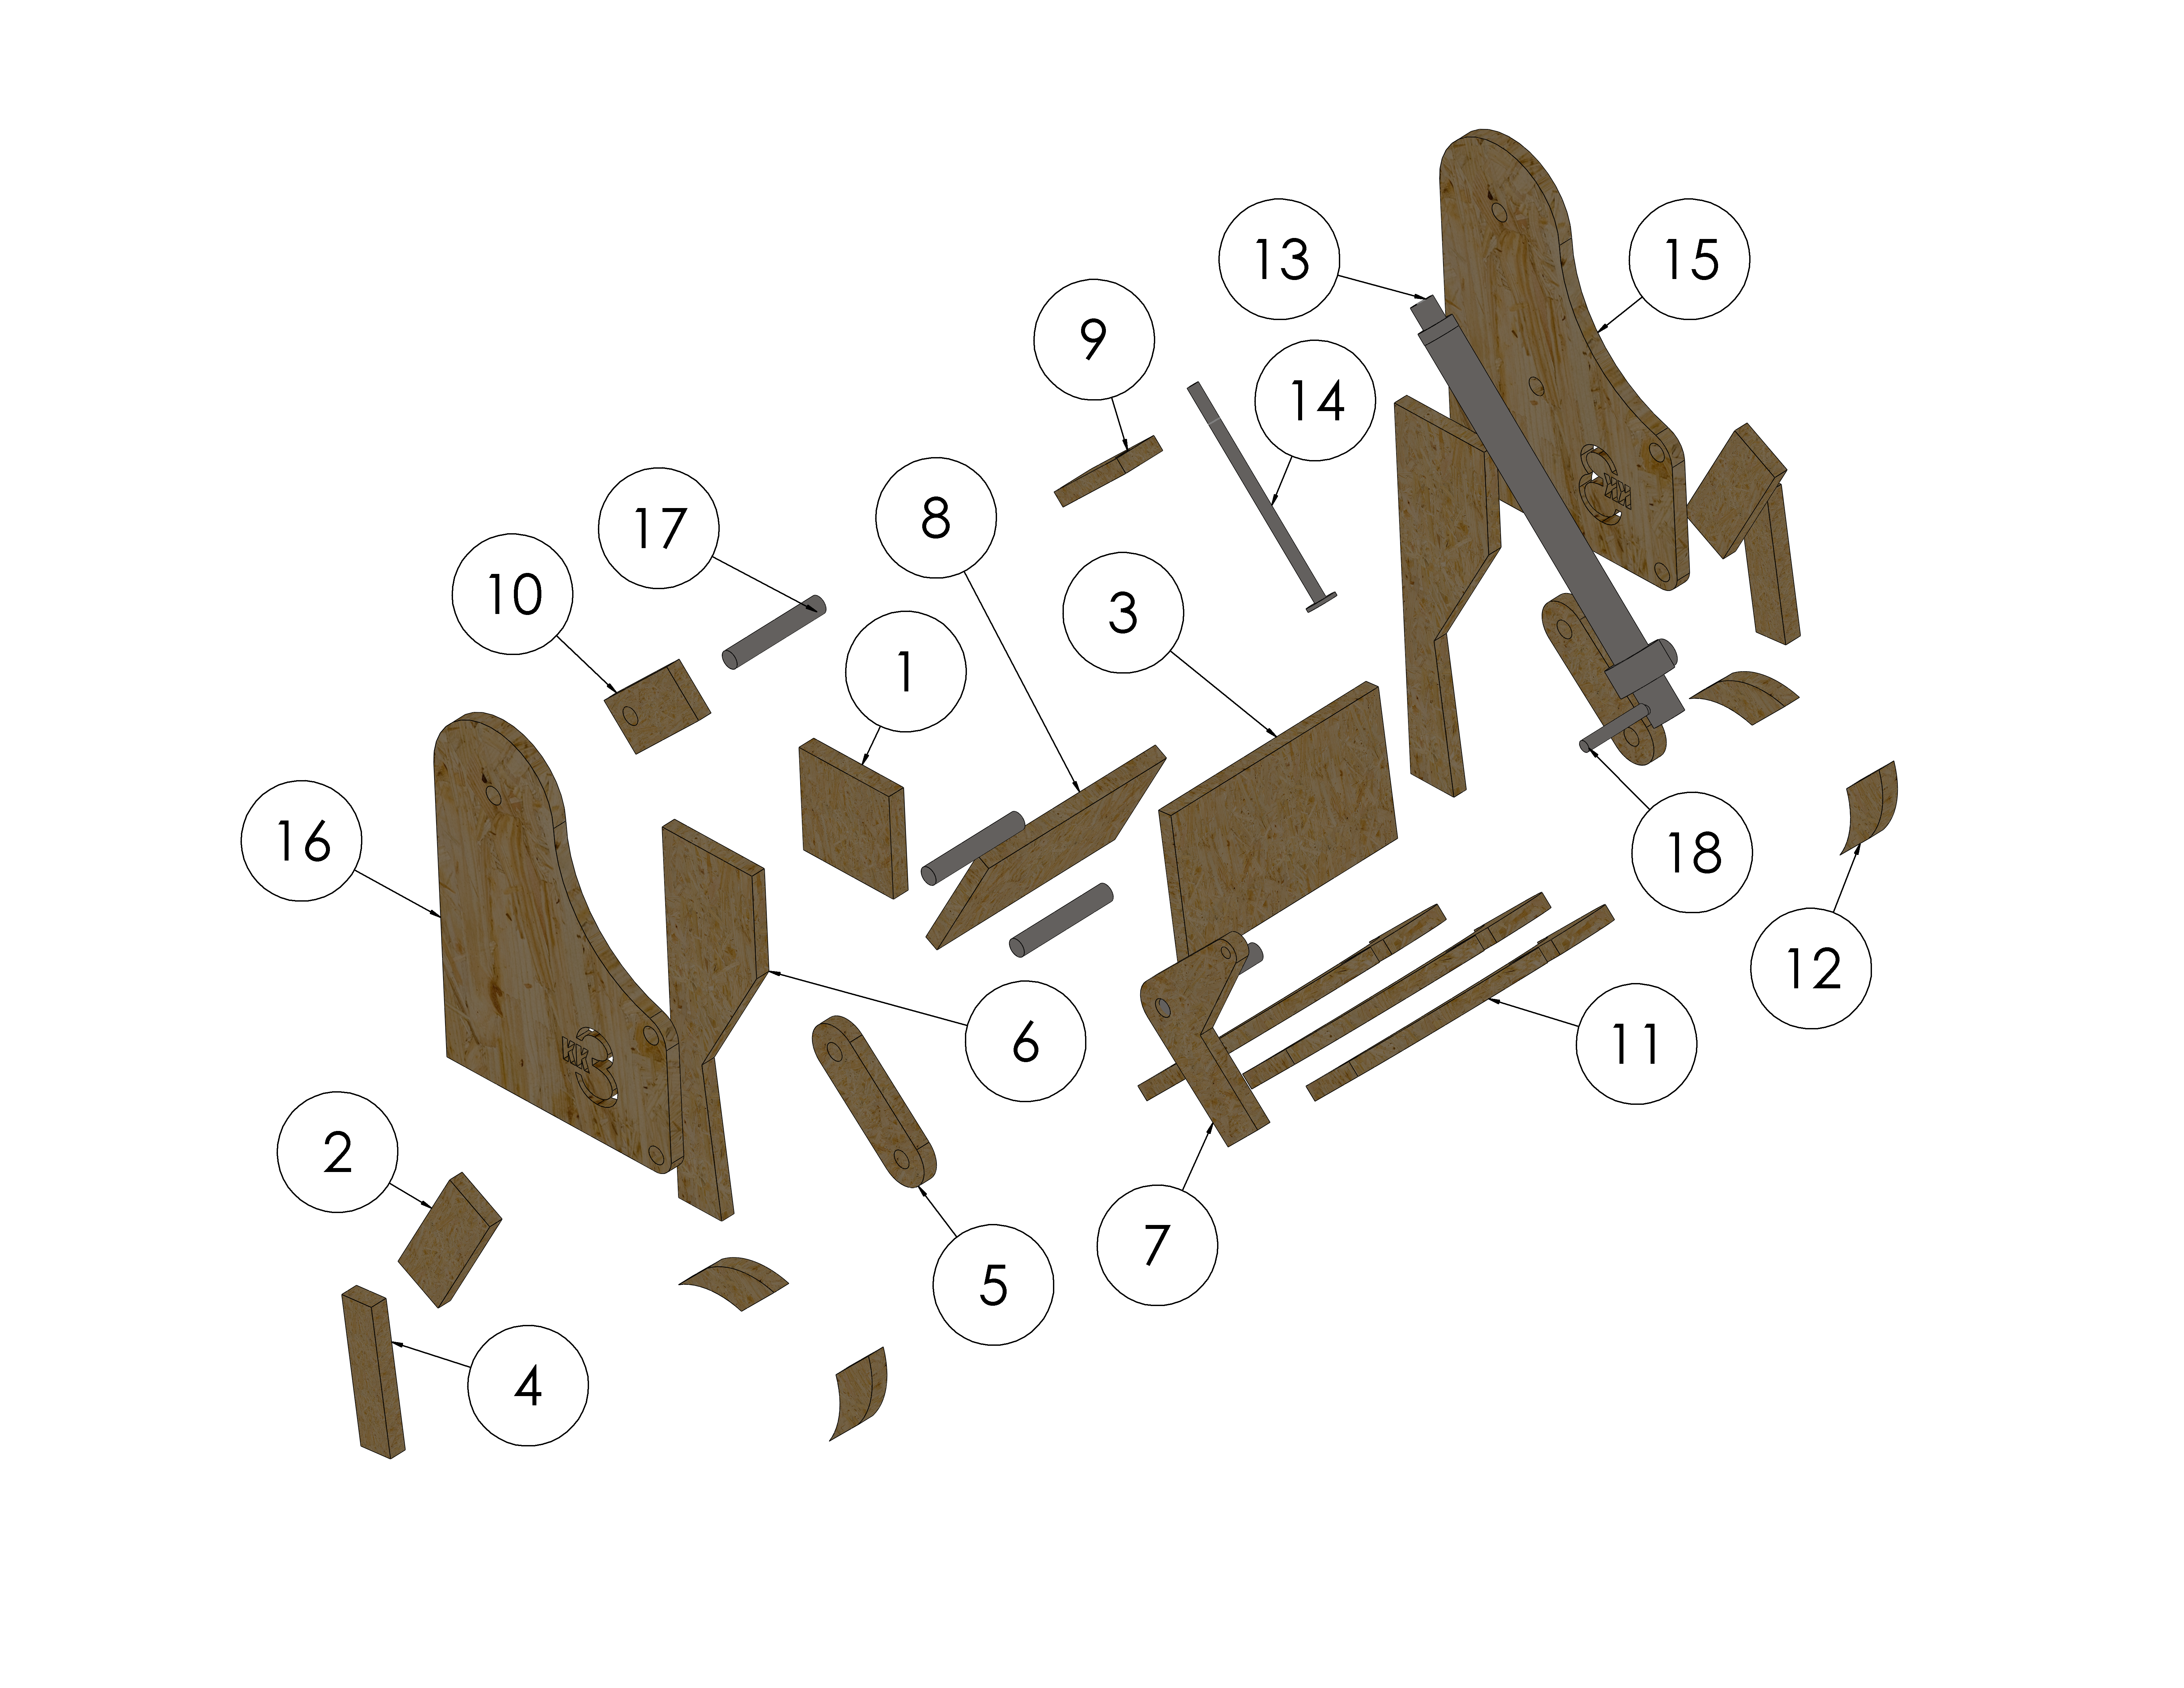
To grab our object, we used a four-bar linkage modeled after the design of a backhoe and a 3in pneumatic cylinder to scoop up and pin the object against a fixed wall. This worked exceptionally well and allowed our claw to pick up any kind of similarly-sized objects regardless of shape.
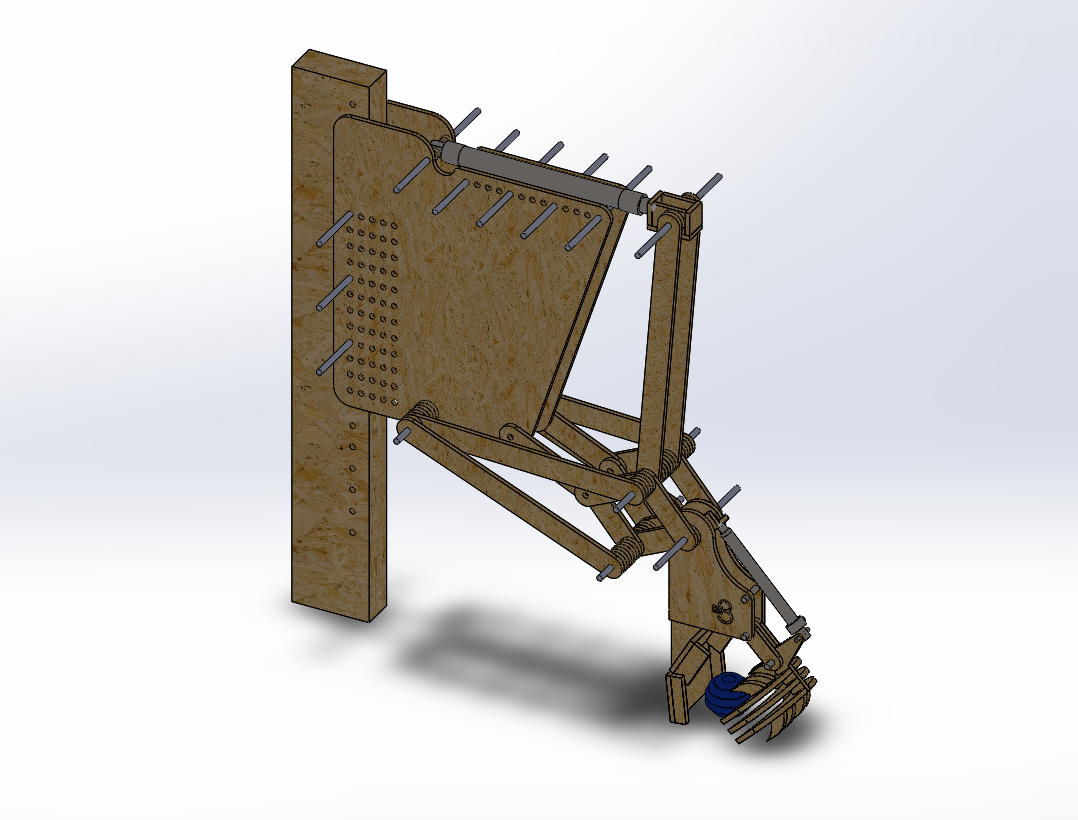
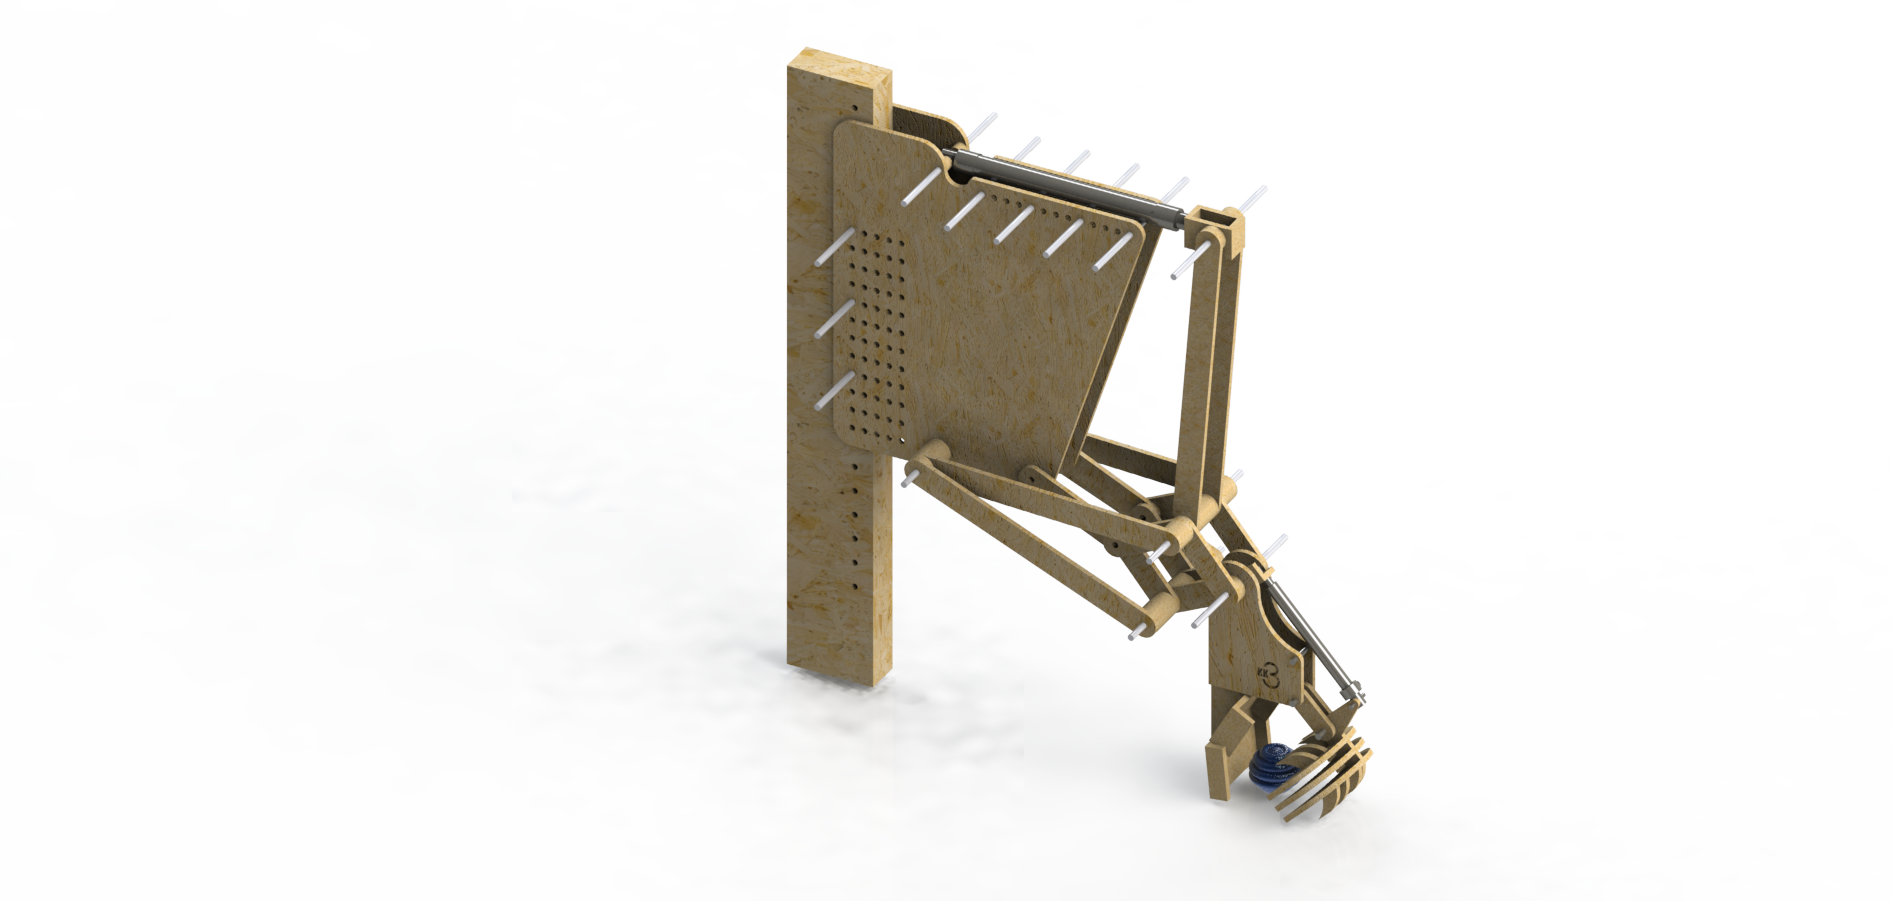
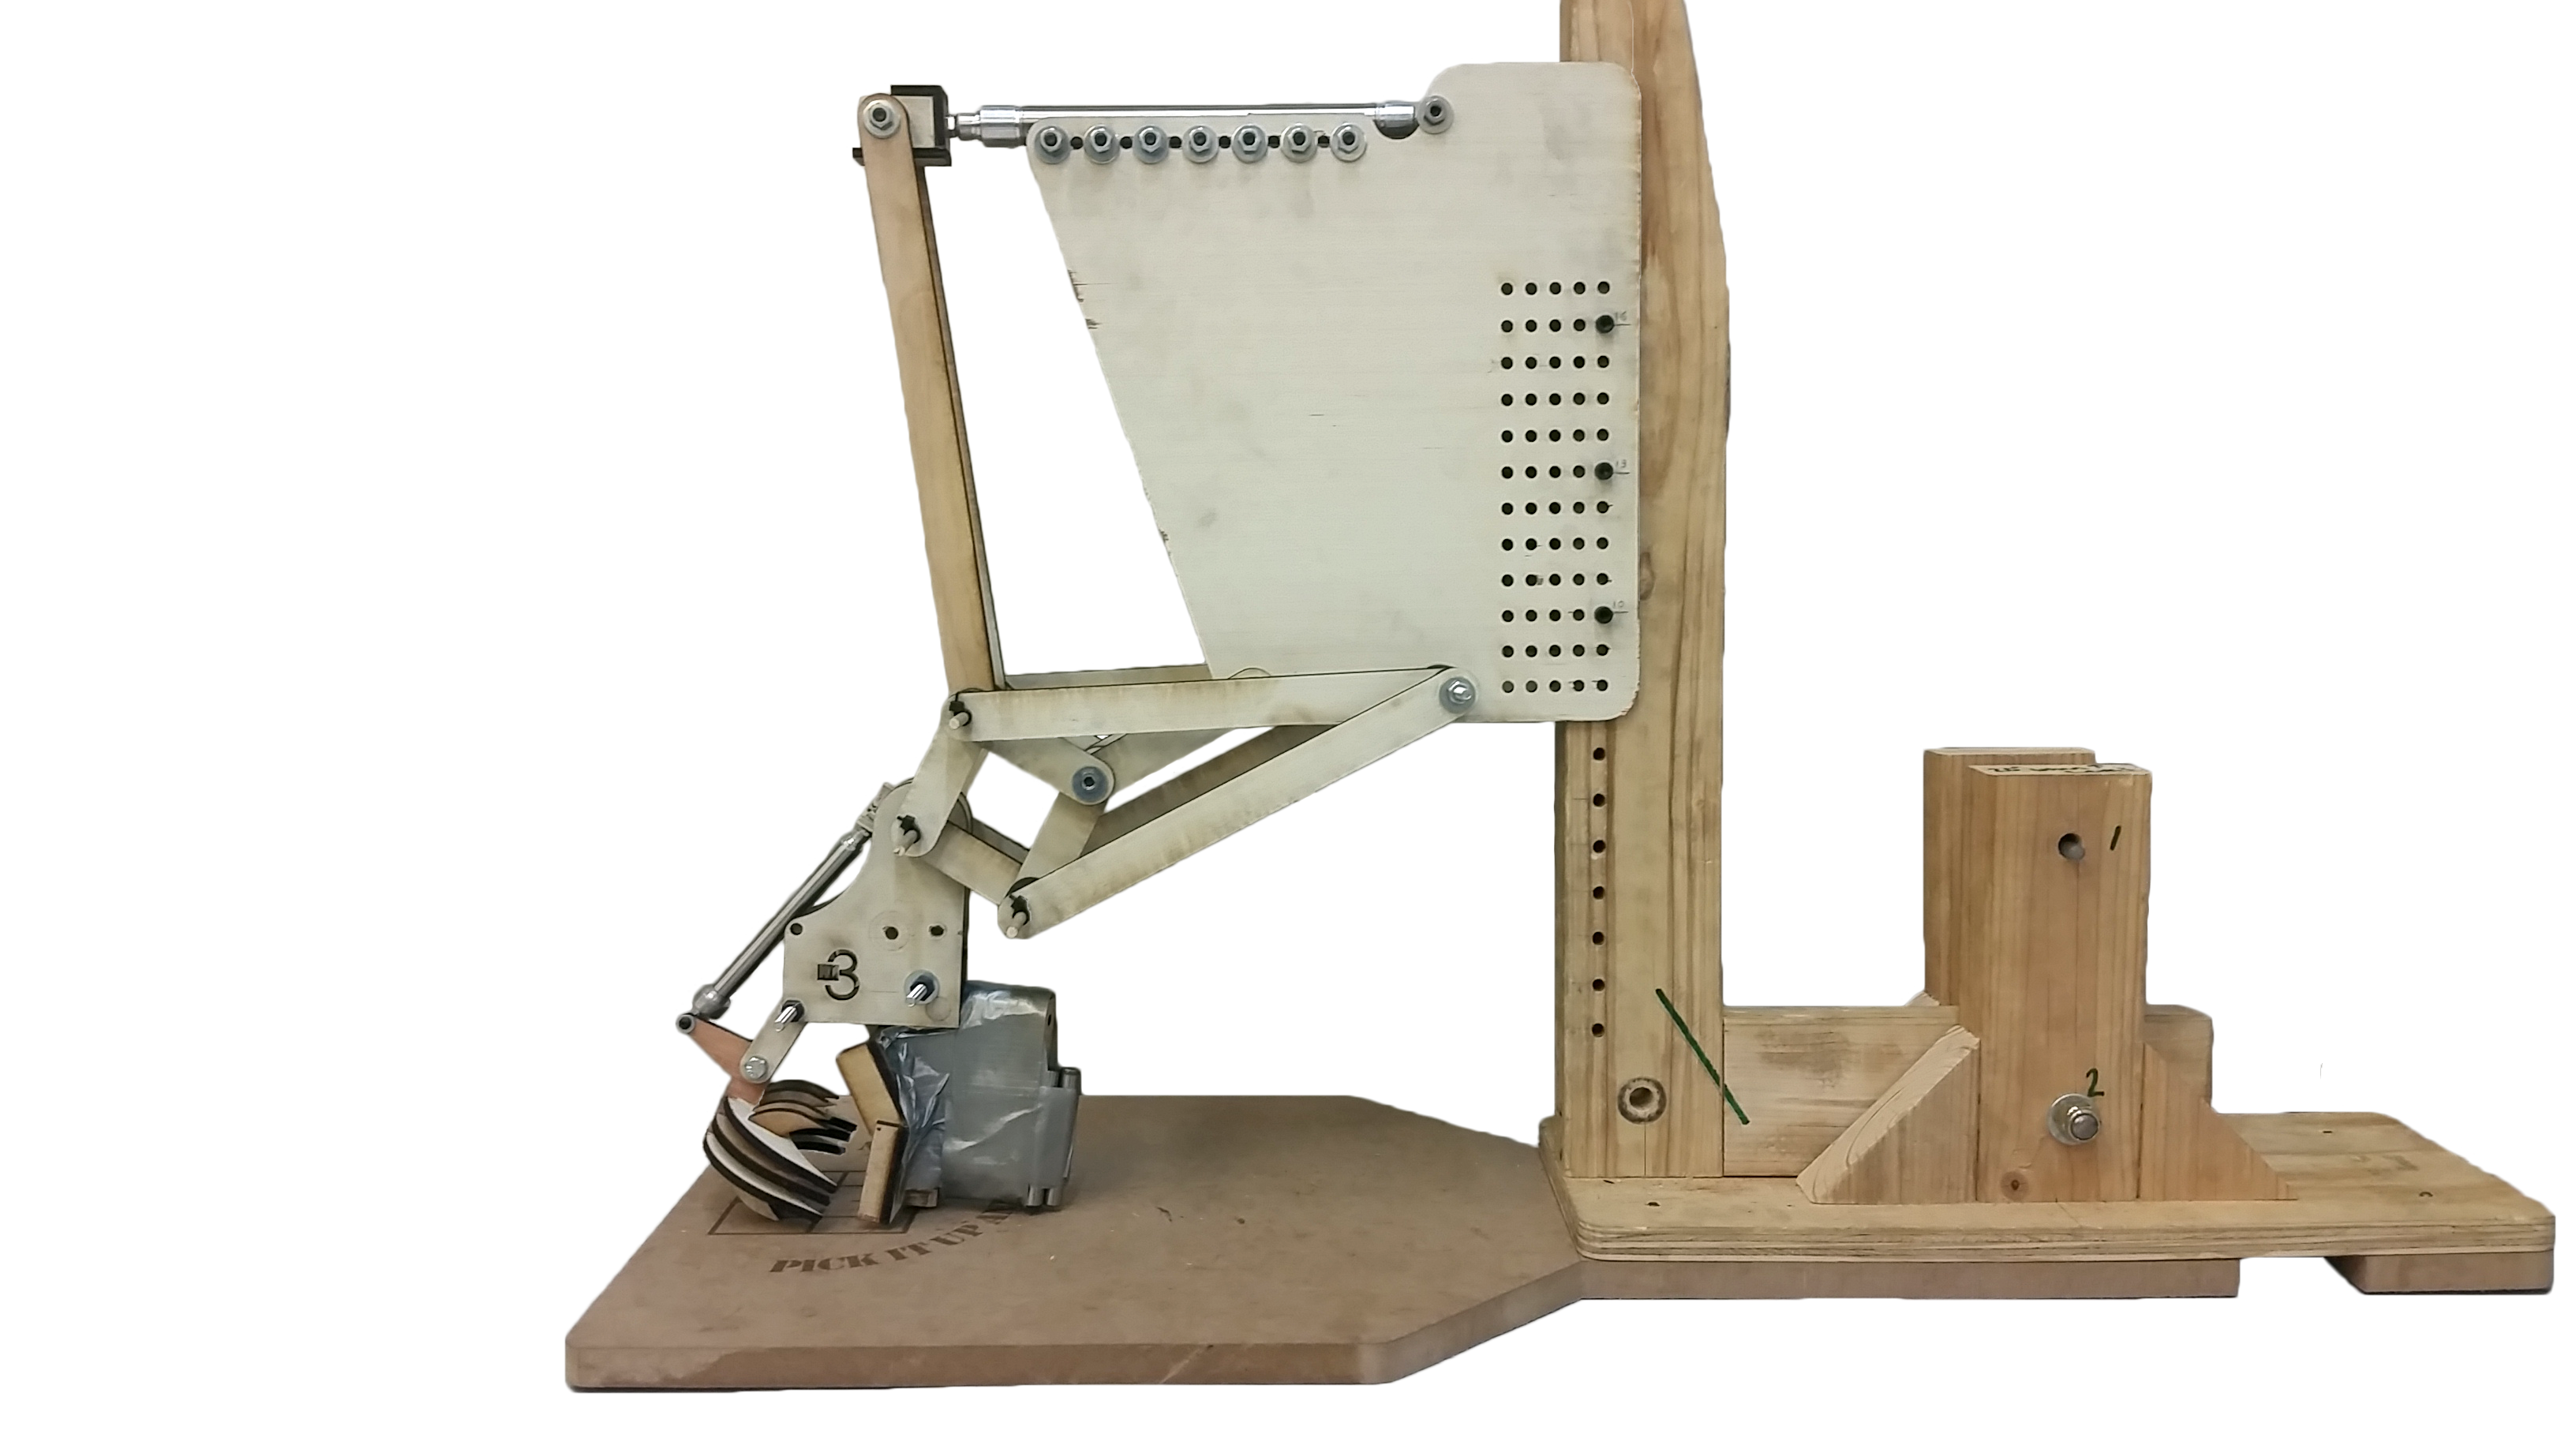
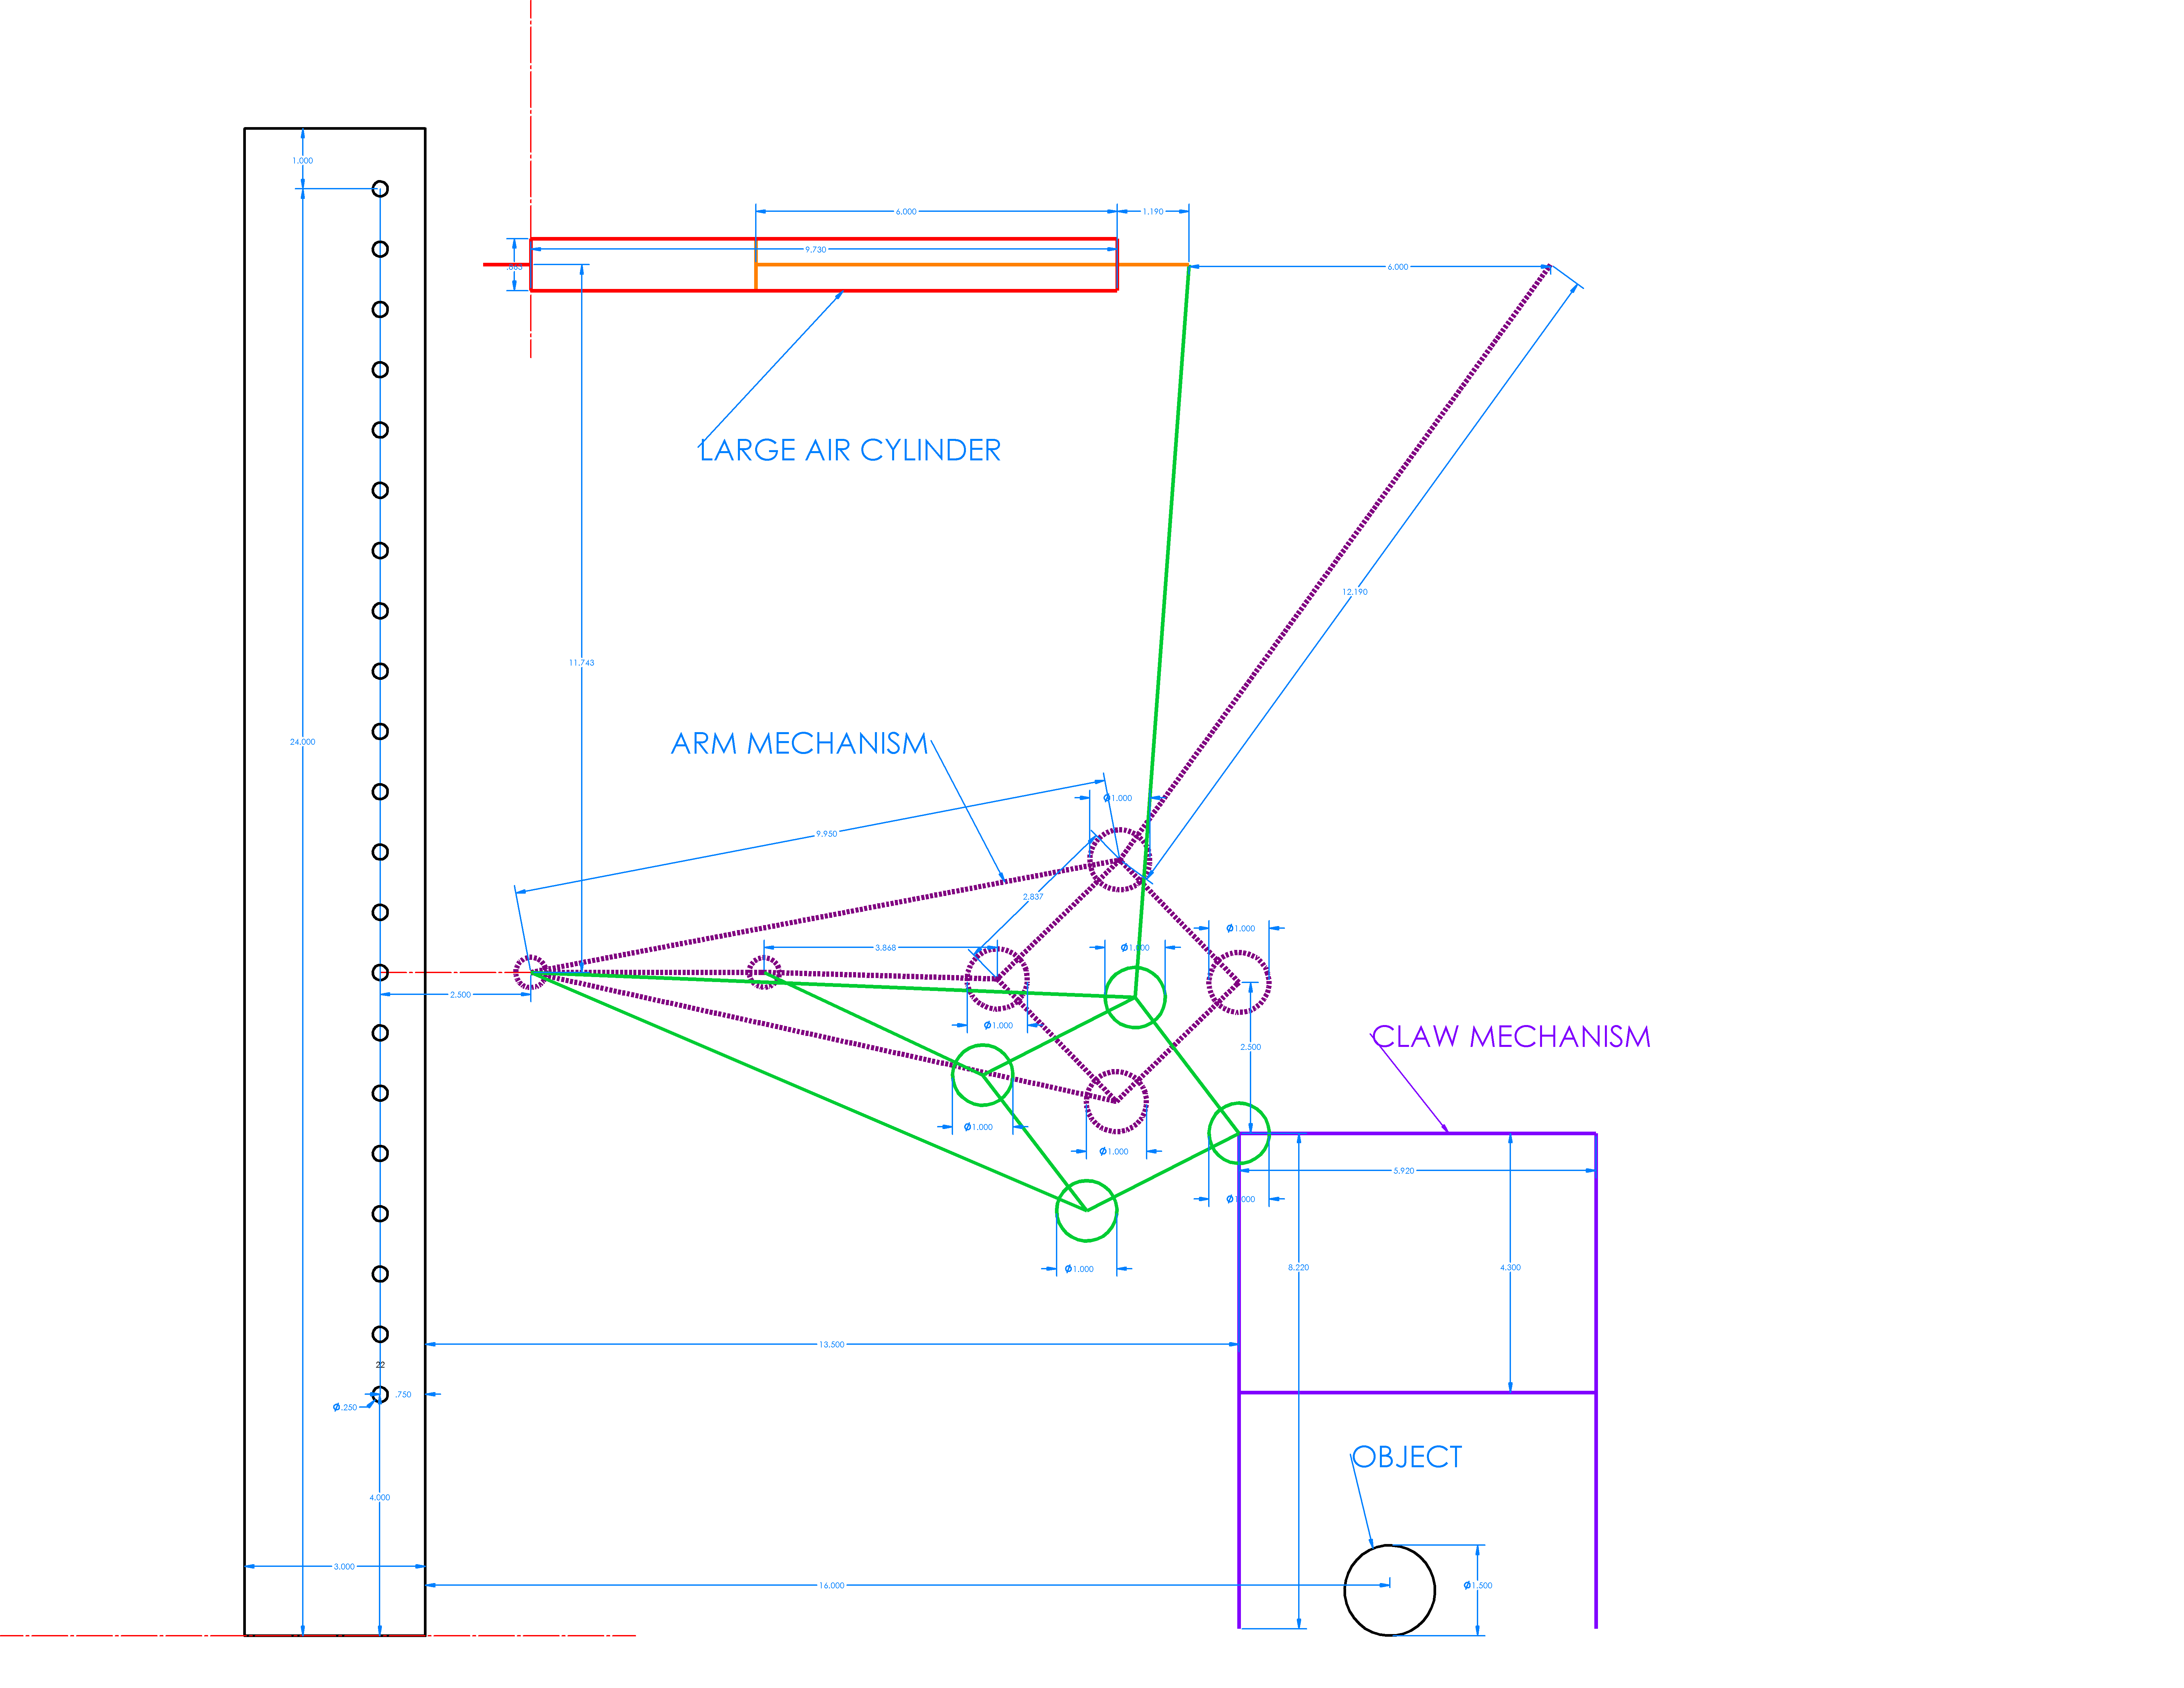
To create our lifter mechanism, we utilized a Peaucellier–Lipkin linkage, a type of straight line mechanism, to move our claw up and down vertically via a 6in air cylinder. Since the project mandated that the lifter mechanism should move our claw mechanism exactly 2.5in up from the ground, we used the geometry of a triangle to convert the 6in travel of the pneumatic cylinder to 2.5in of vertical motion and used SolidWorks to graphically solve for the necessary lengths of each link in our lifter mechanism.
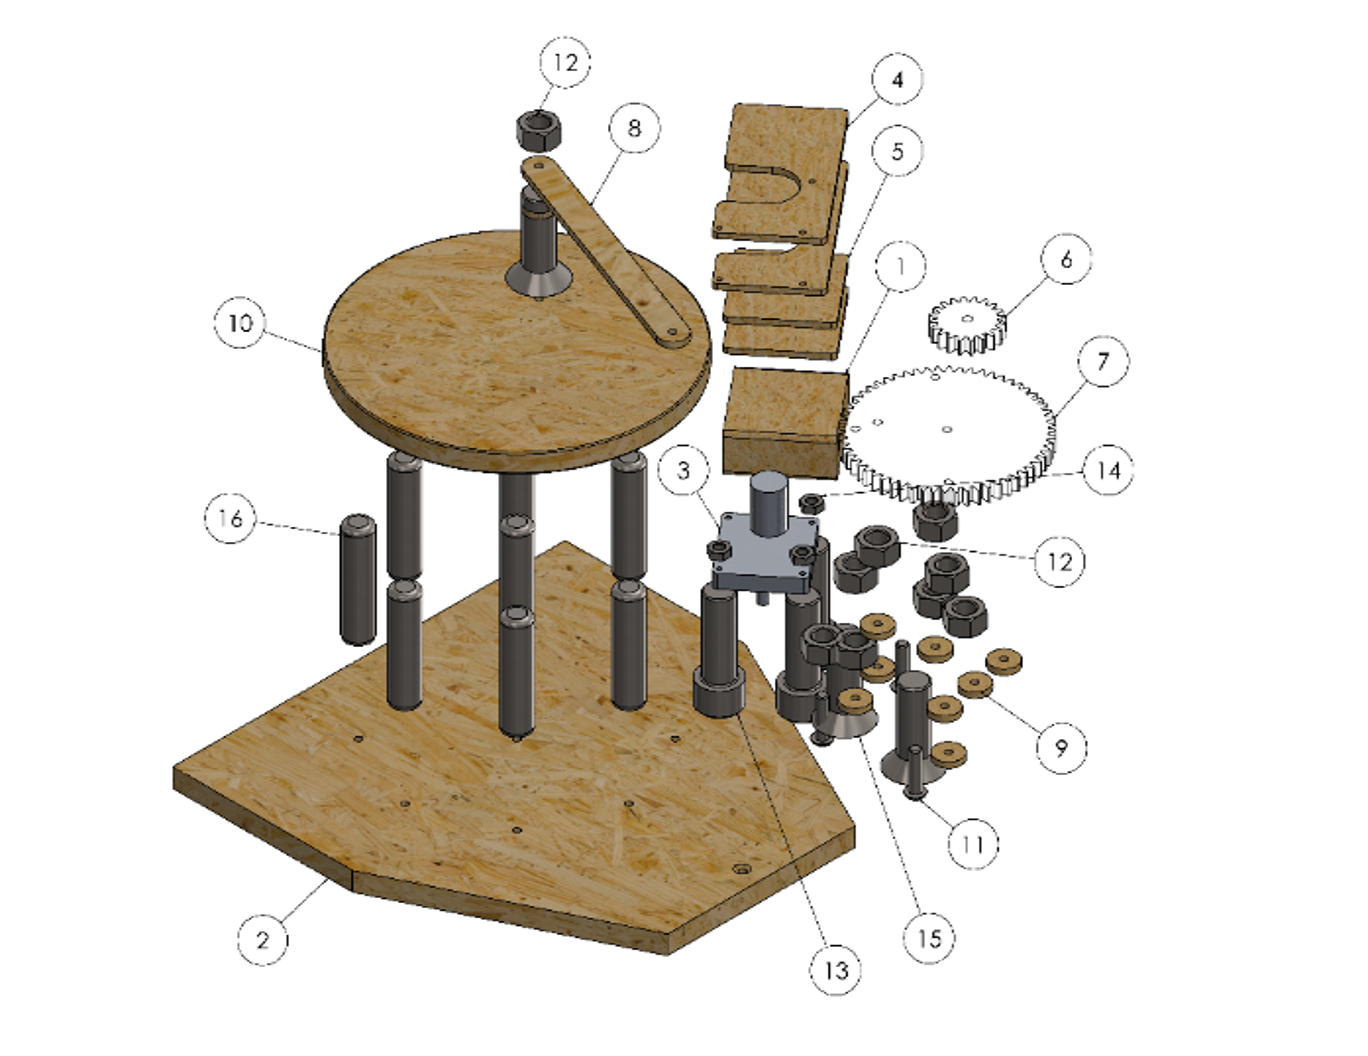
Once our object was successfully grasped by our claw mechanism and lifted by our lifter mechanism, we needed a way to rotate the entire assembly a specific number of degrees to drop our object at a different location. To do this, we used a unidirectional motor, two gears, and a link between the larger gear and a large circular platform to provide the torque needed to rotate our entire assembly.
Challenges
So many. Since this was my team and my first semester at Rowan University, learning the basics of 3D modeling in SolidWorks, how to apply mechanical design concepts, program in C++, solder perf boards , and troubleshoot electronics all while designing and constructing such a mechanism was arguably one of the most challenging and stressful experiences I've had in college. That said, it was unbelievably rewarding. Although staying up until 4:00am to get our Intro to Mechanical Design work done and ensure our claw, lifter, and/or base mechanism was operational before being graded on it the following morning was incredibly taxing at the time, I look back on those long nights in the projects lab with a smile.
Future Improvements
Since this was my first major engineering project in college, there were a number of improvements that could've been made to our design. Most notably, little consideration was given to the location of the claw mechanism's center of mass in relation to the point it was suspended from during the design phase of the project.
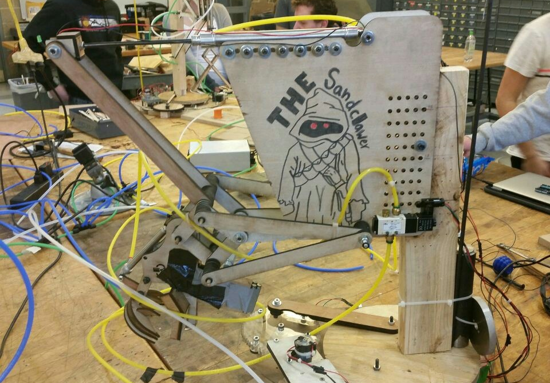
As a result, large counterweights, shown in some of the pictures below, were needed to keep our claw level with the platform during operation. Thus, if the claw mechanism were to be redesigned in the future, one should ensure that its center of mass should be vertical with the point the mechanism is suspended from.
In addition, the lifter mechanism features a largely unnecessary sheet of wood used to mount the mechanism to the 2″ x 4″. Not only could this sheet be reduced to a couple of links in order to minimize material usage, but the array of mounting holes it features could be made into horizontal slots instead. This would considerably reduce the time required to laser cut such a piece while still allowing the mechanism's position to be adjusted horizontally.
Gallery
Arm
Up Position:
Down Position:
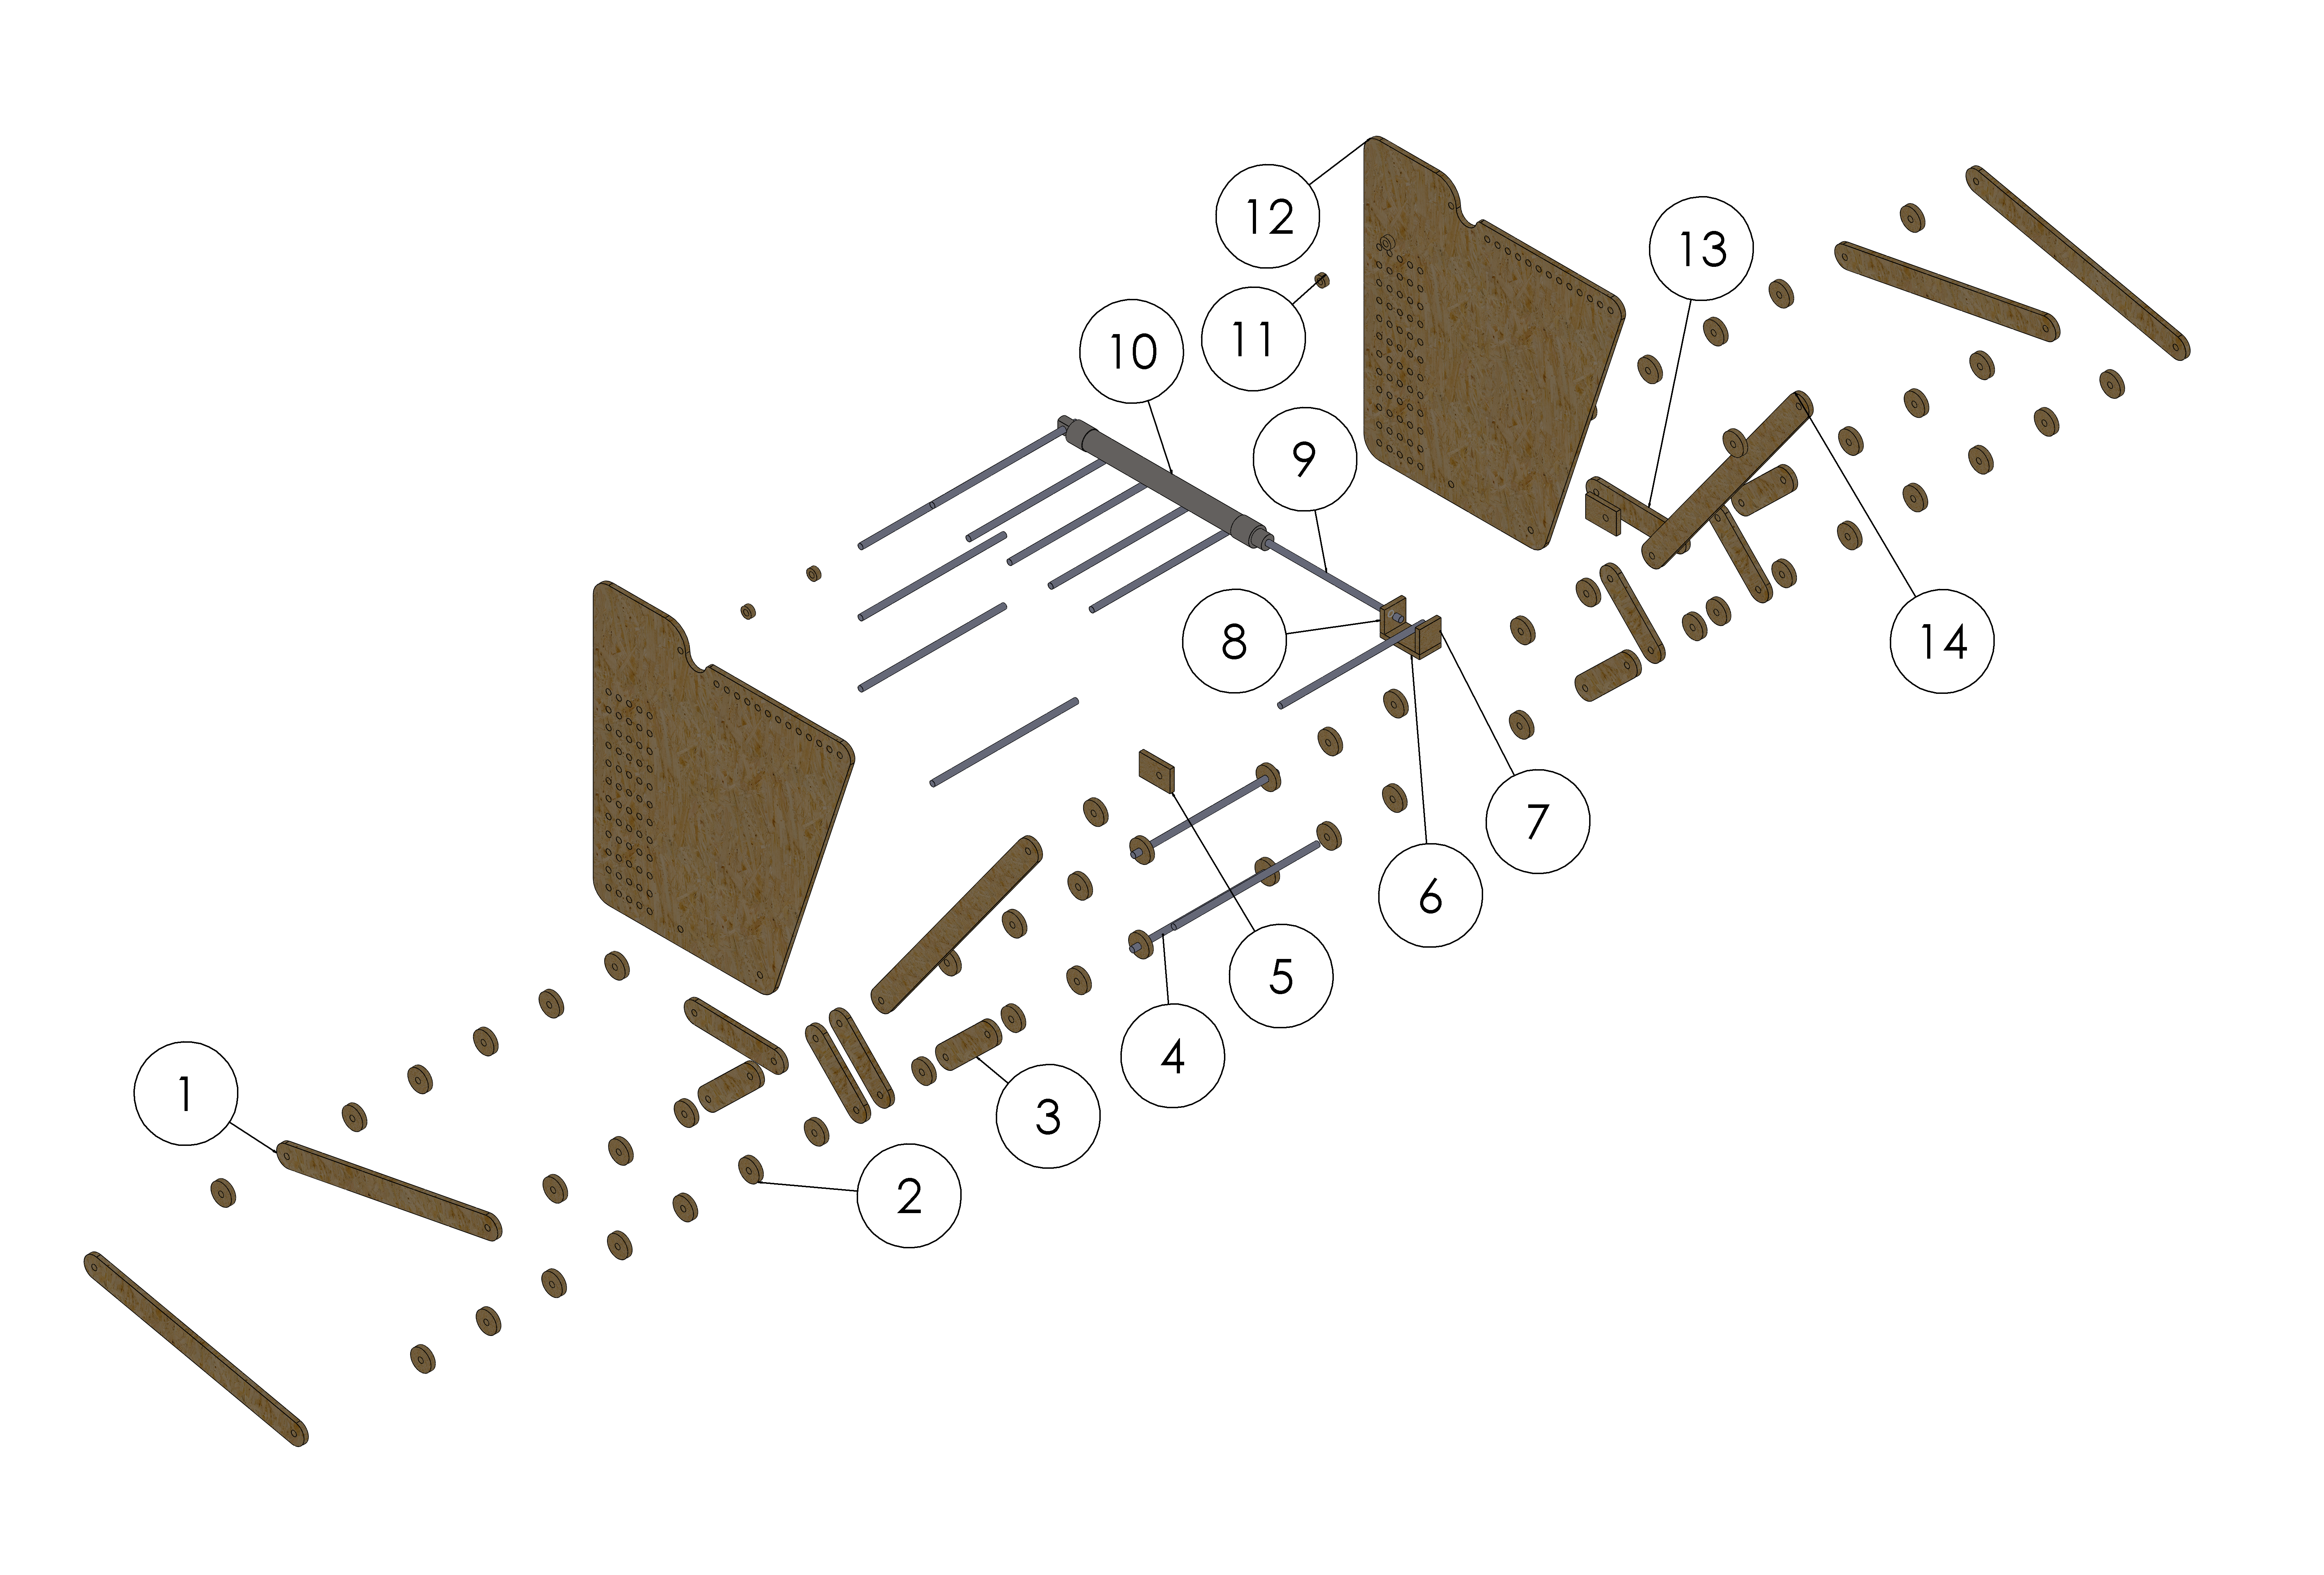
Exploded View:
Graphical Linkage Synthesis:
Claw
Open Position:
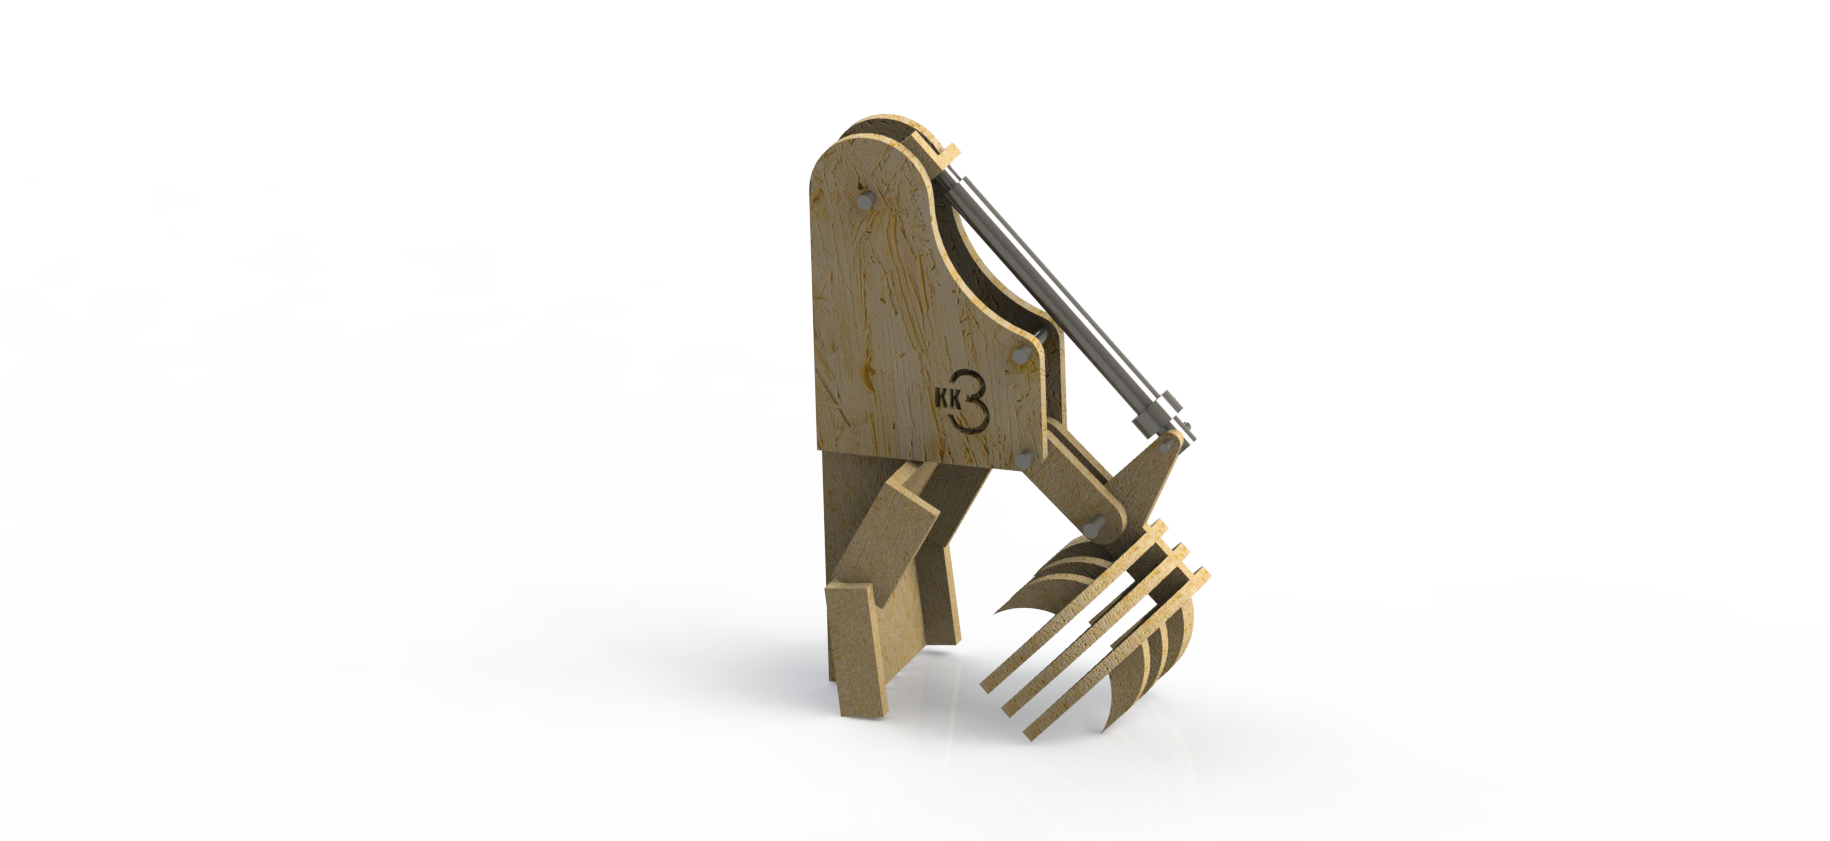
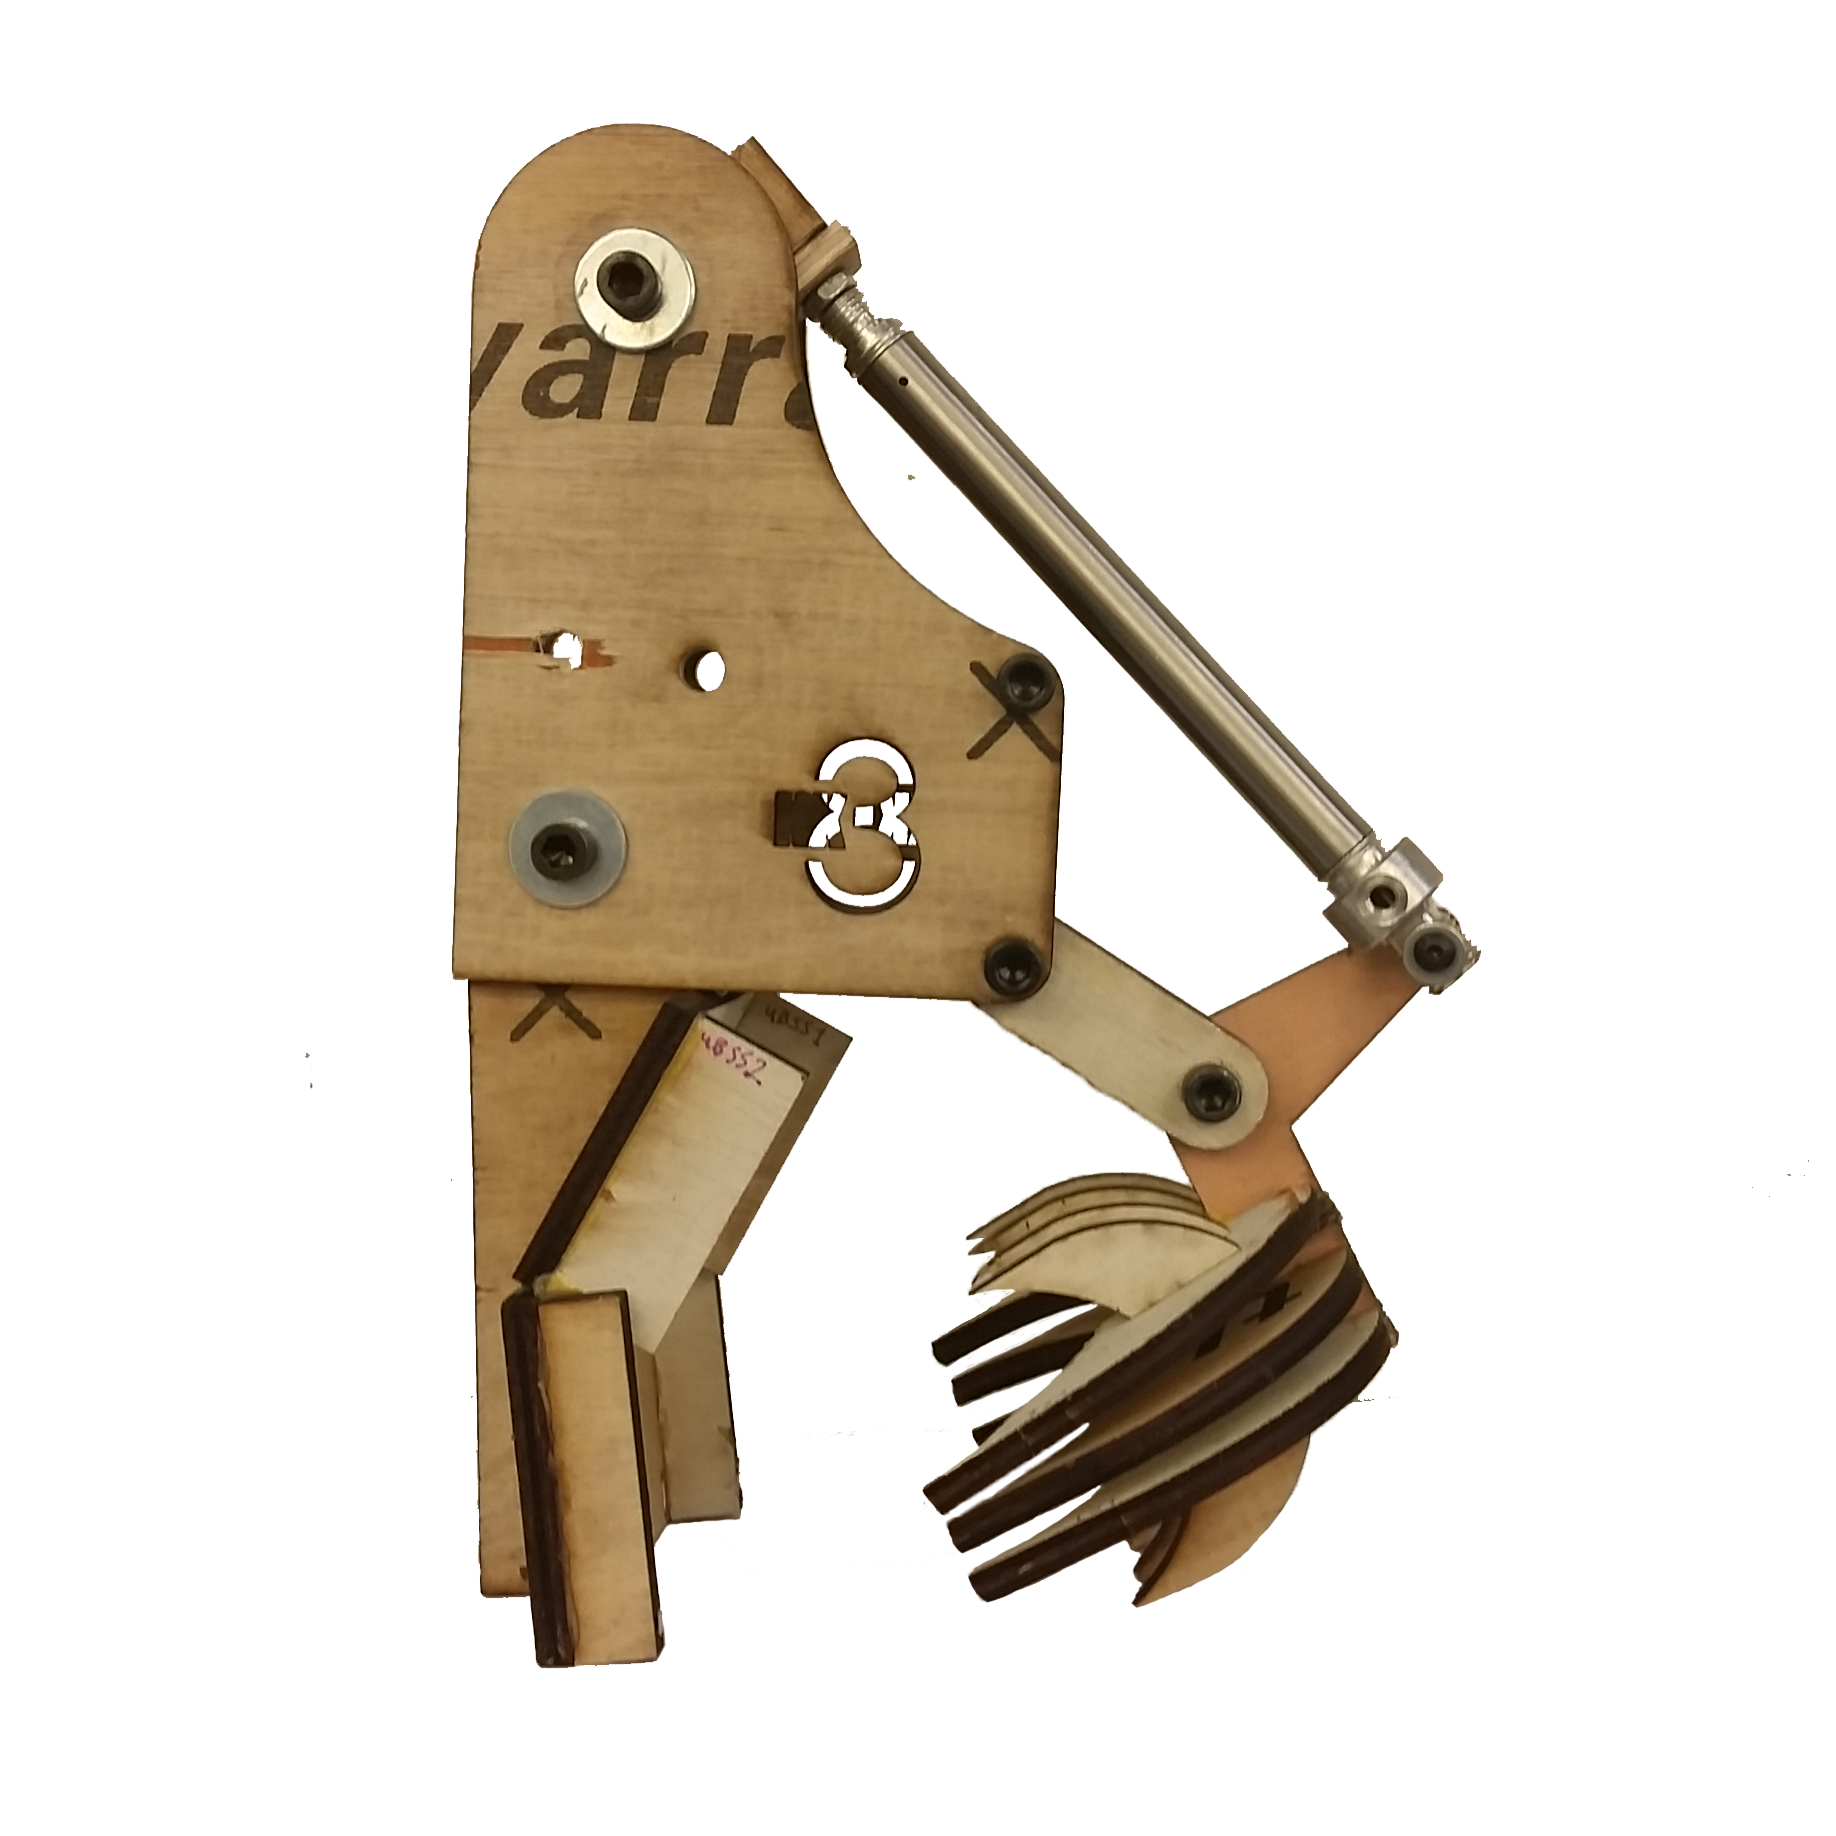
Closed Position:
Exploded View:
Base
Initial Position:
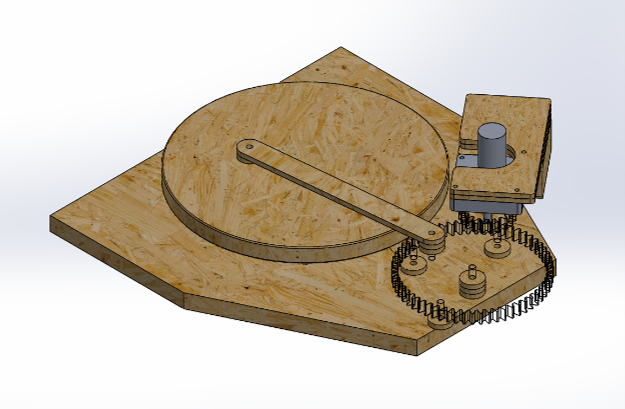
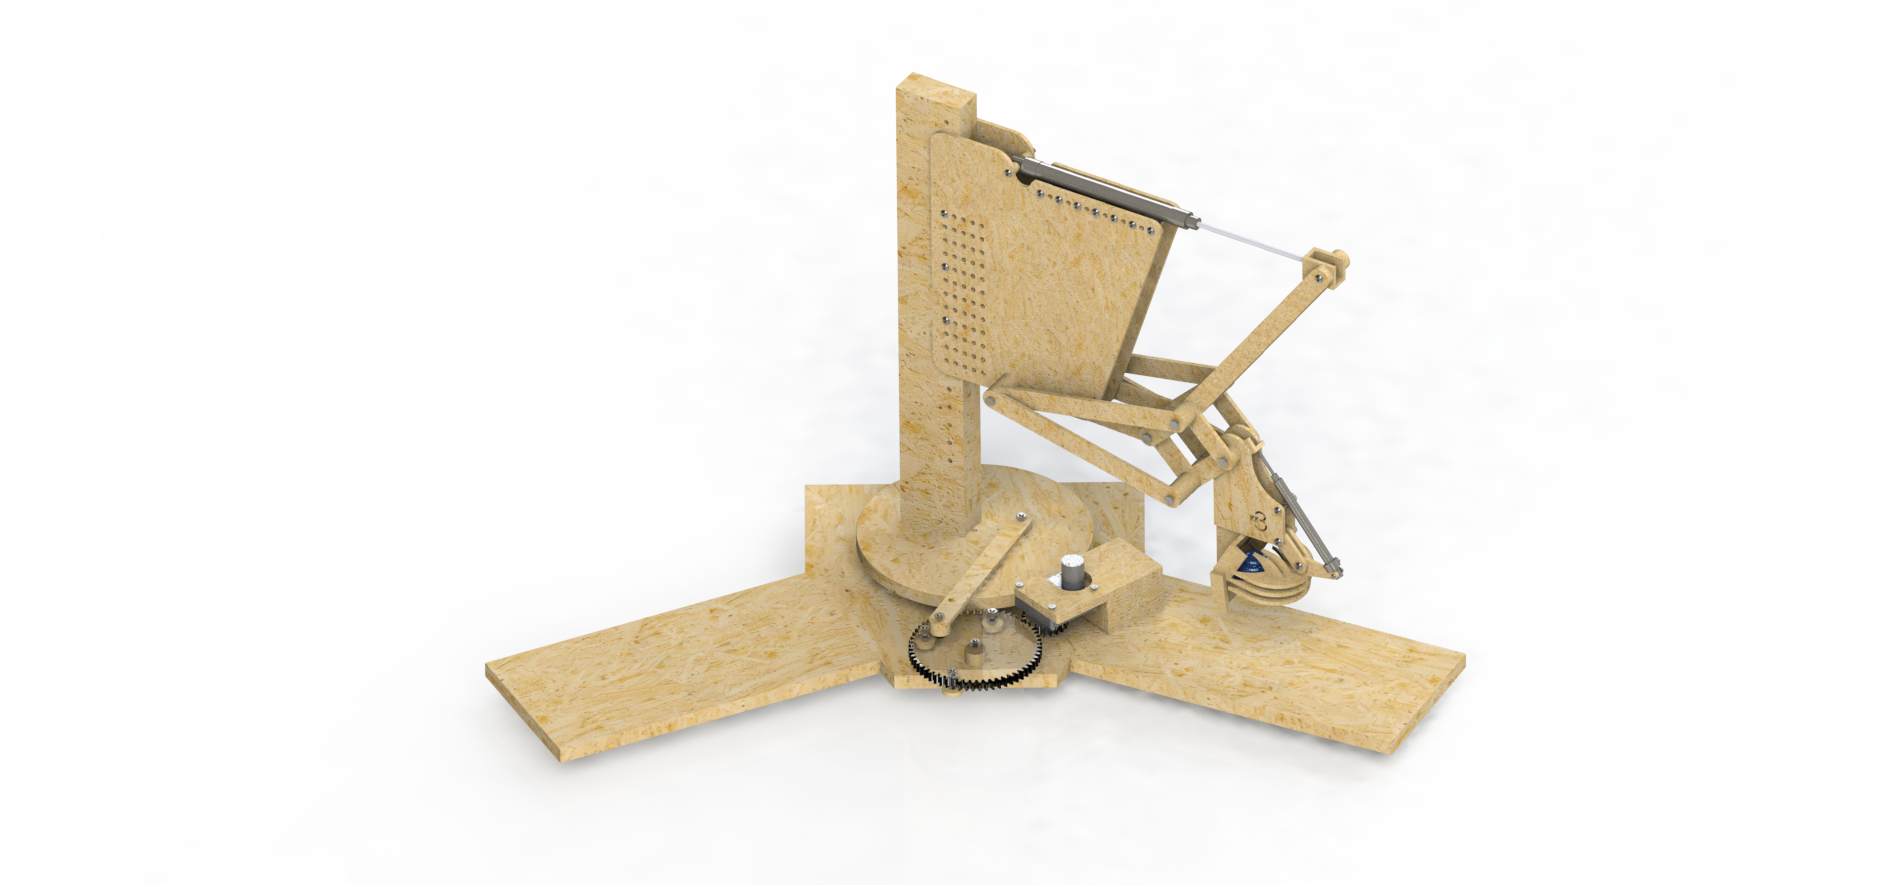
Final Position:
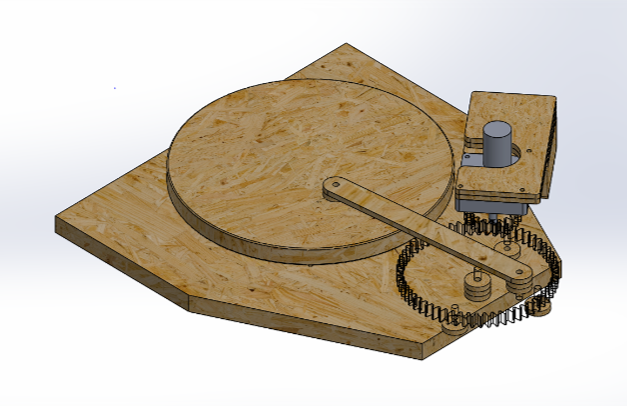
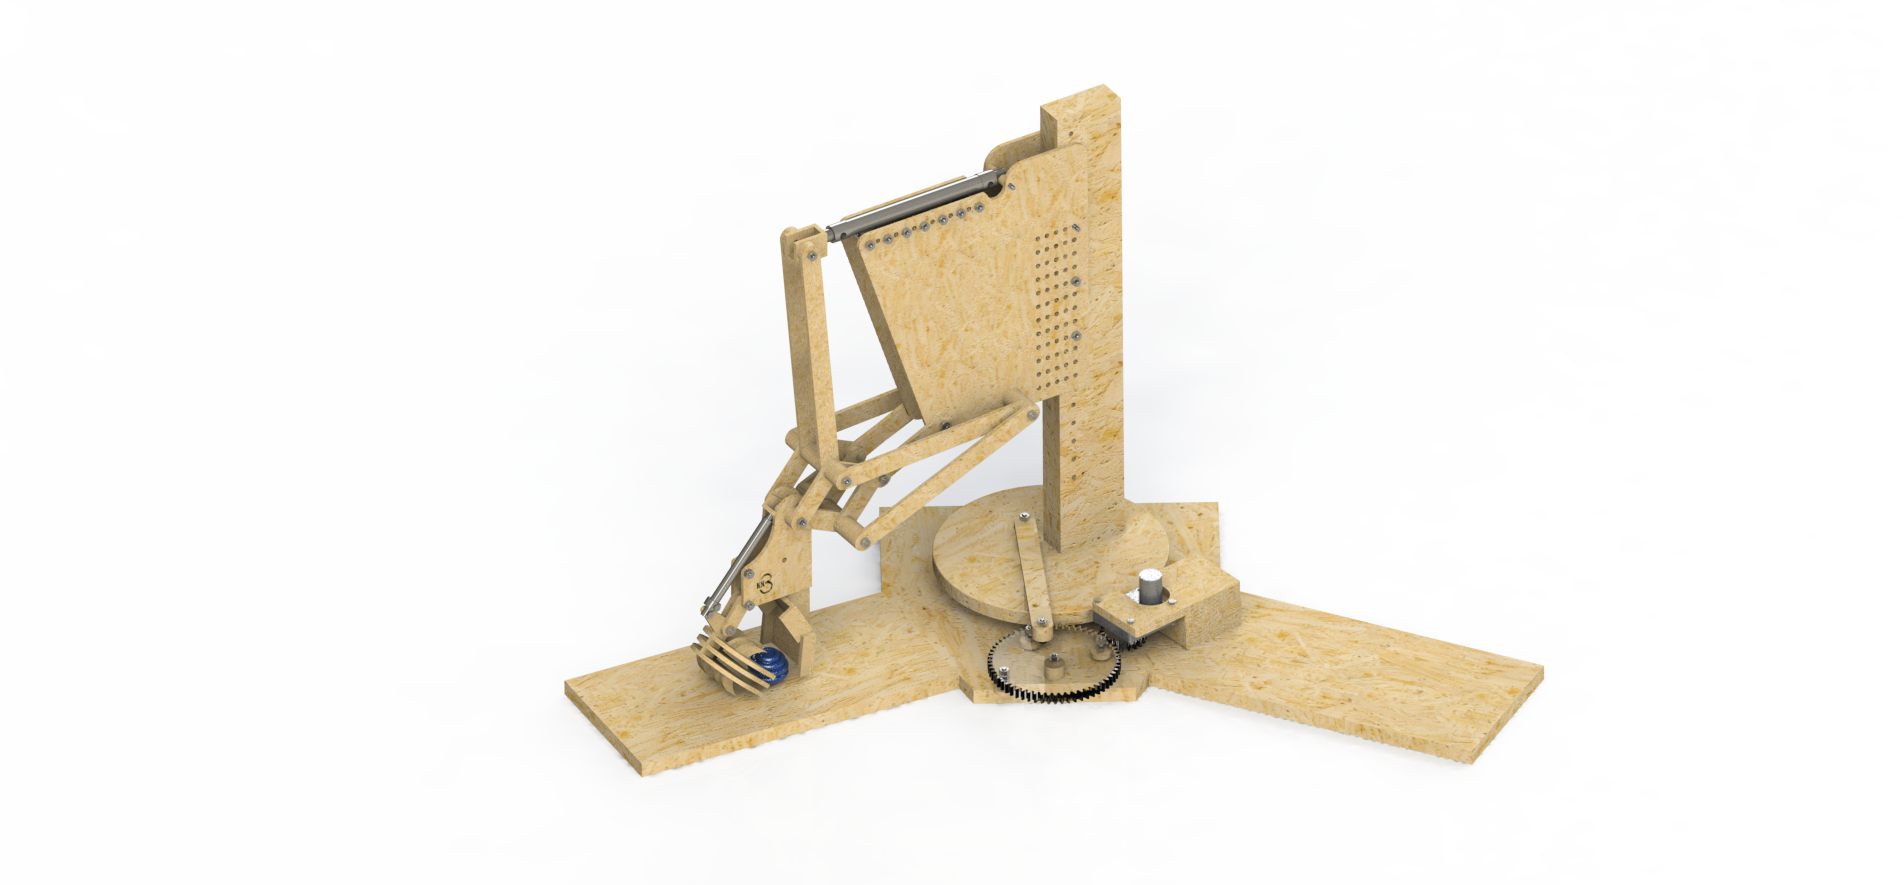
Exploded View:
Final Build
"Claw Factory" Layout
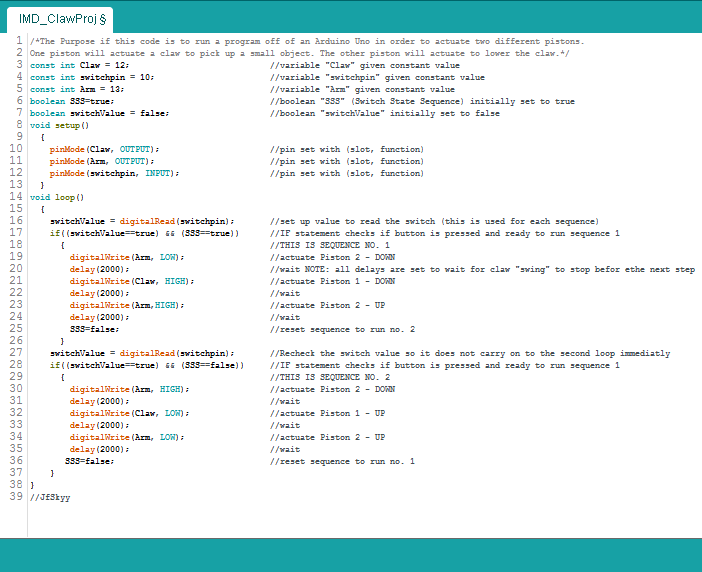
Code
