Double-Acting Air Engine
Near the end of my fall 2017 semester at Rowan University, three mechanical engineering students and I designed, fabricated, and optimized a double-acting pneumatic engine as part of our Thermal-Fluid Sciences I course. The criteria and constraints of the project were as follows:
- The engine should be able to run for at least one minute.
- The engine should reach at least 1000rpm.
- The cost of outsourced materials should be no greater than $60.
- The engine must displace 50 +/- 3cc of air per output shaft revolution.
- The engine must connect to the compressed air source through 1/4" plastic tubing.
- The engine must attach to a mounting plate using only machine screws.
Results & Discussion
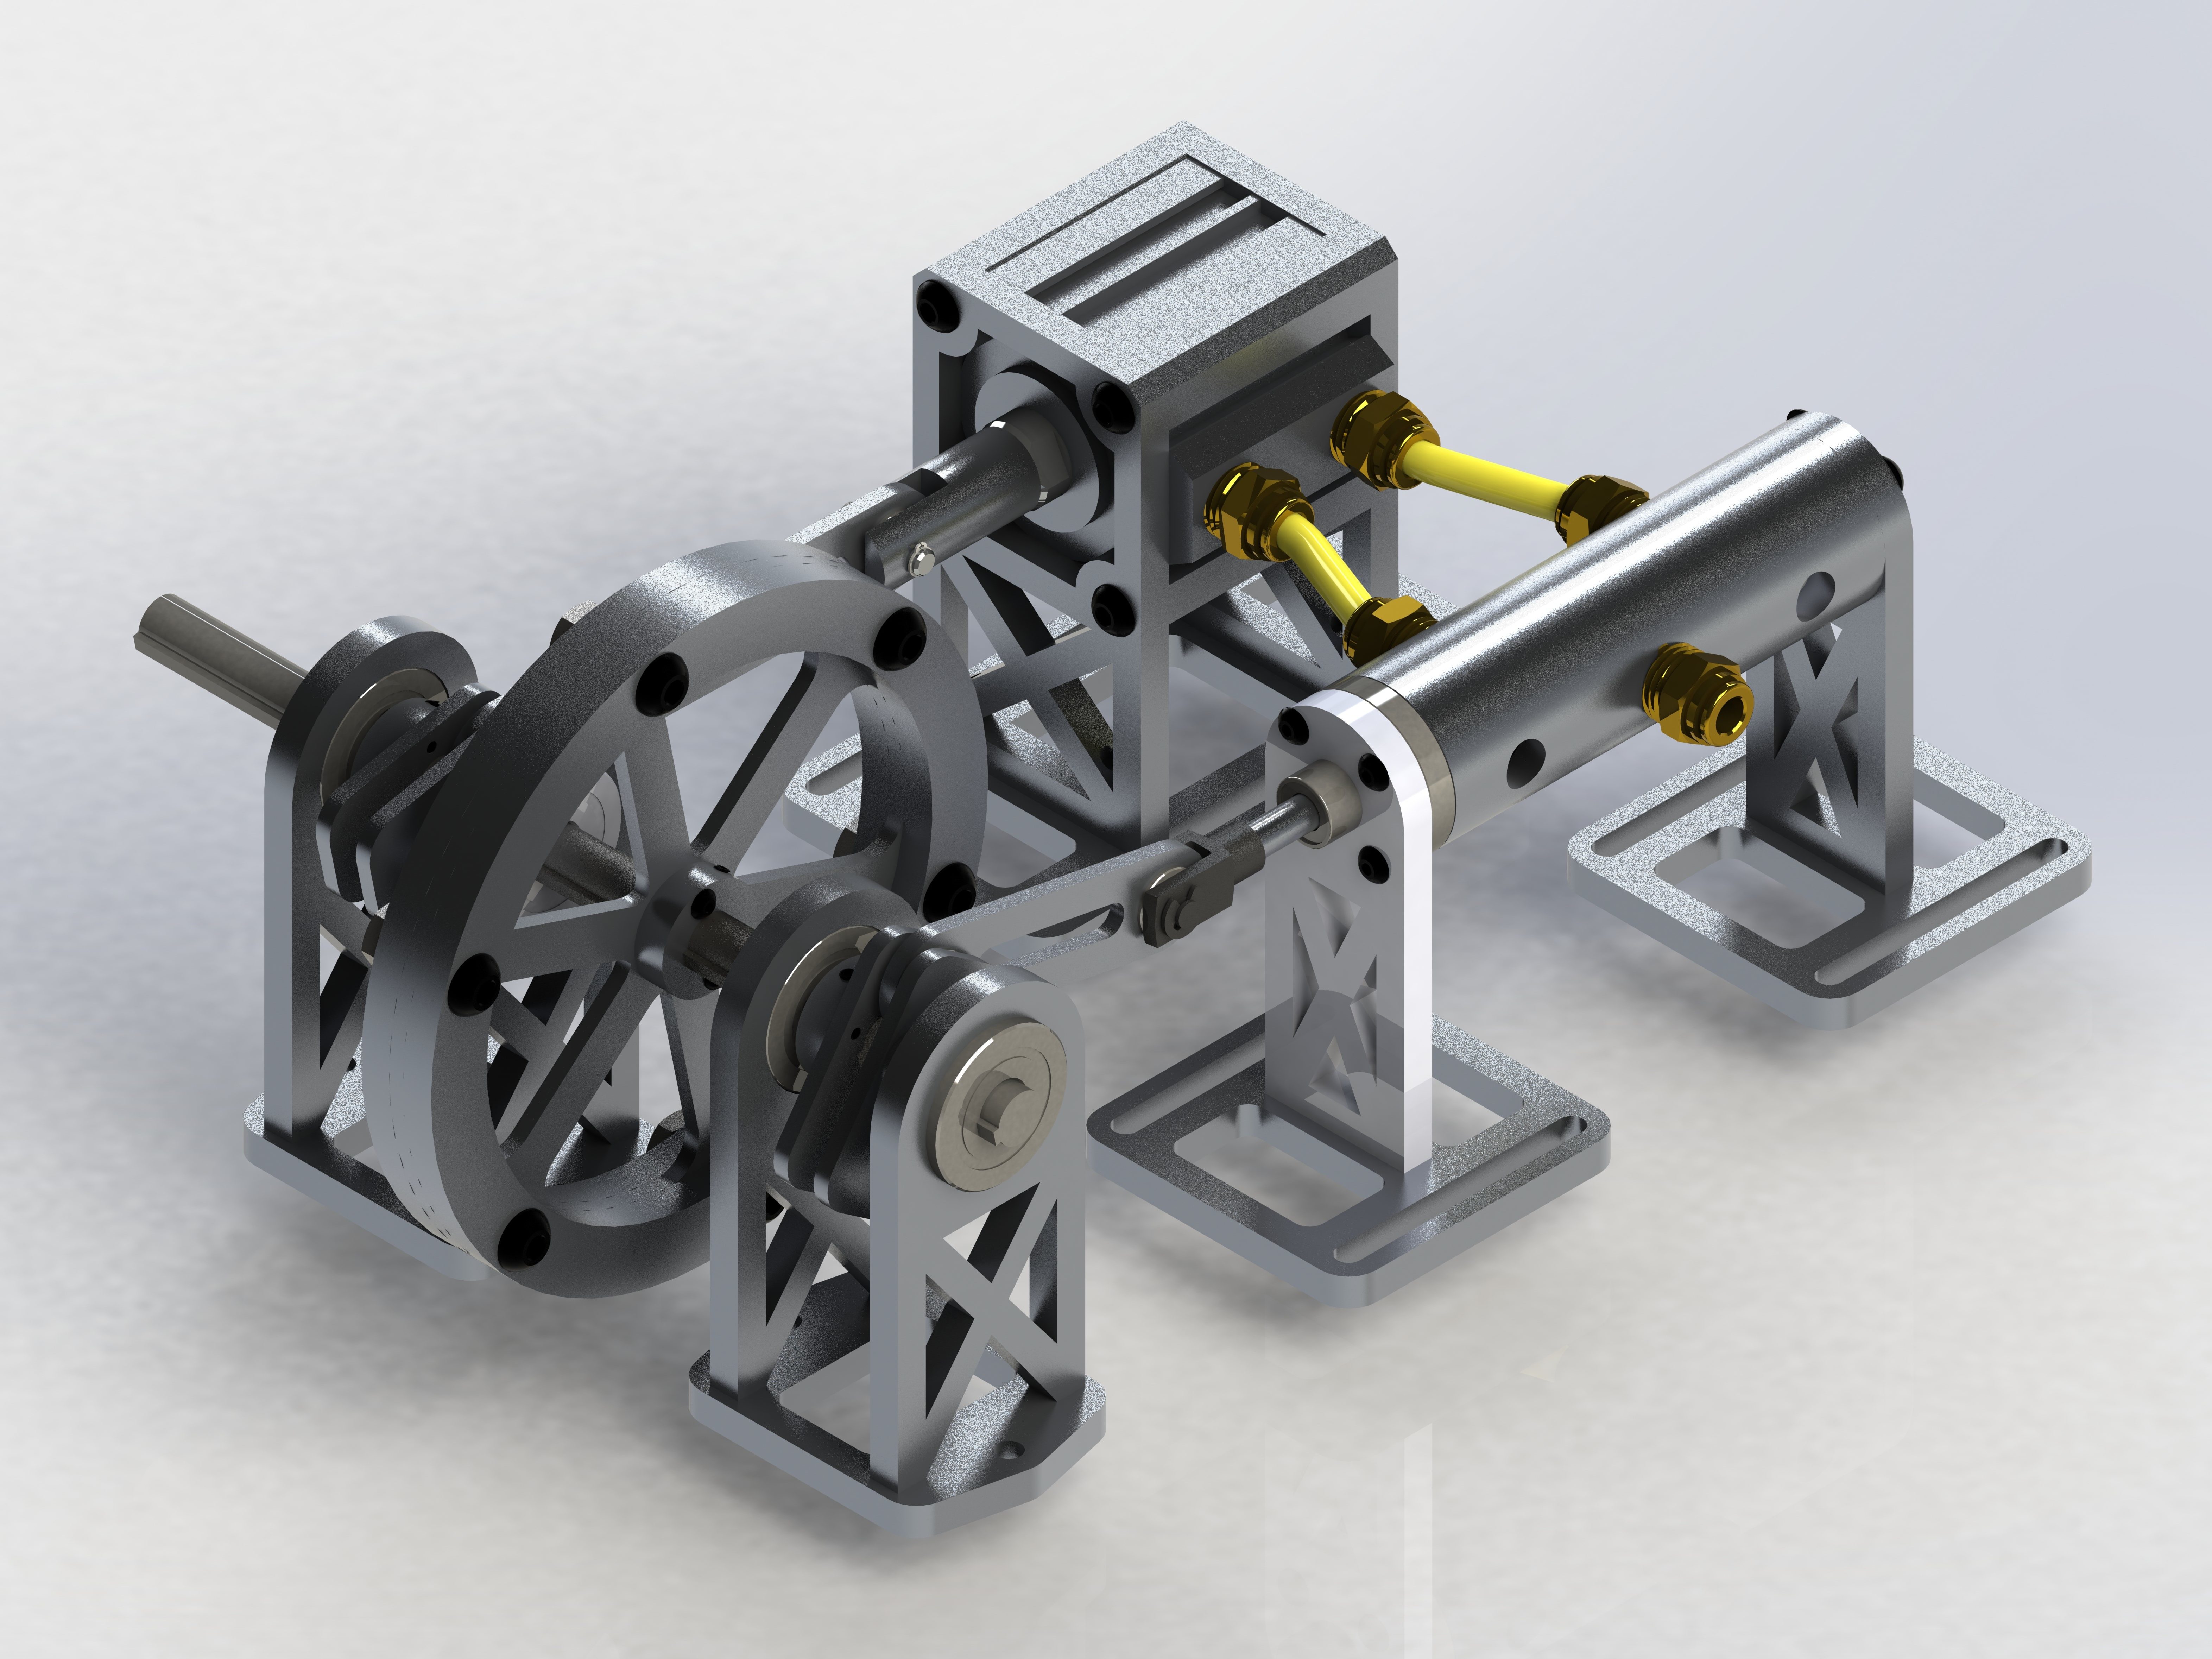
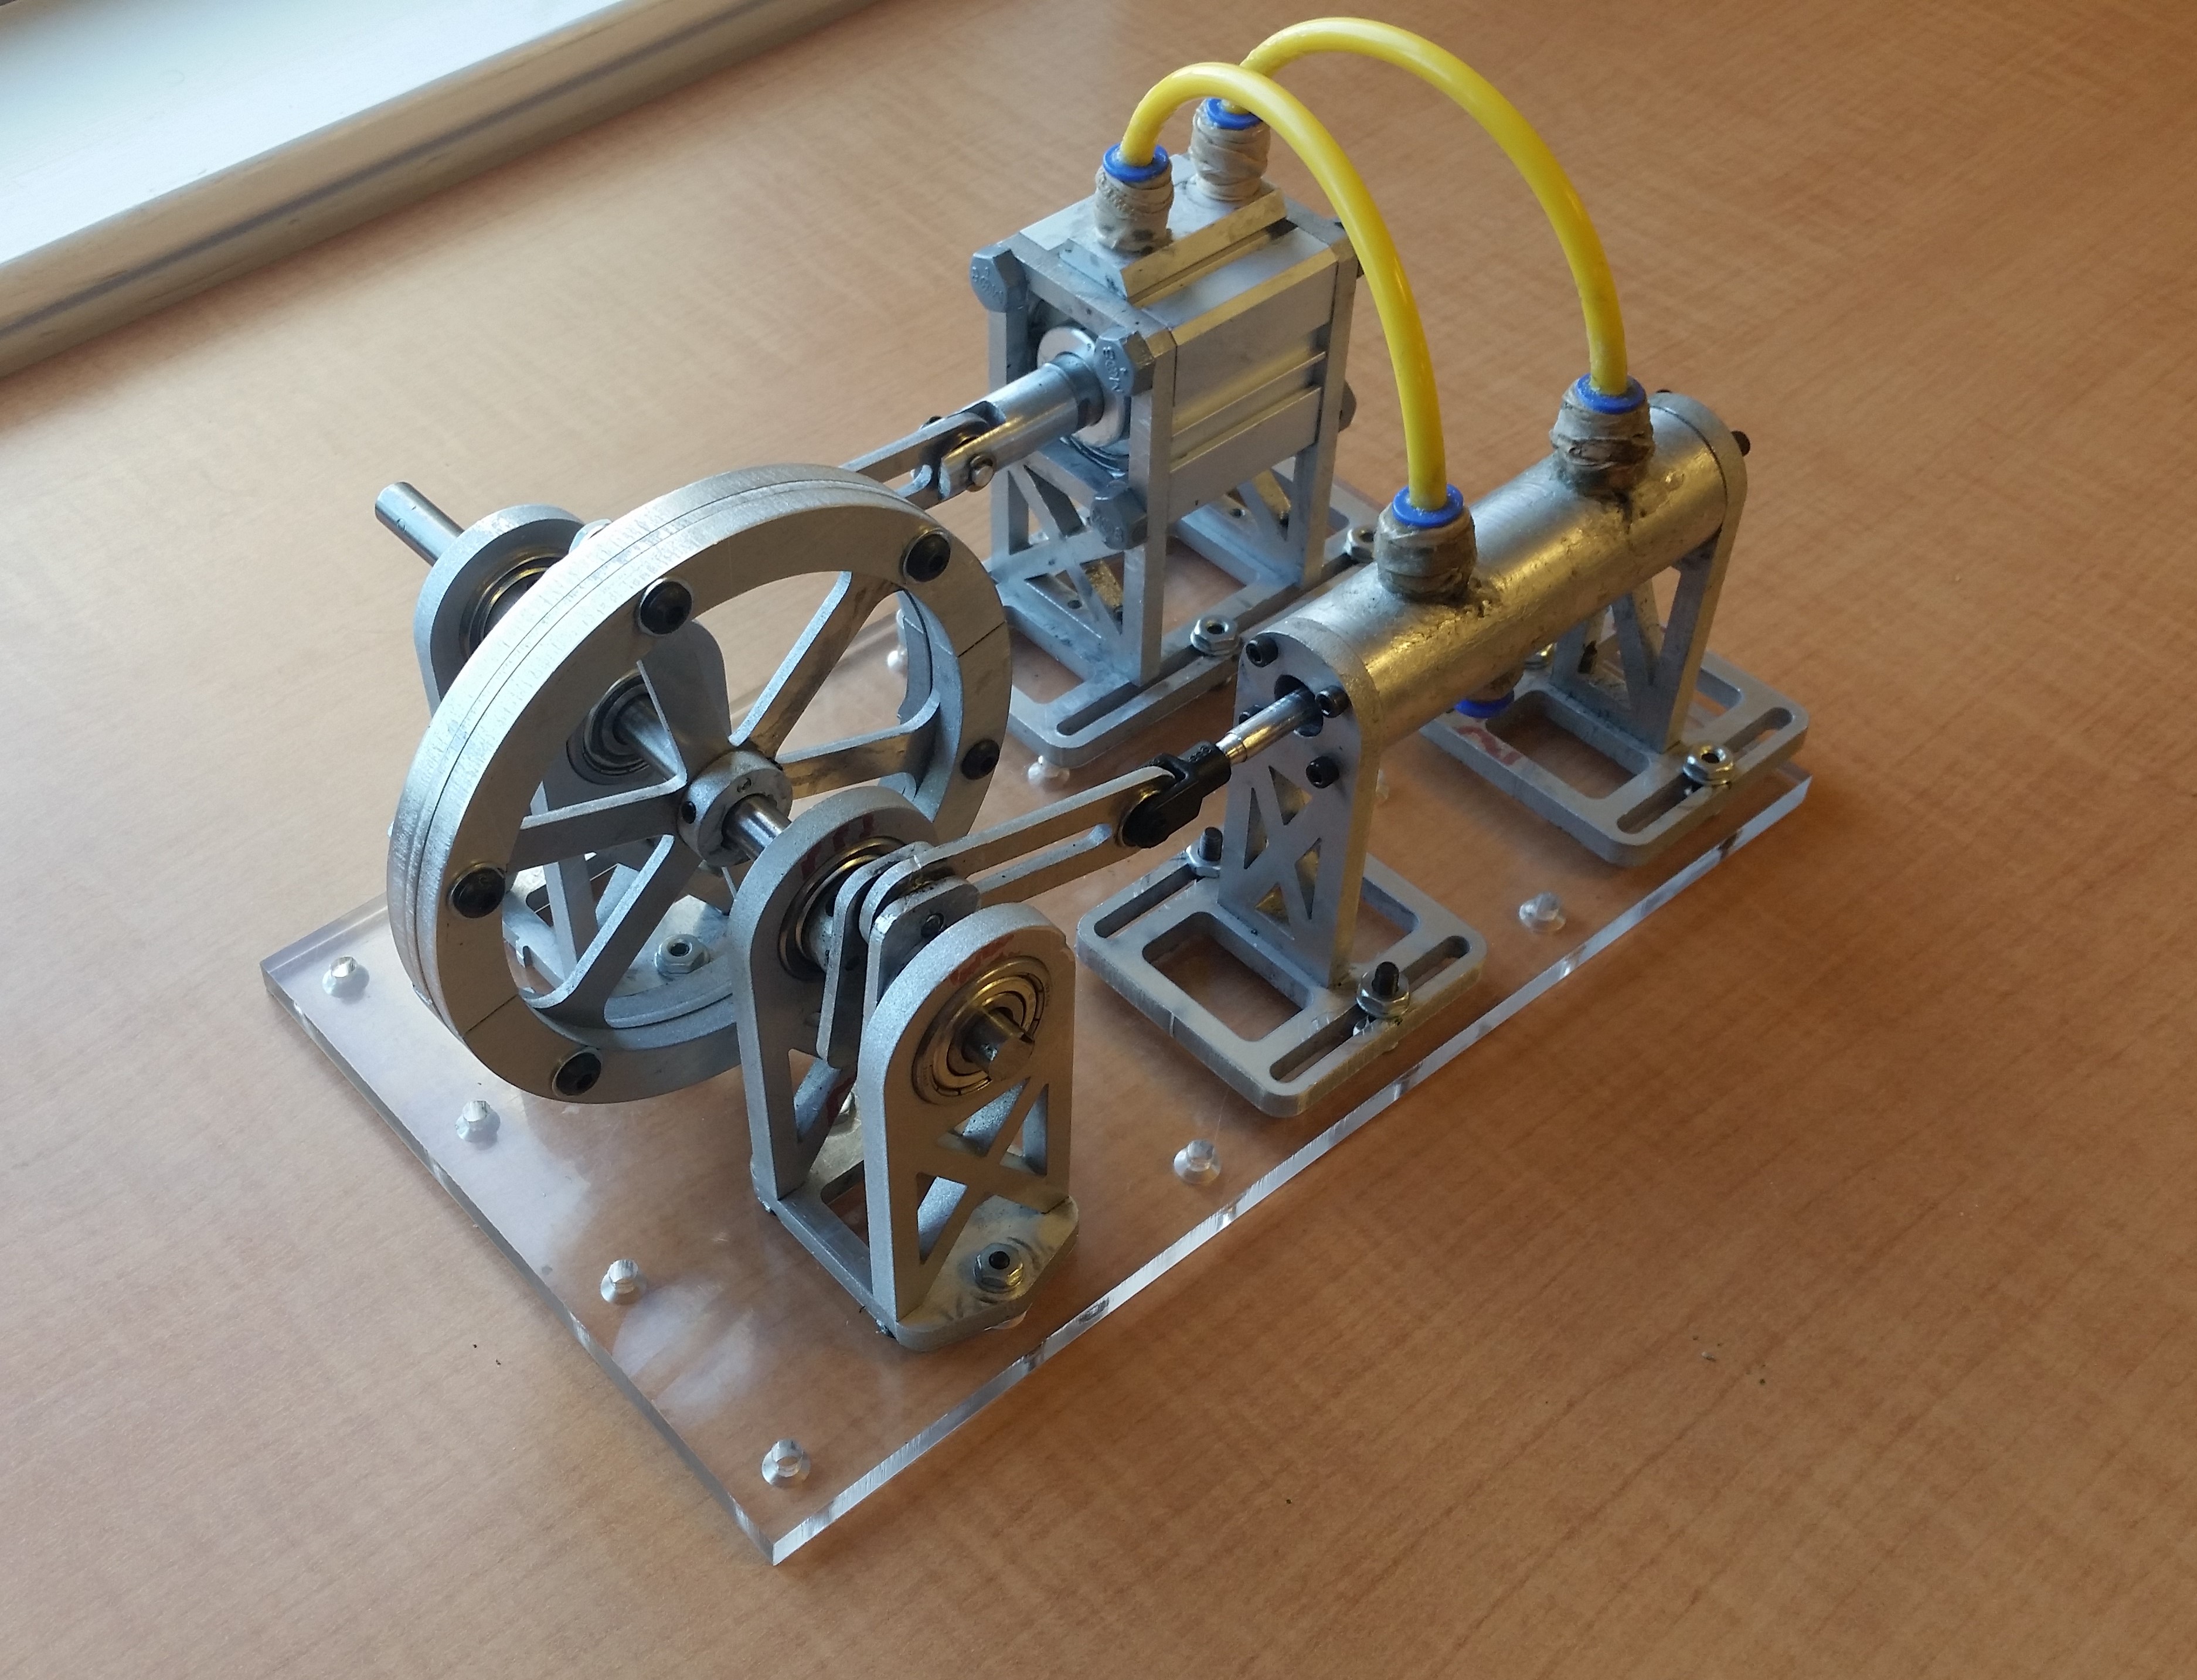
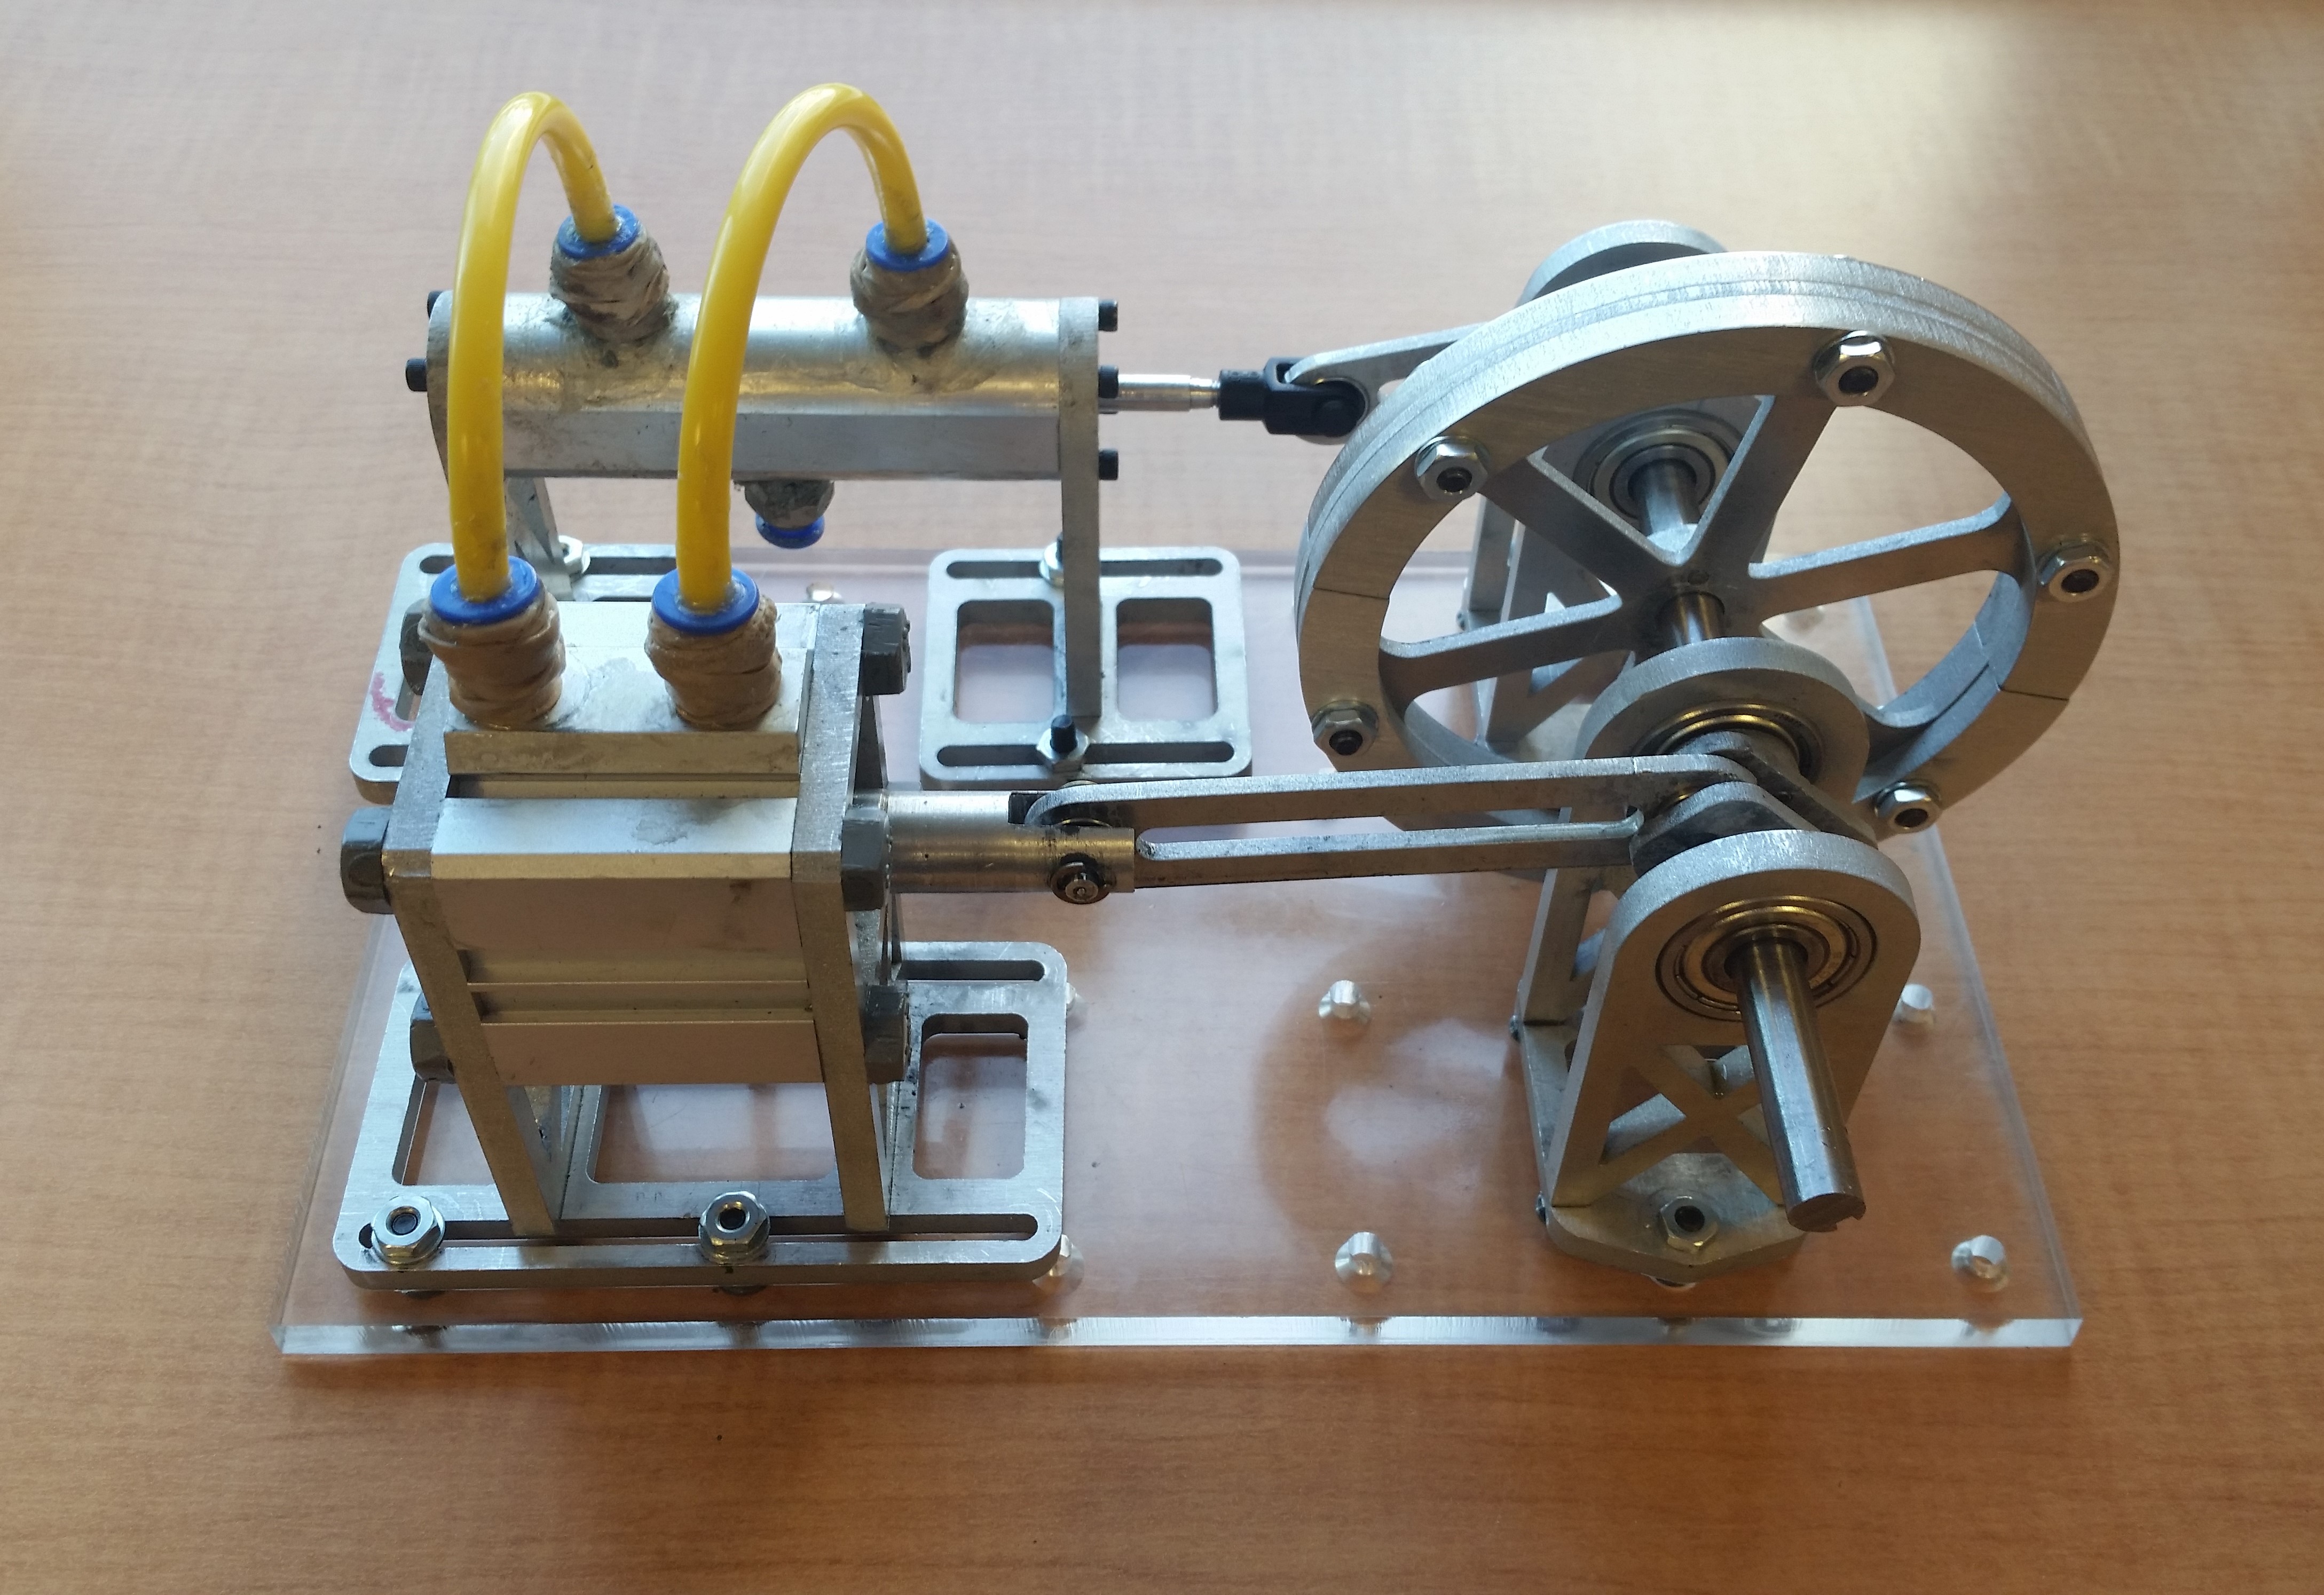
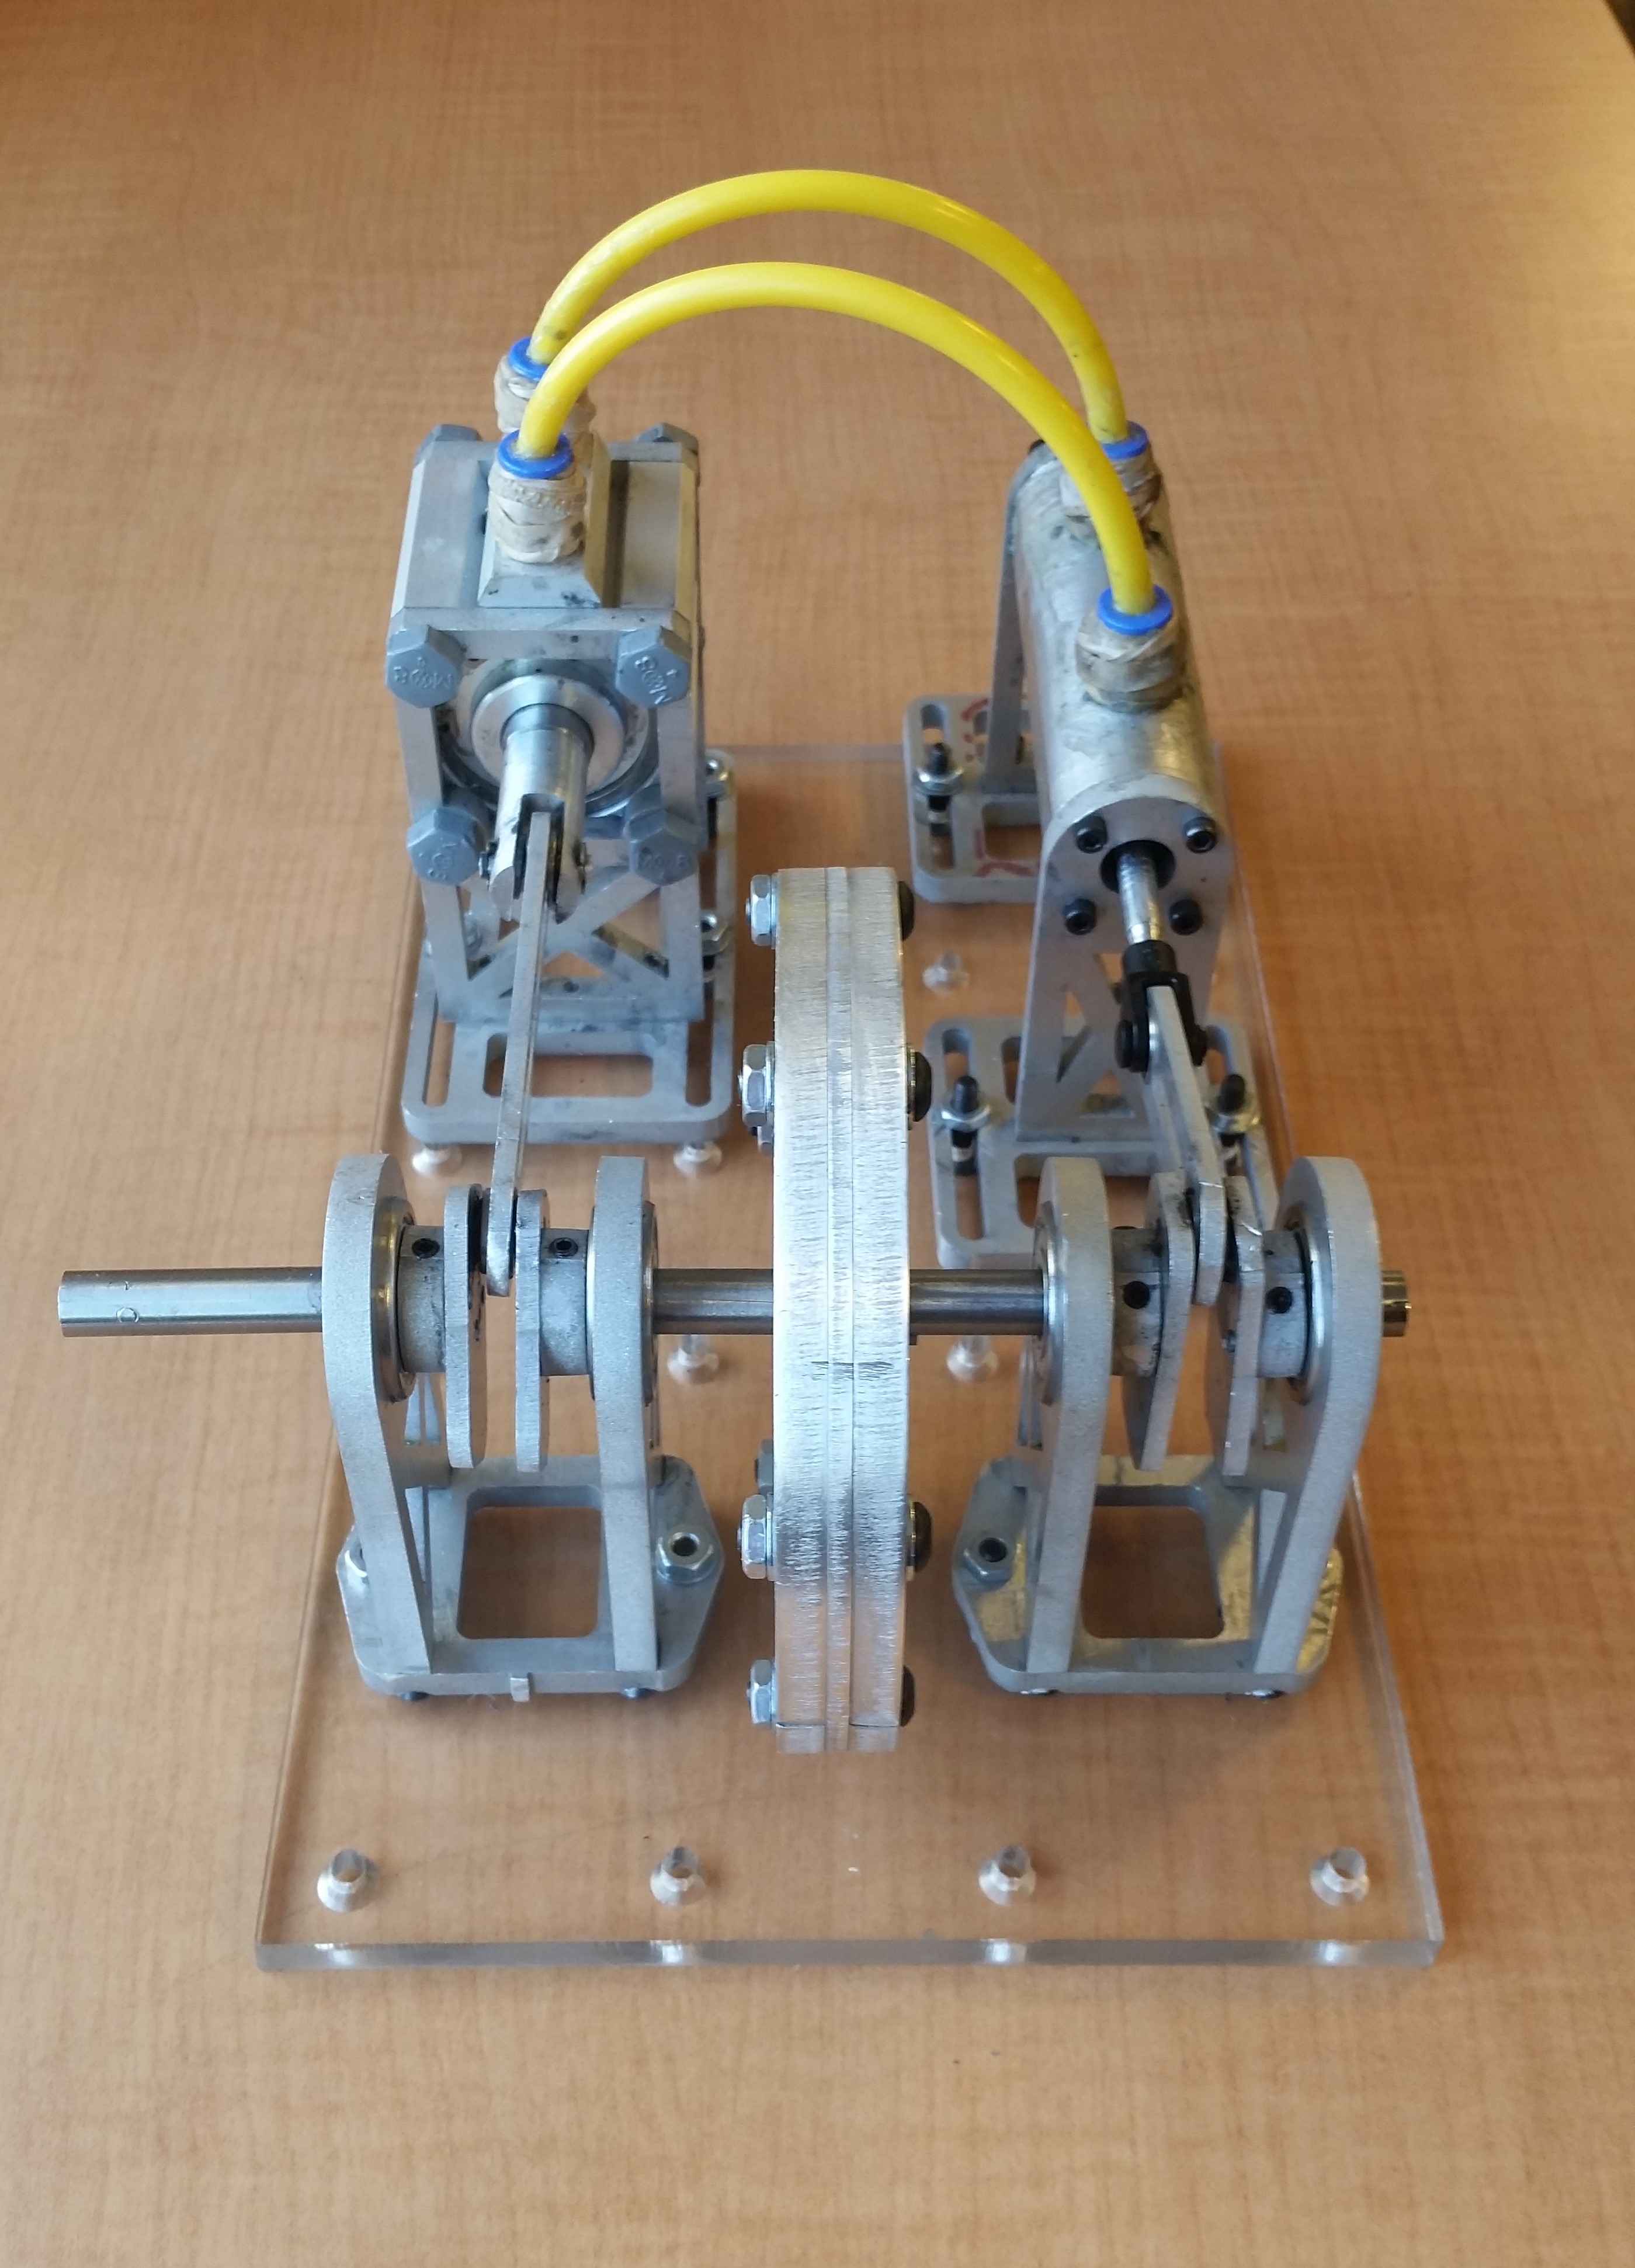
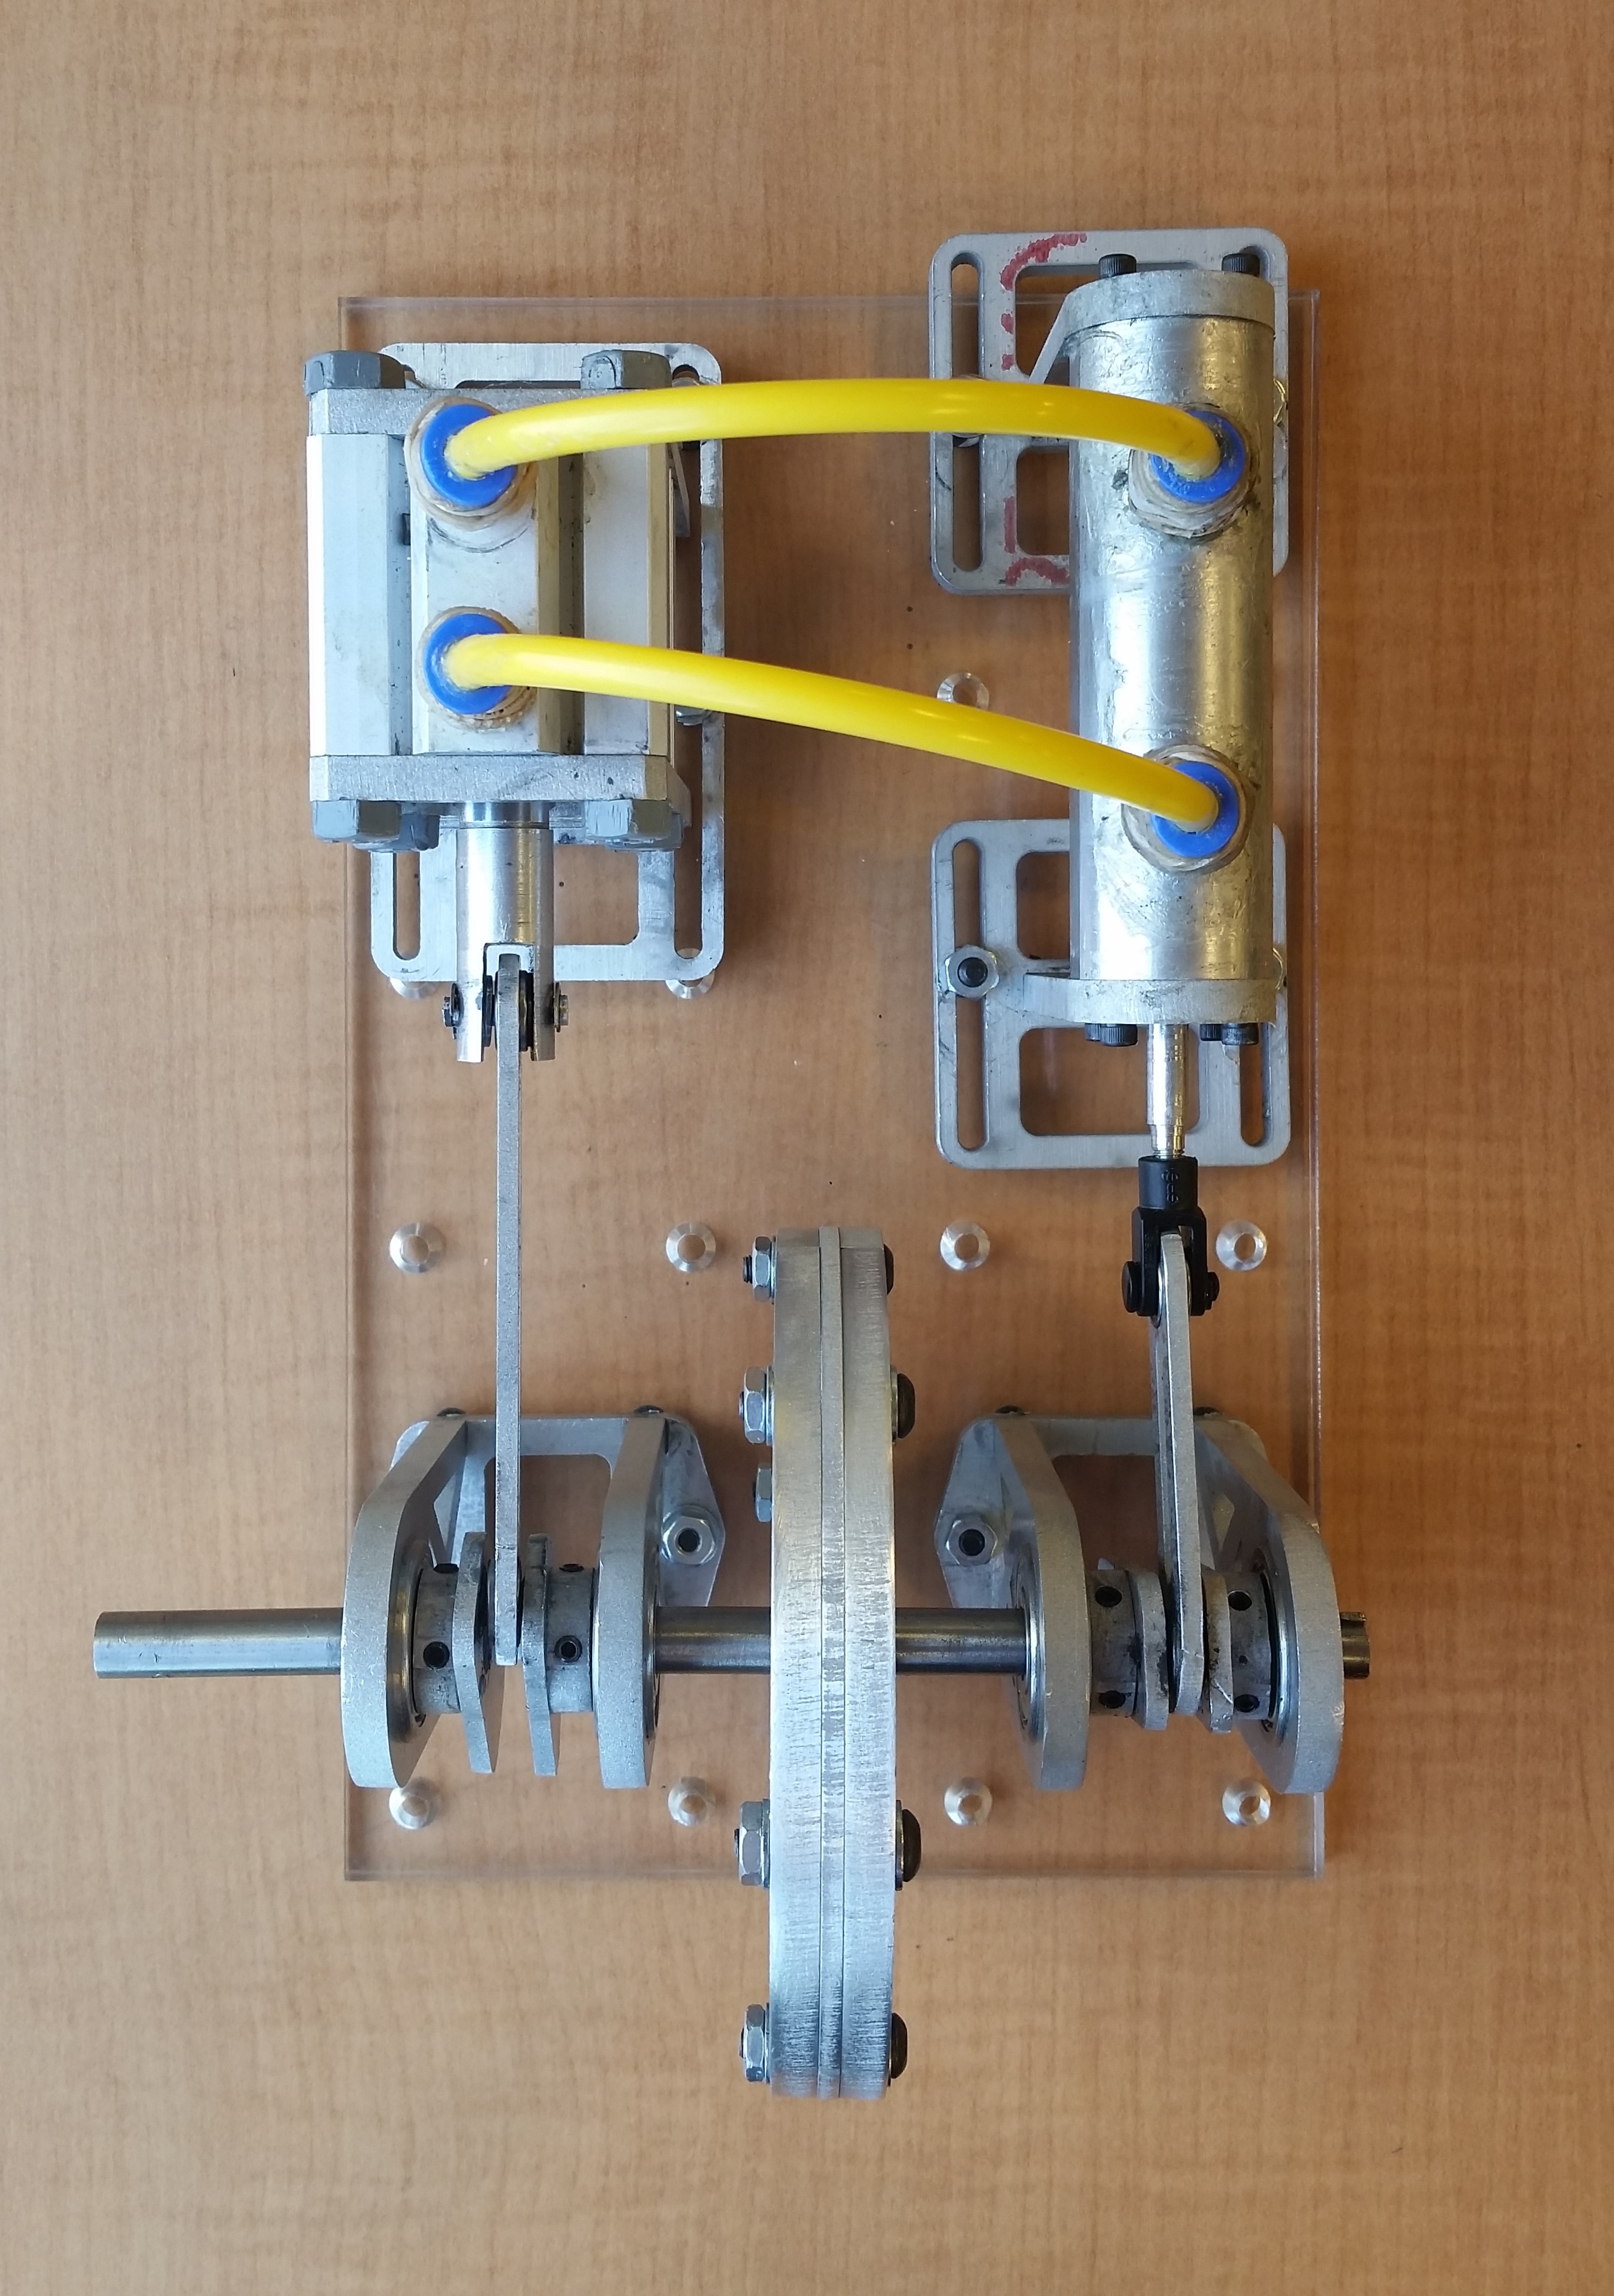
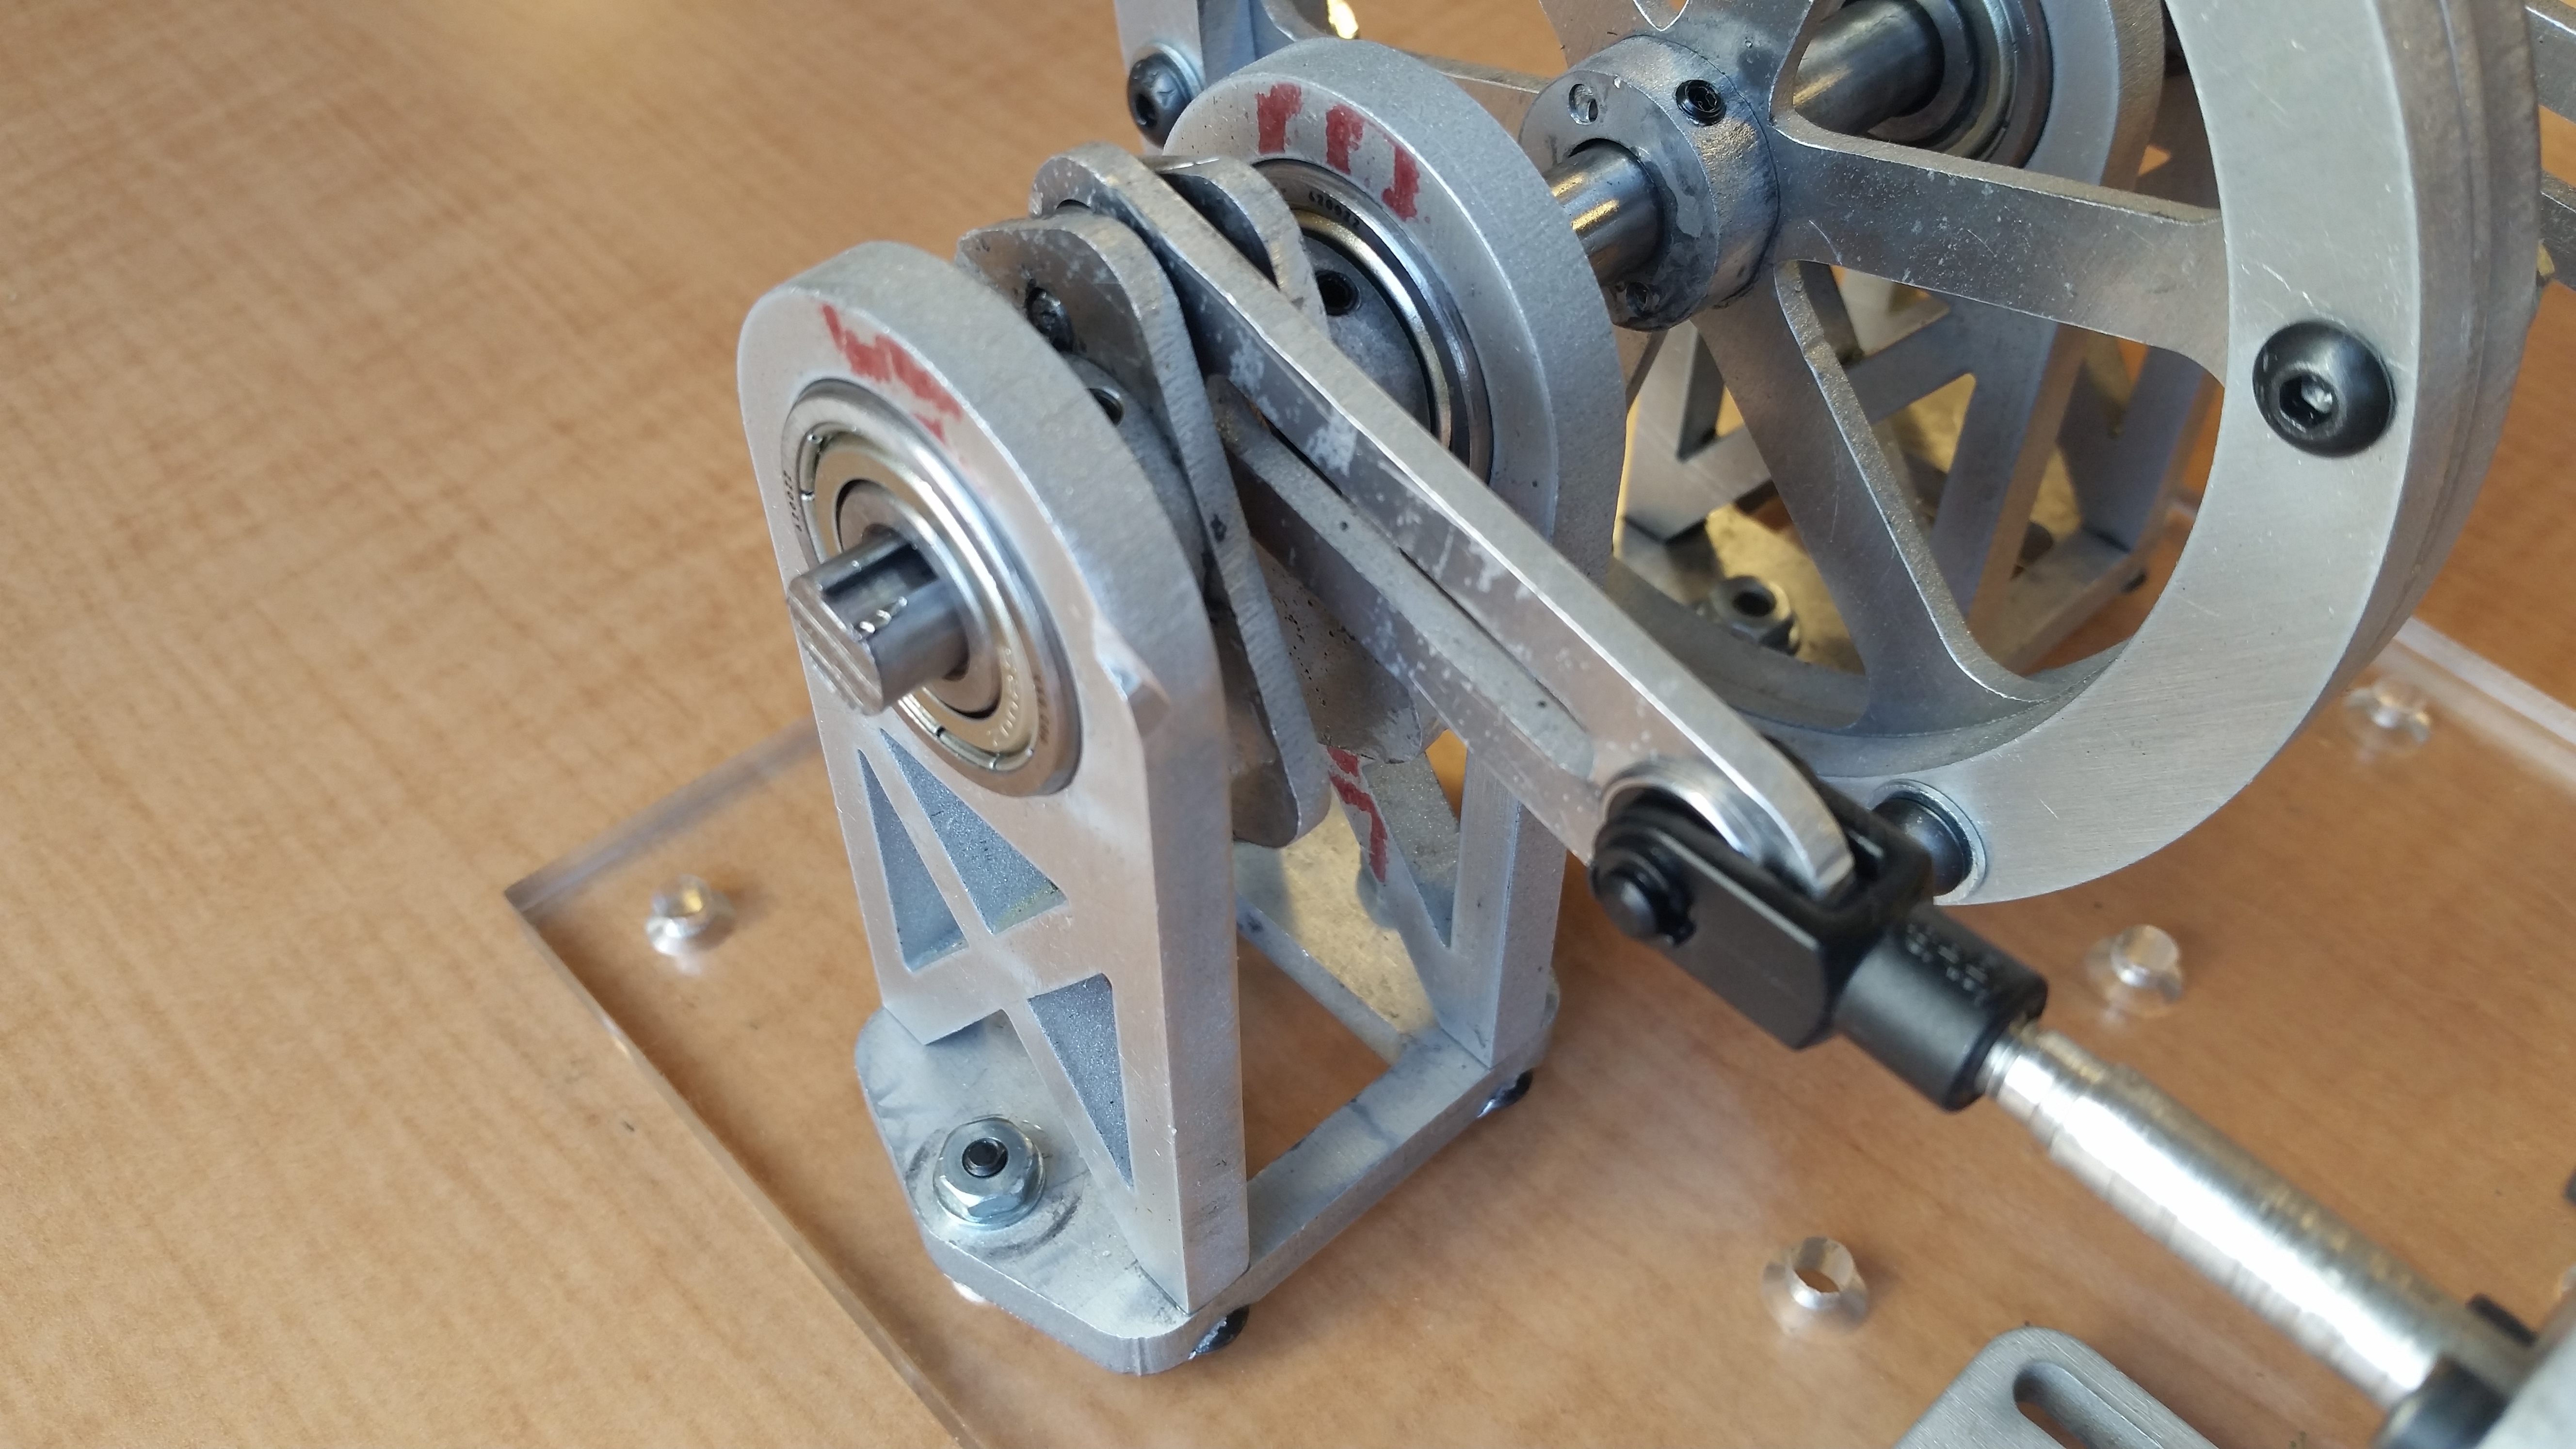
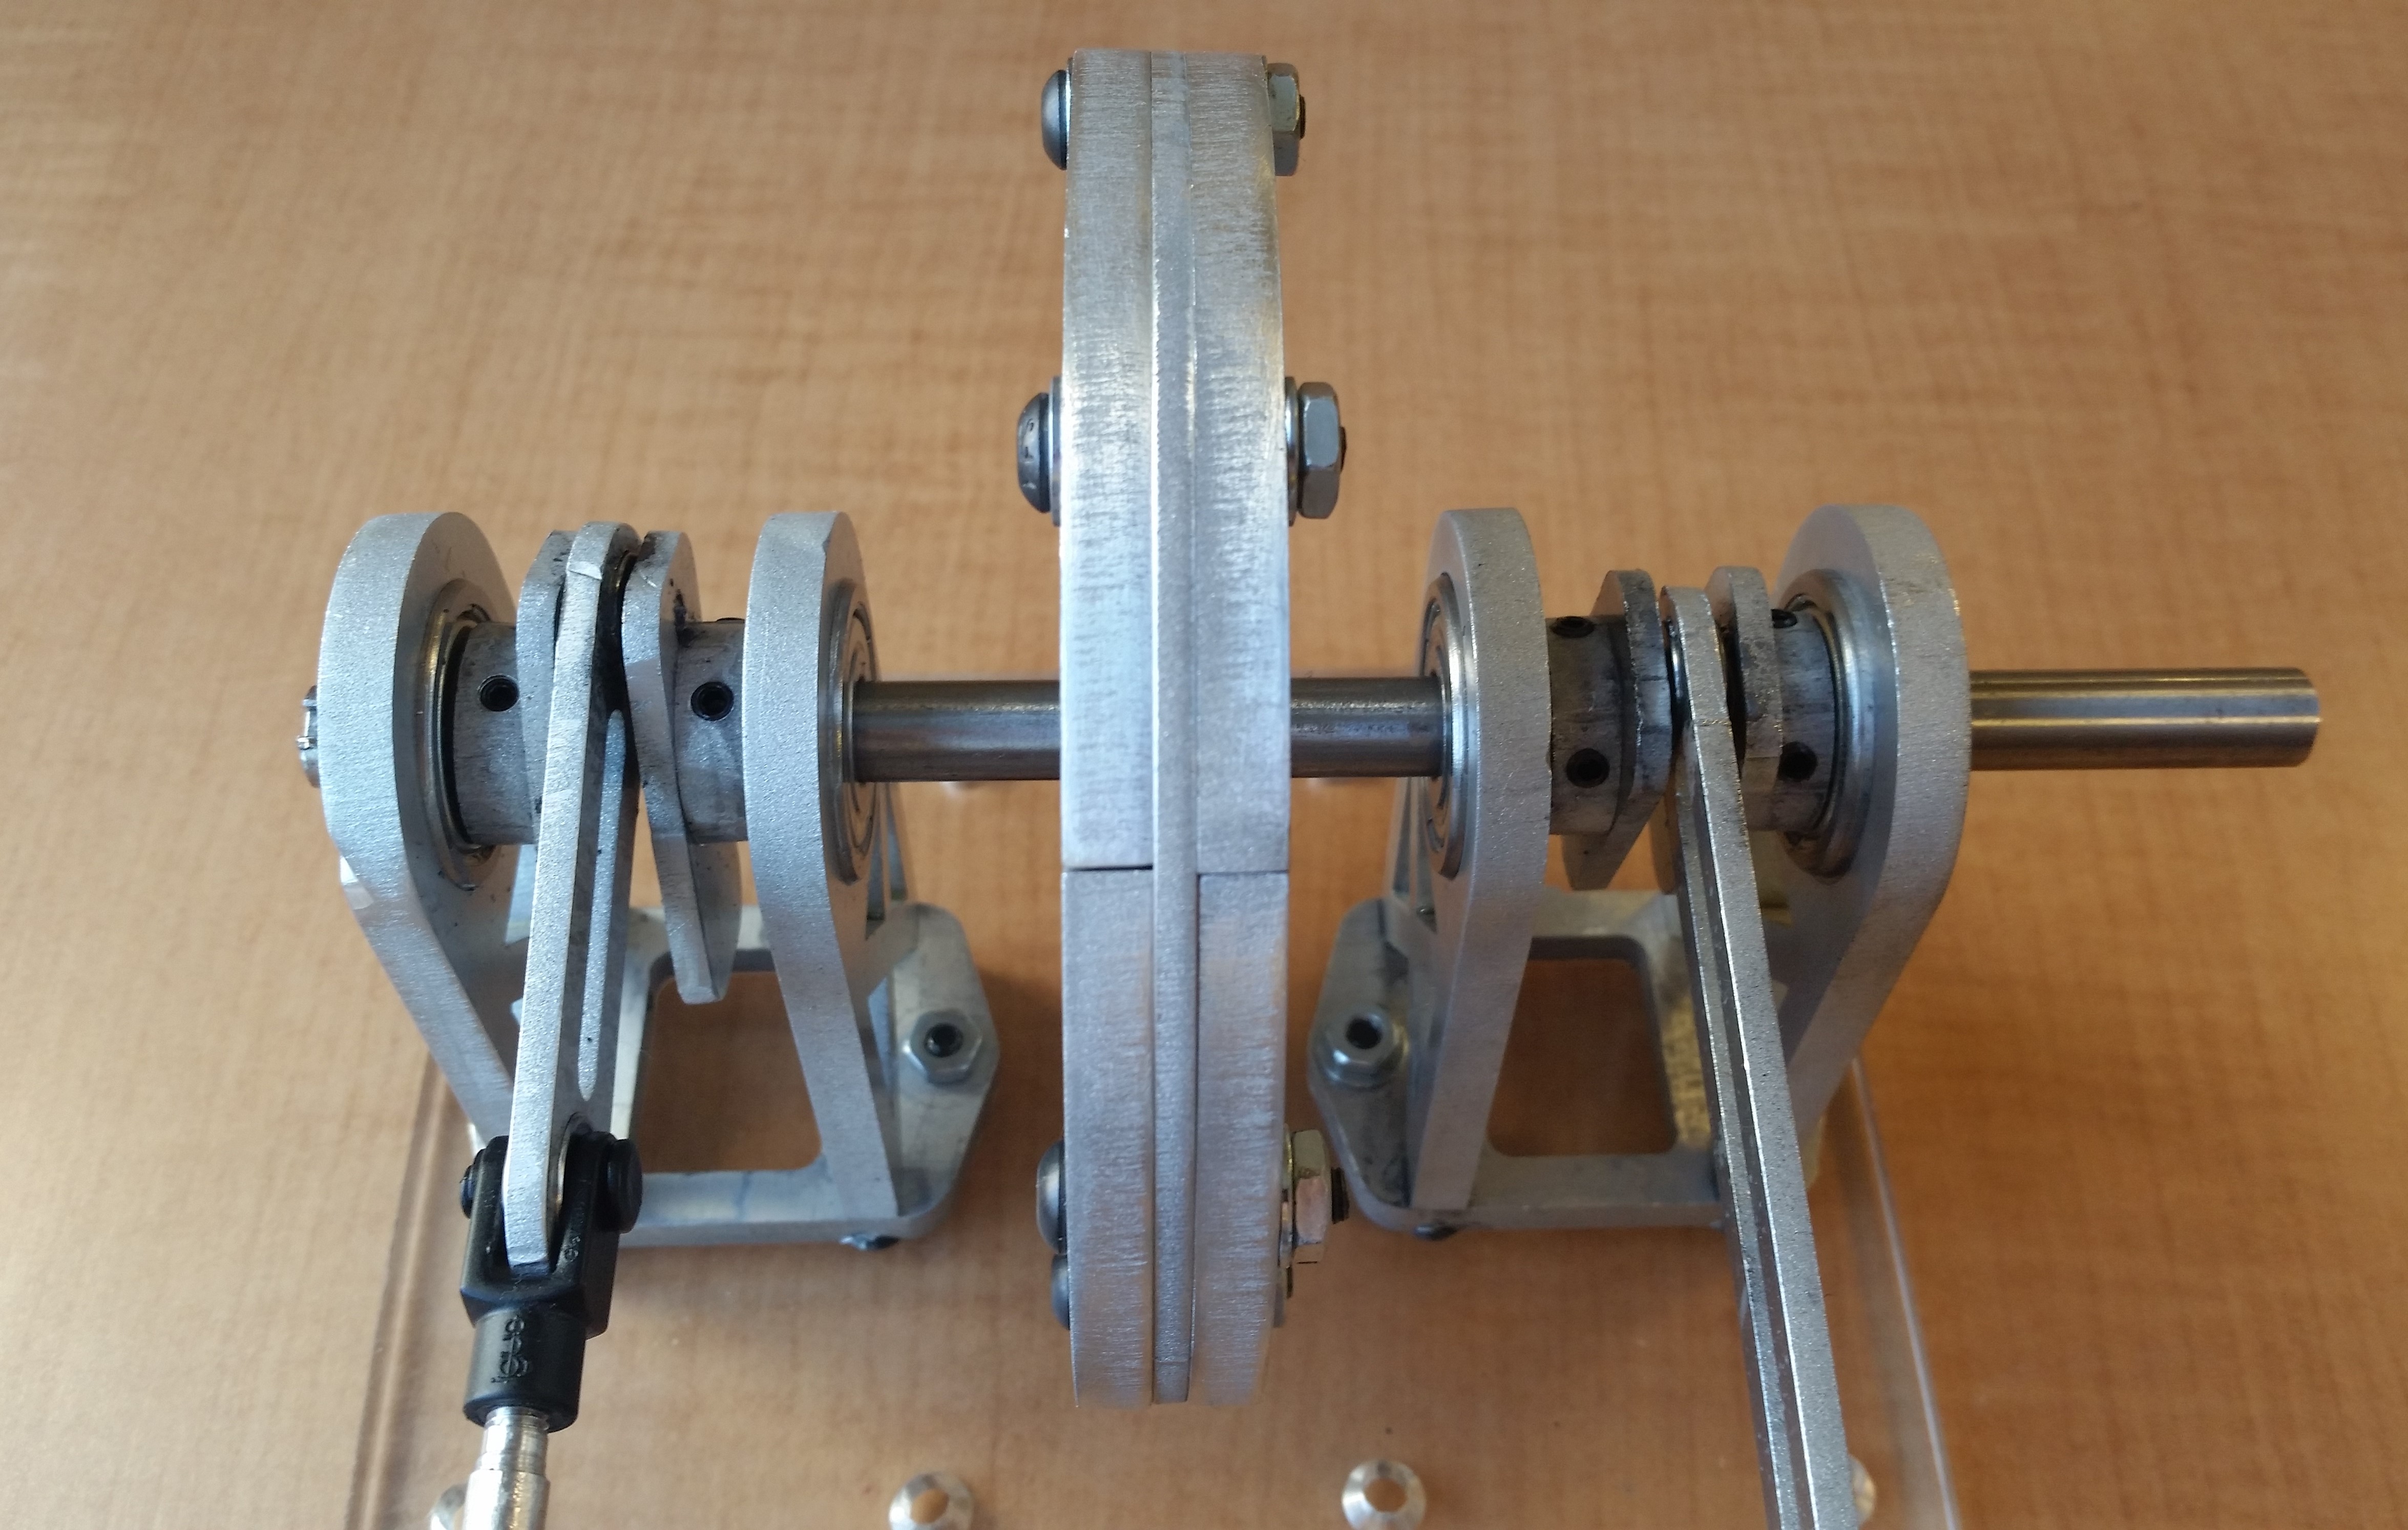
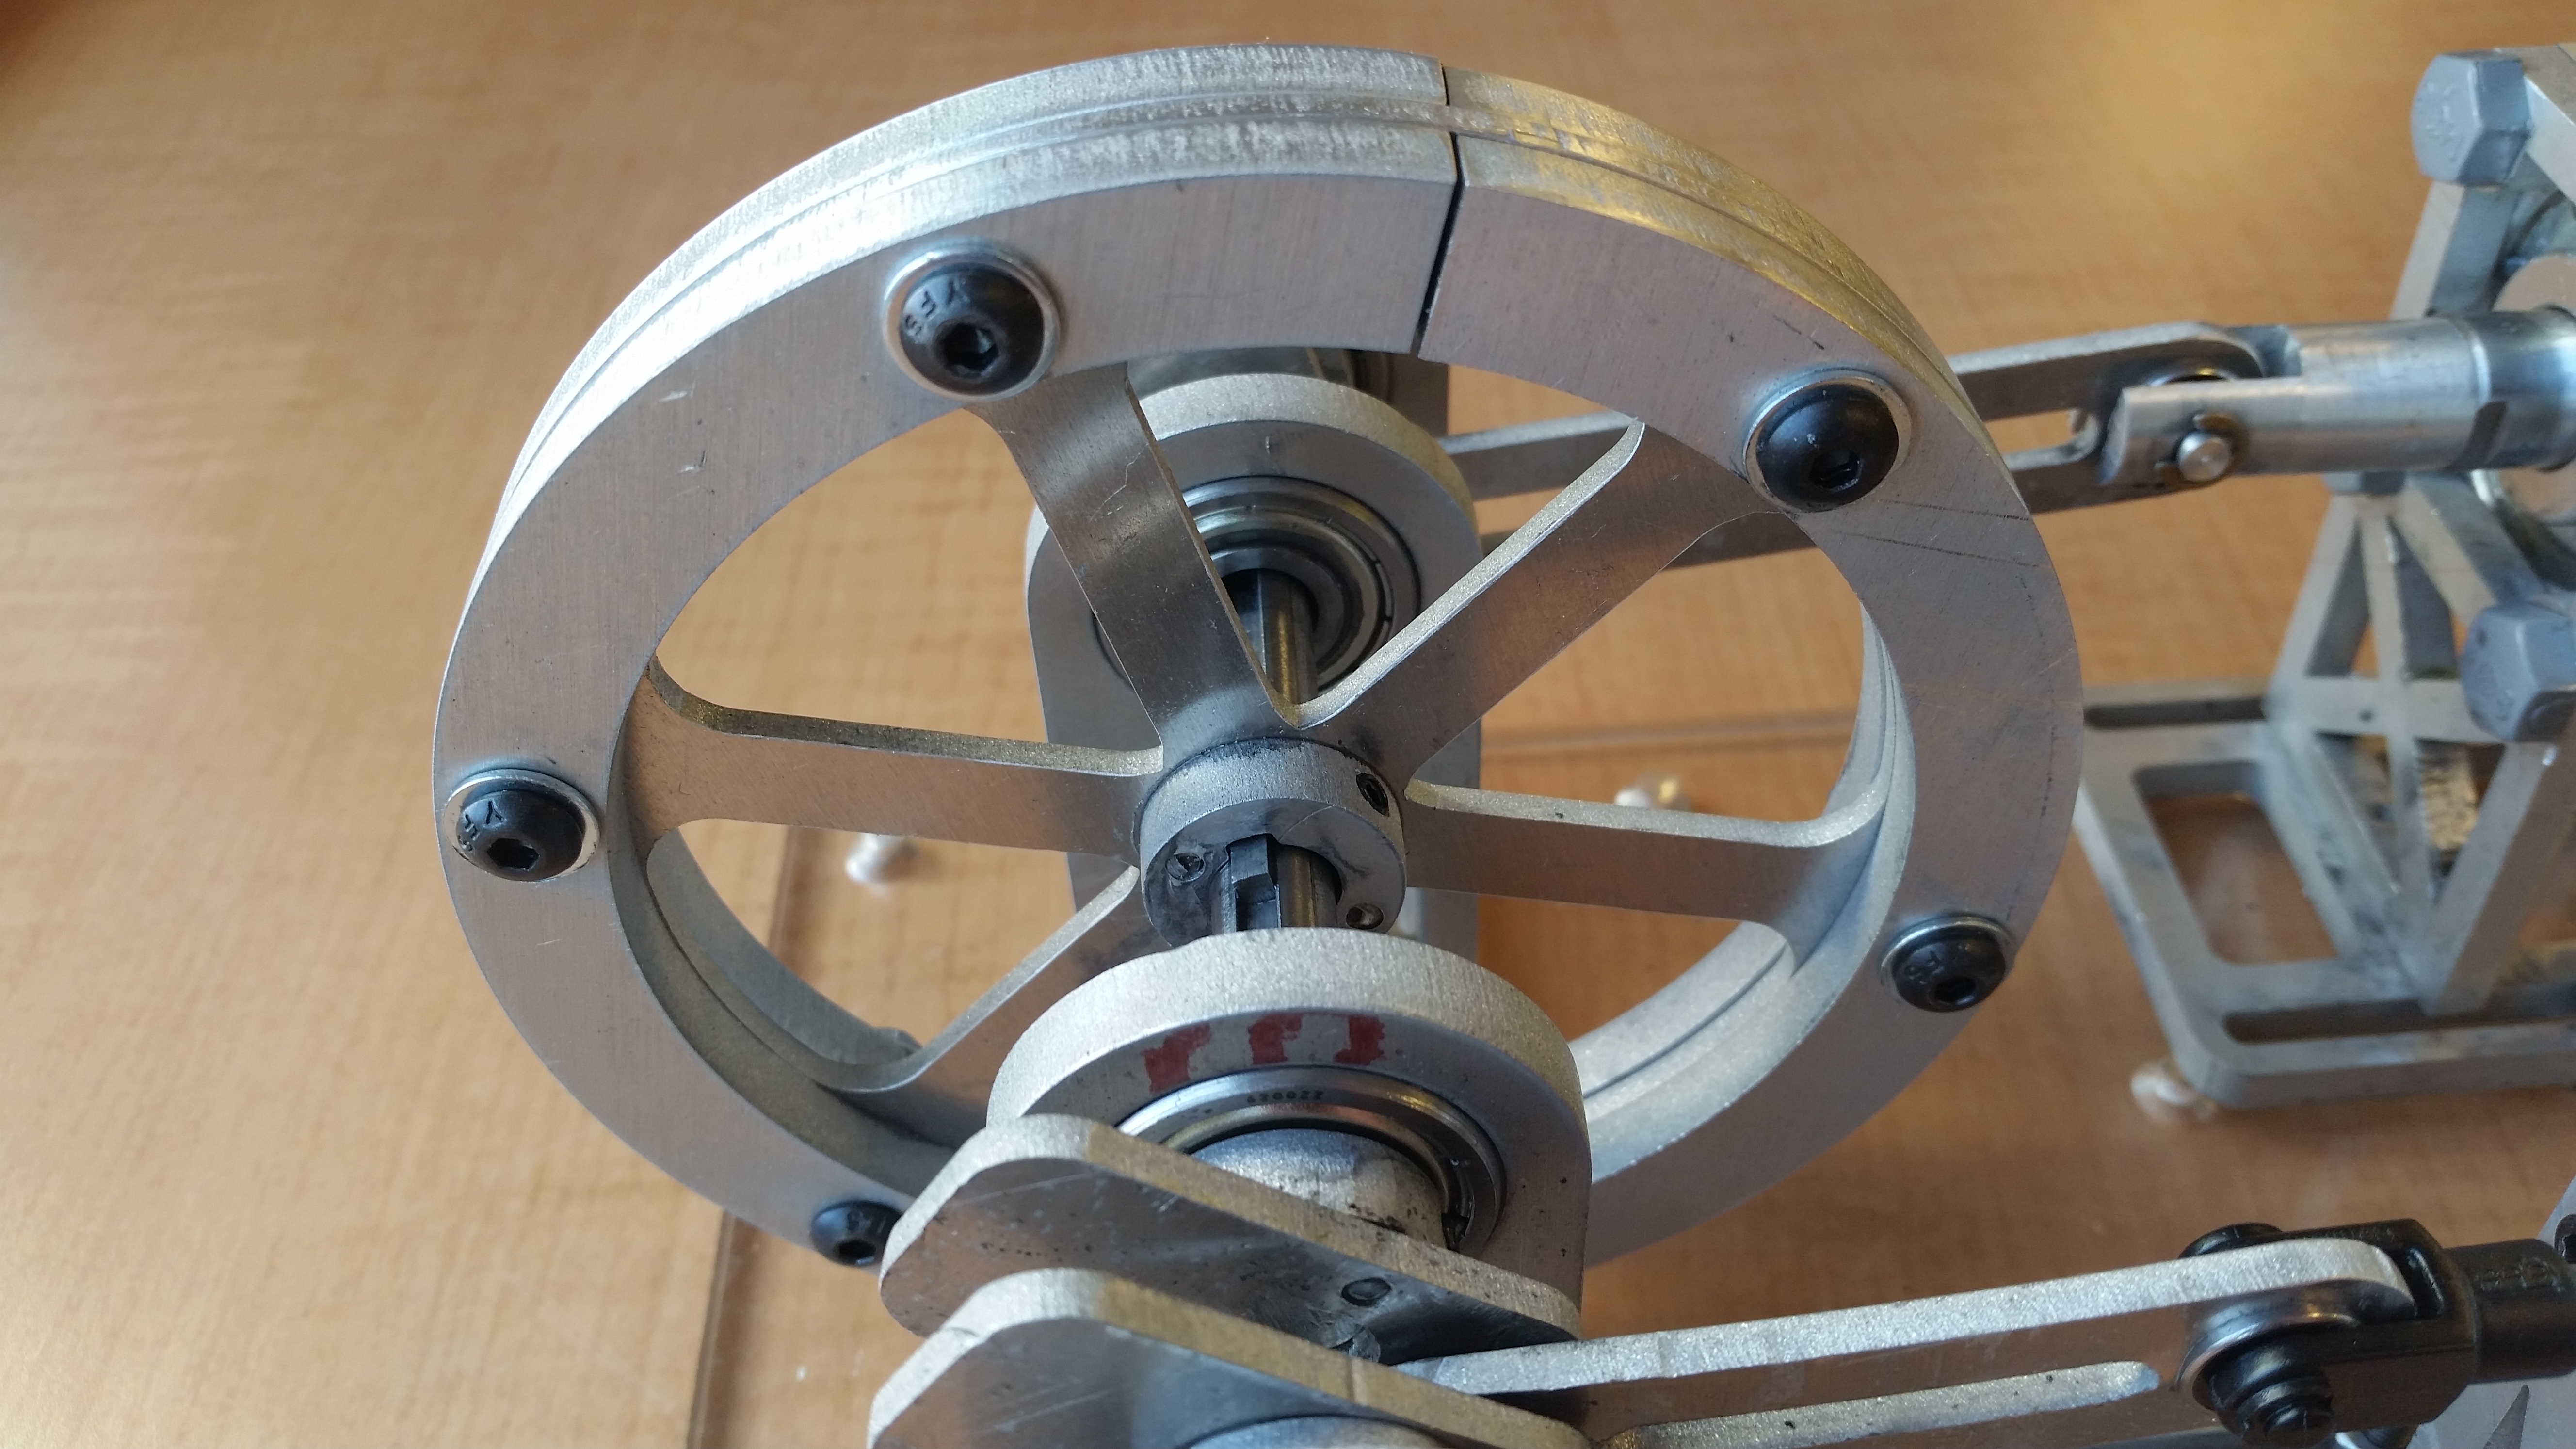
Our engine achieved a maximum angular velocity of 1660rpm, a total weight of 1.615kg, and an rpm-weight ratio of just 1028rpm/kg (the highest in the class). To maximize our engine's rpm-weight ratio, my team and I minimized unnecessary material usage in our design and decided to use four adjustable slotted brackets to mount our engine's cylinders to the provided mounting plate, eliminating the need for a large mounting plate of our own. Our unique flywheel design with interchangeable semicircular aluminum plates enabled us to optimize our flywheel's moment of inertia simply by swapping out plates of different thicknesses. Other design features, such as using small bearings in our connecting rods to reduce friction, ensuring our crankshaft's center of mass did not move when rotated, and minimizing the weight of our connecting rod while maximizing force applied to the crank, were used to increase the overall efficiency of our engine.
My Contributions
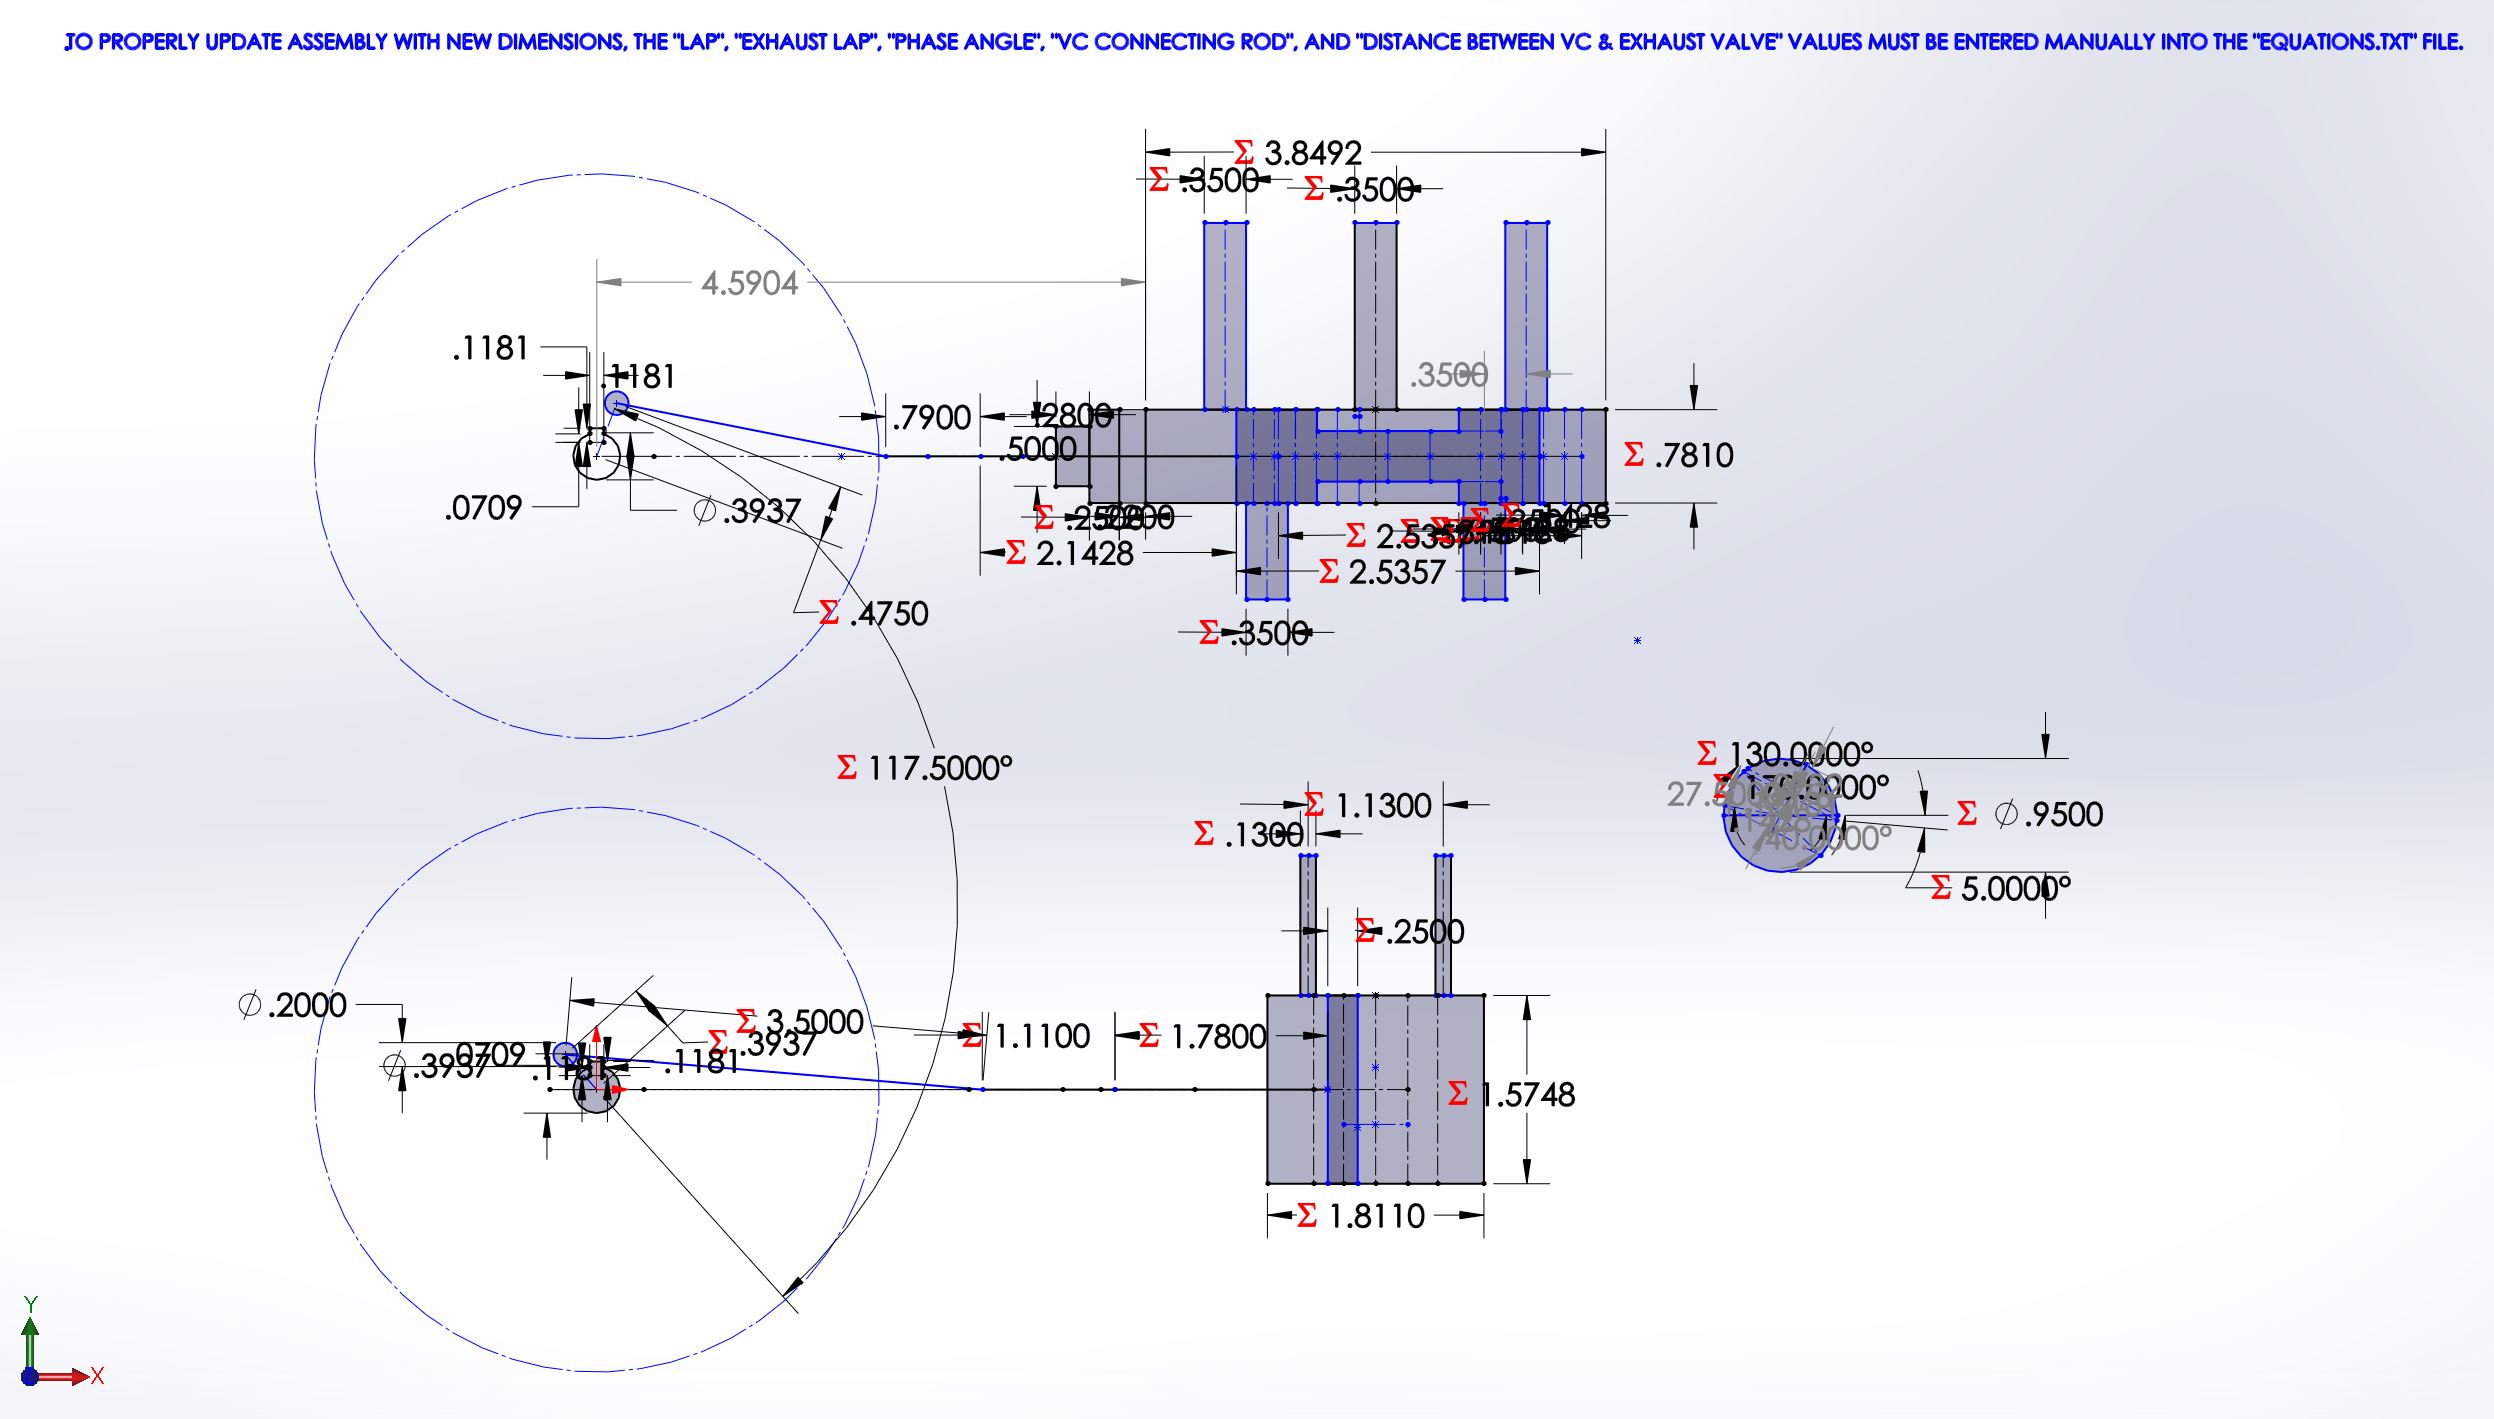
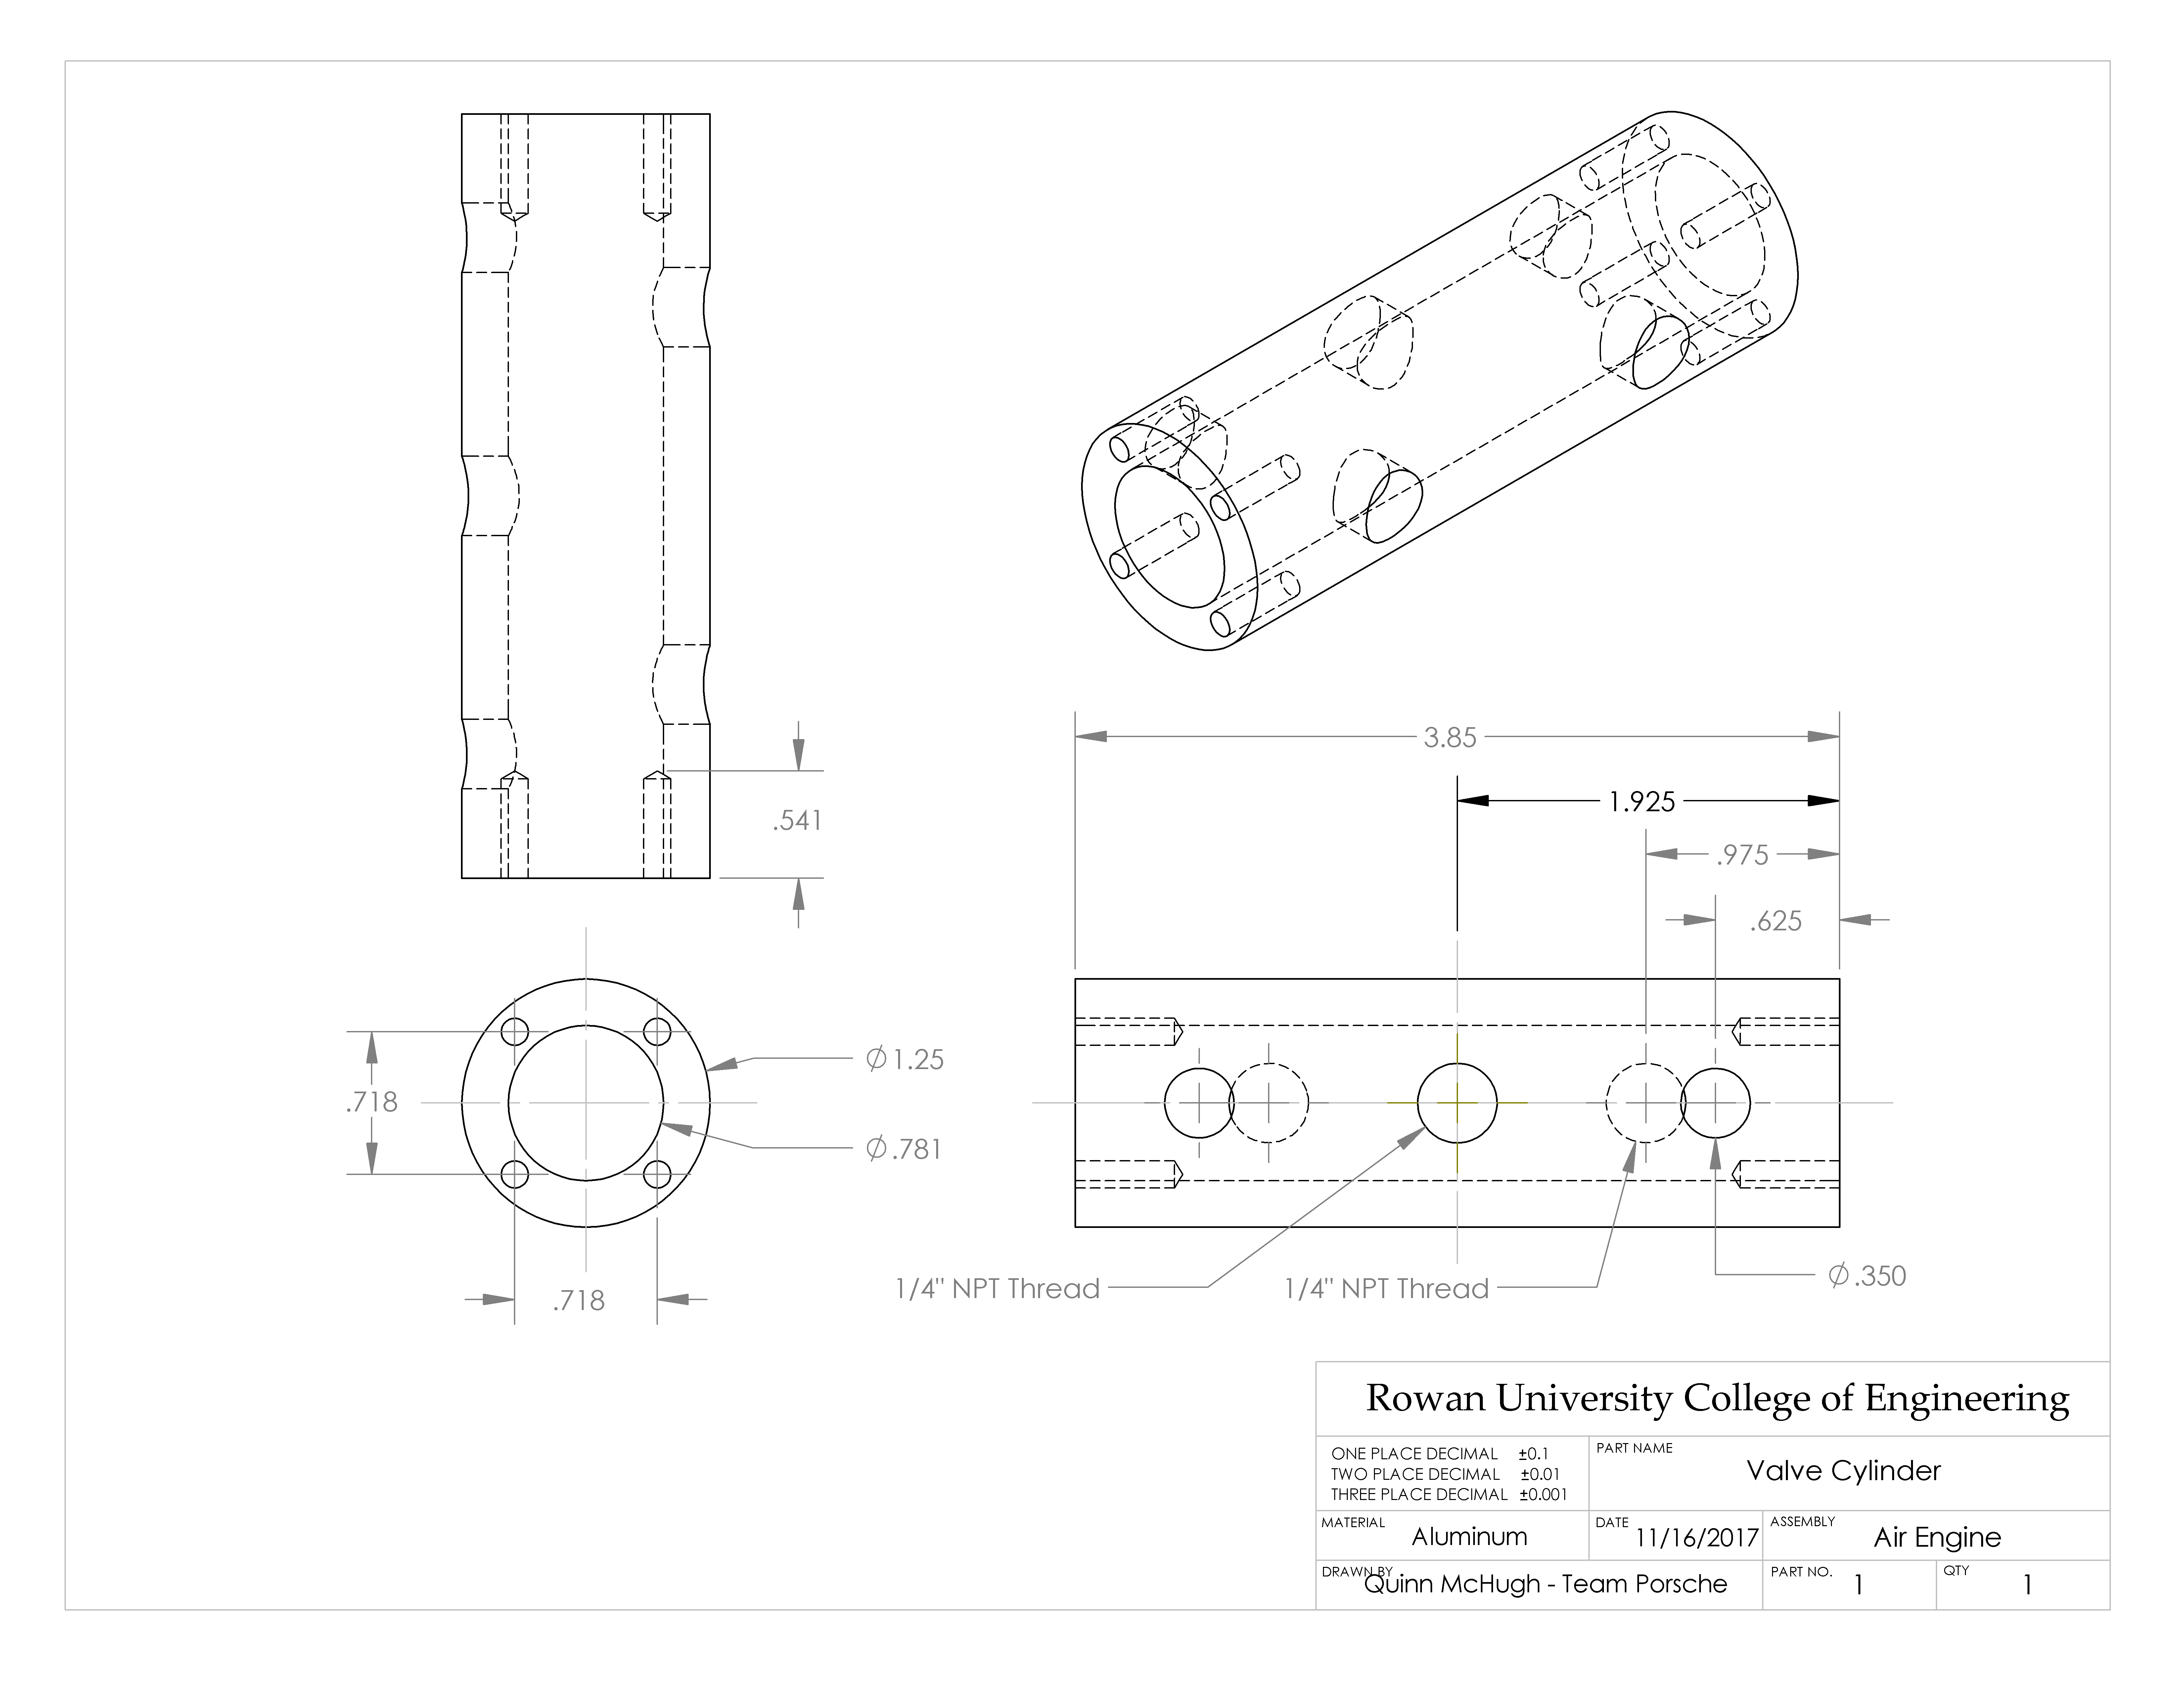
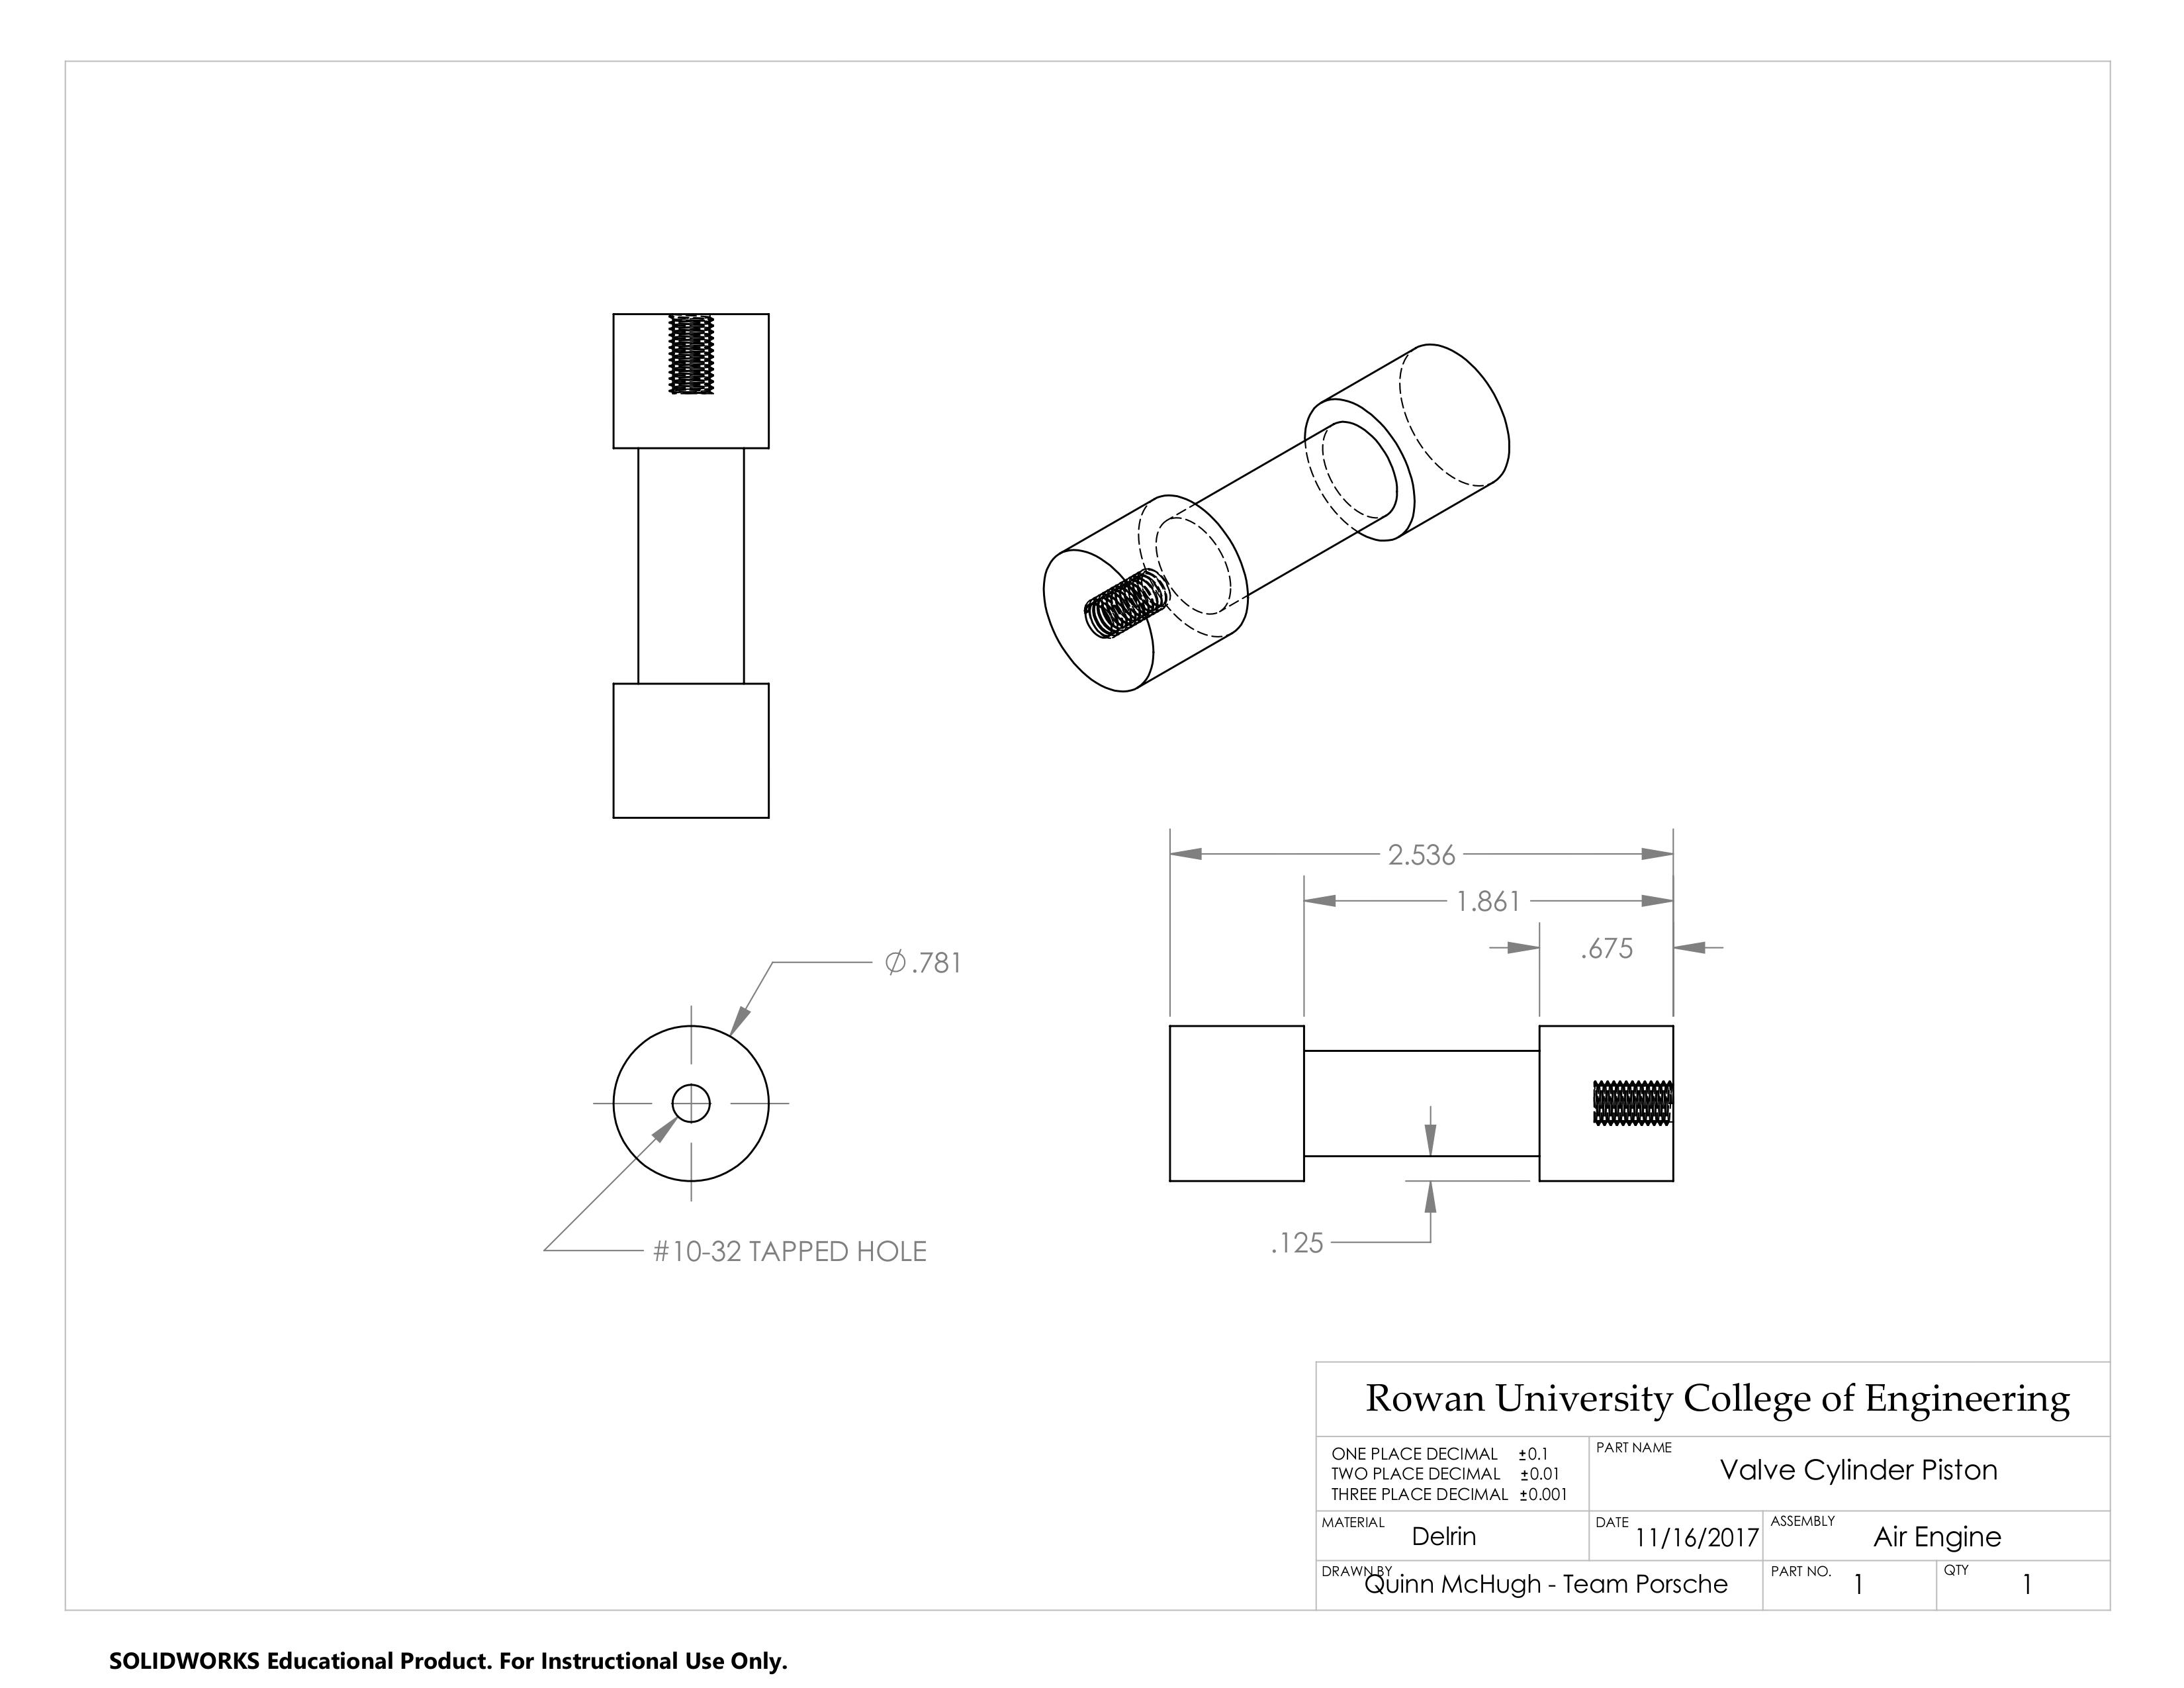
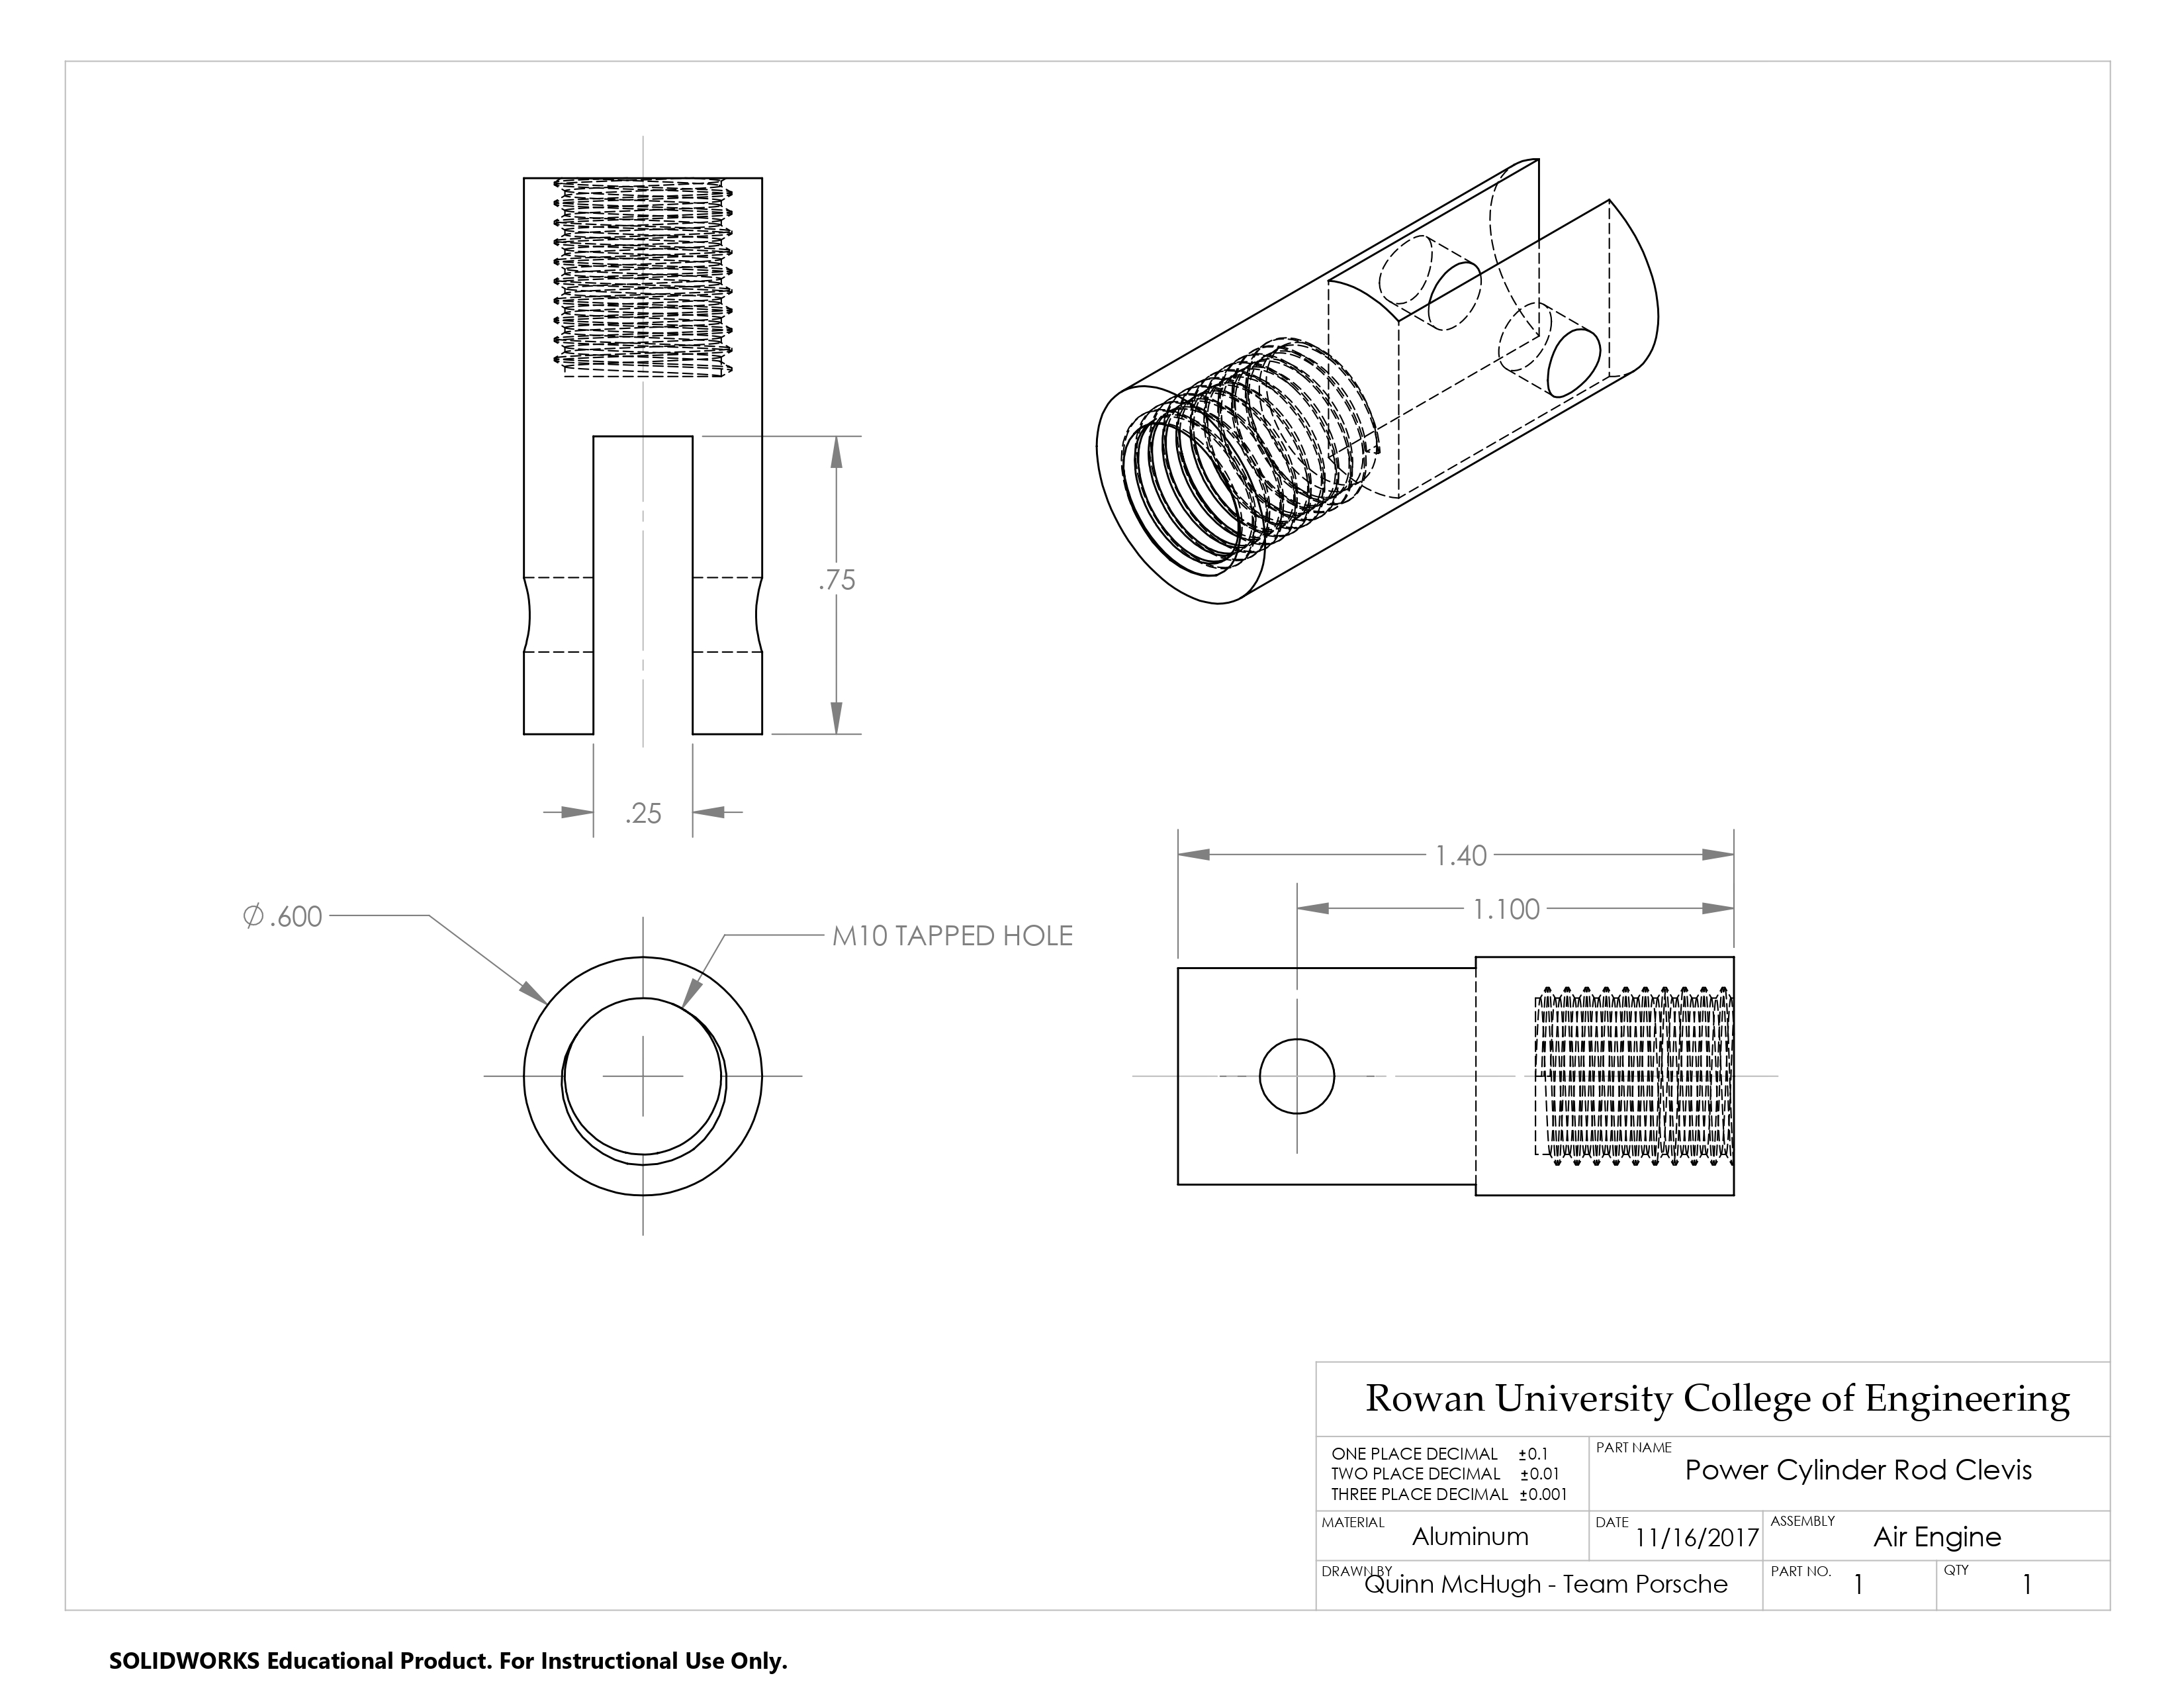
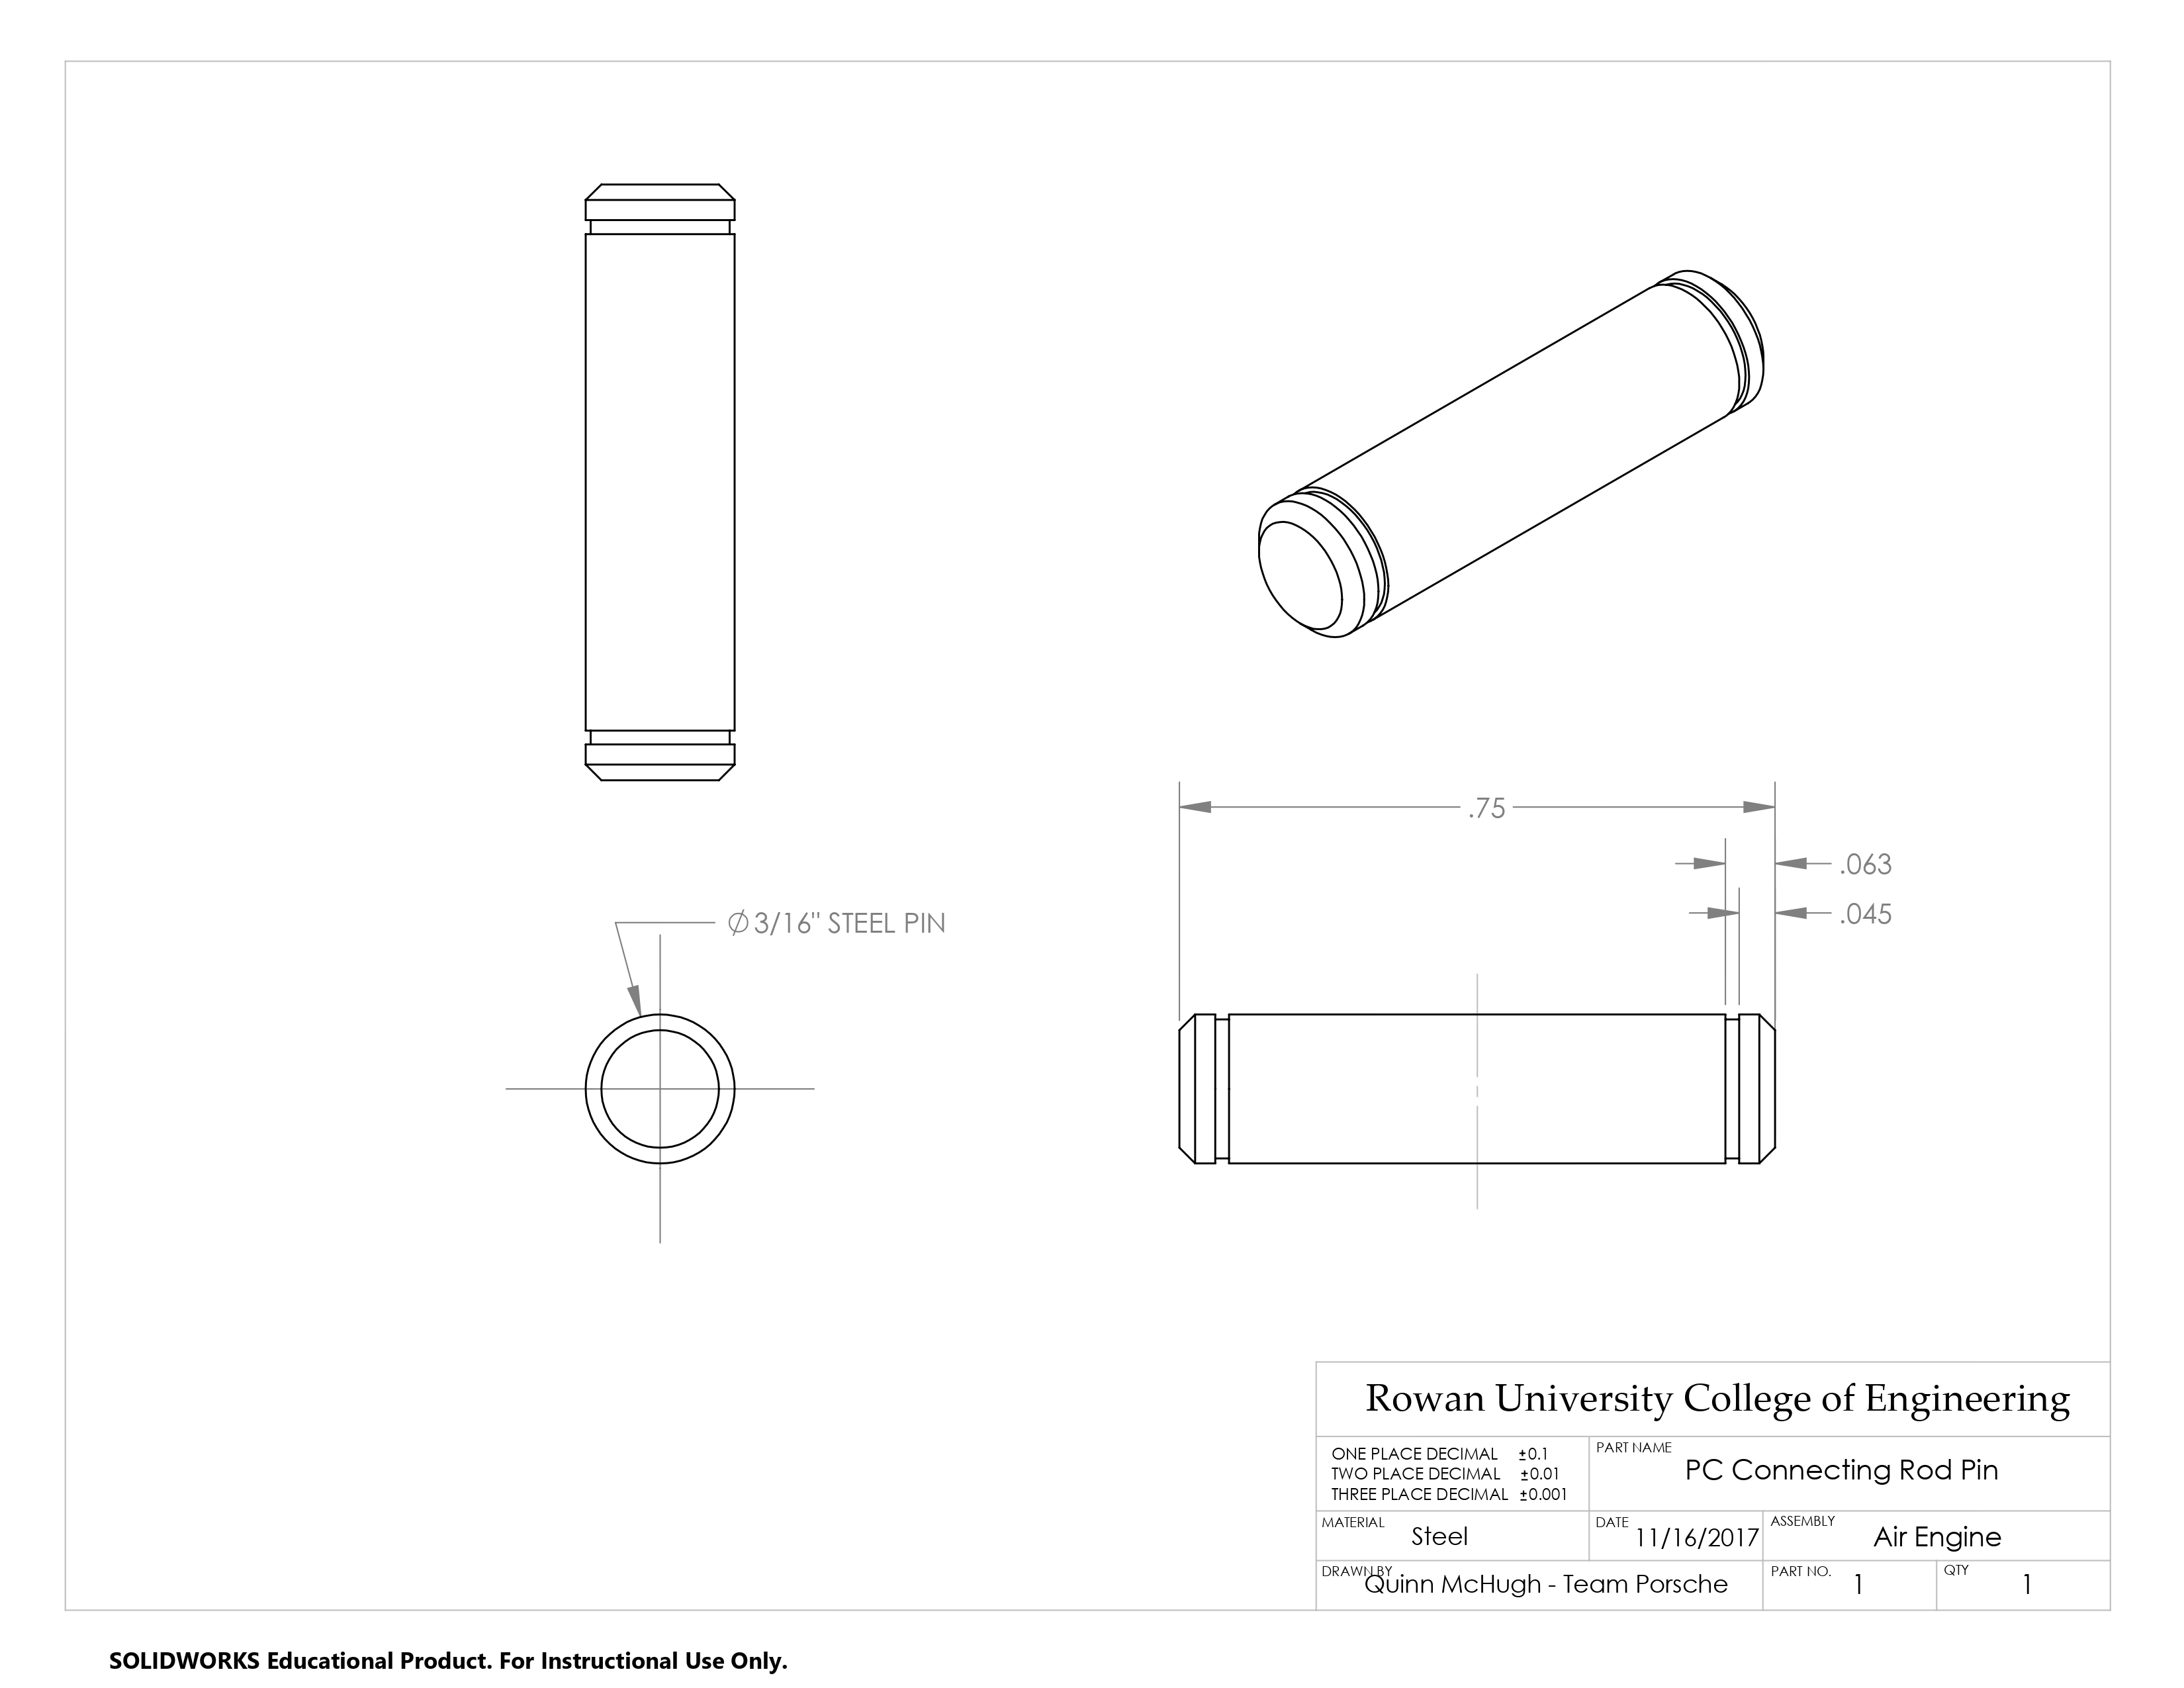
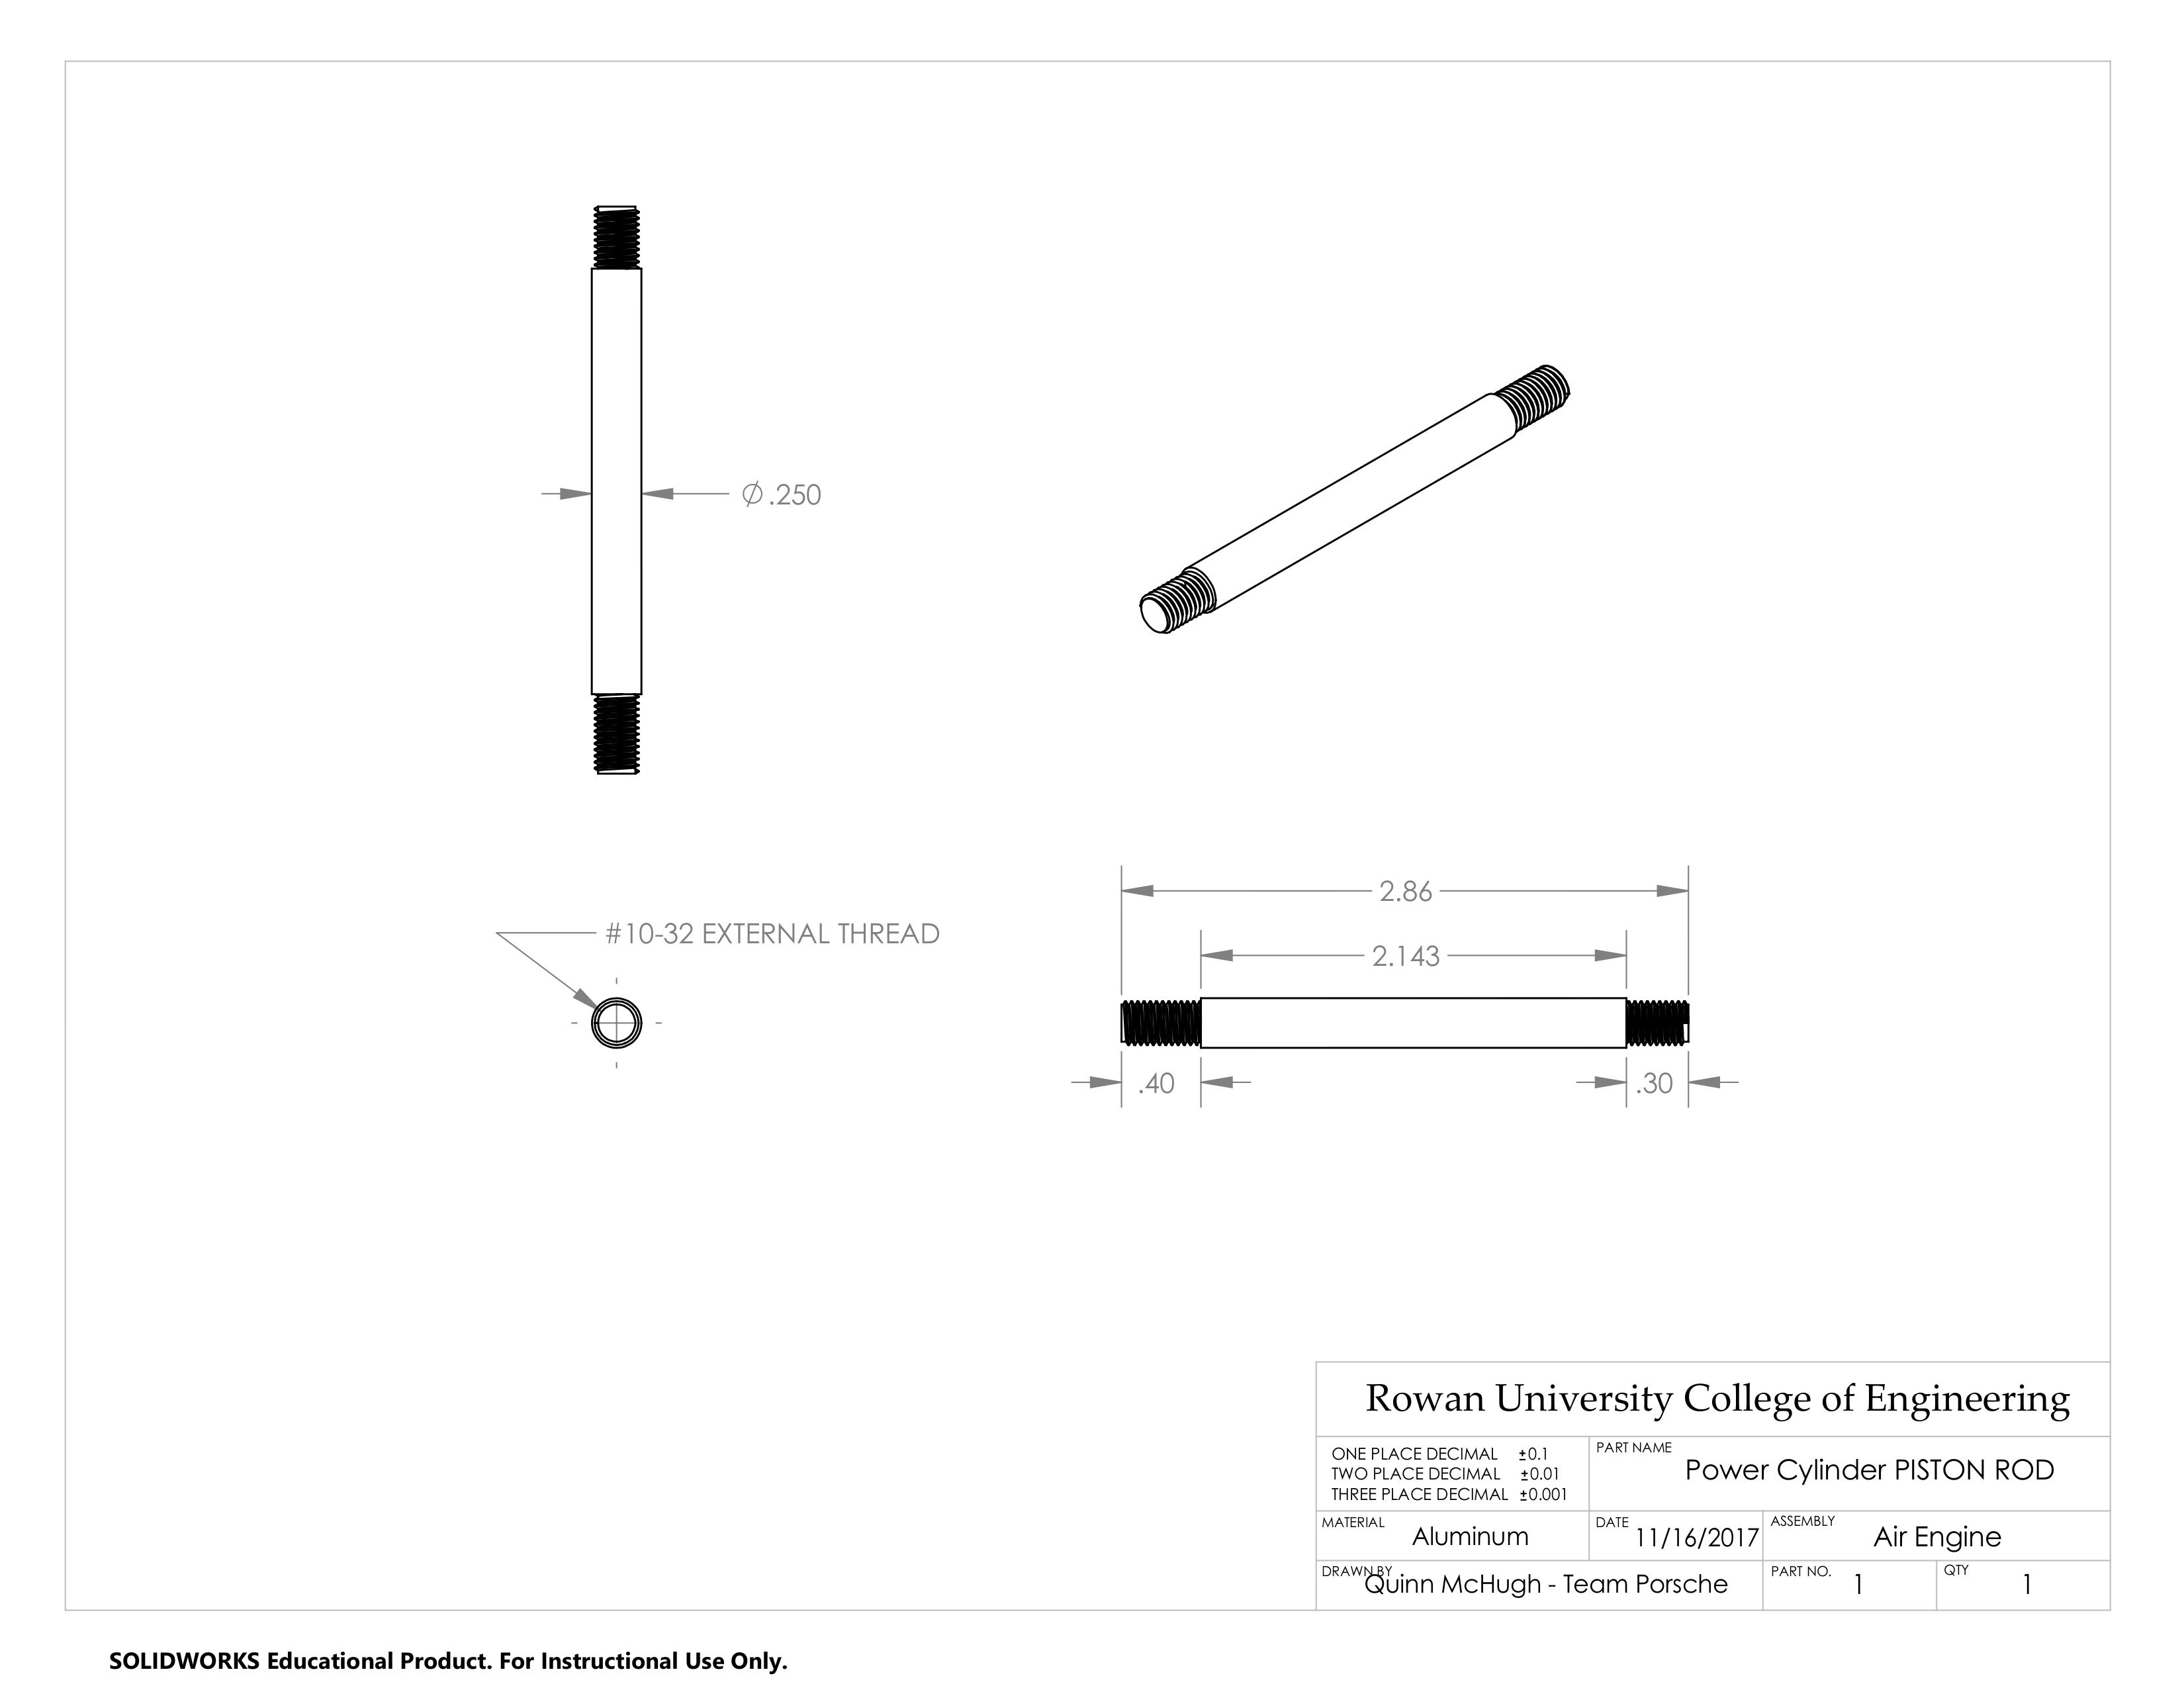
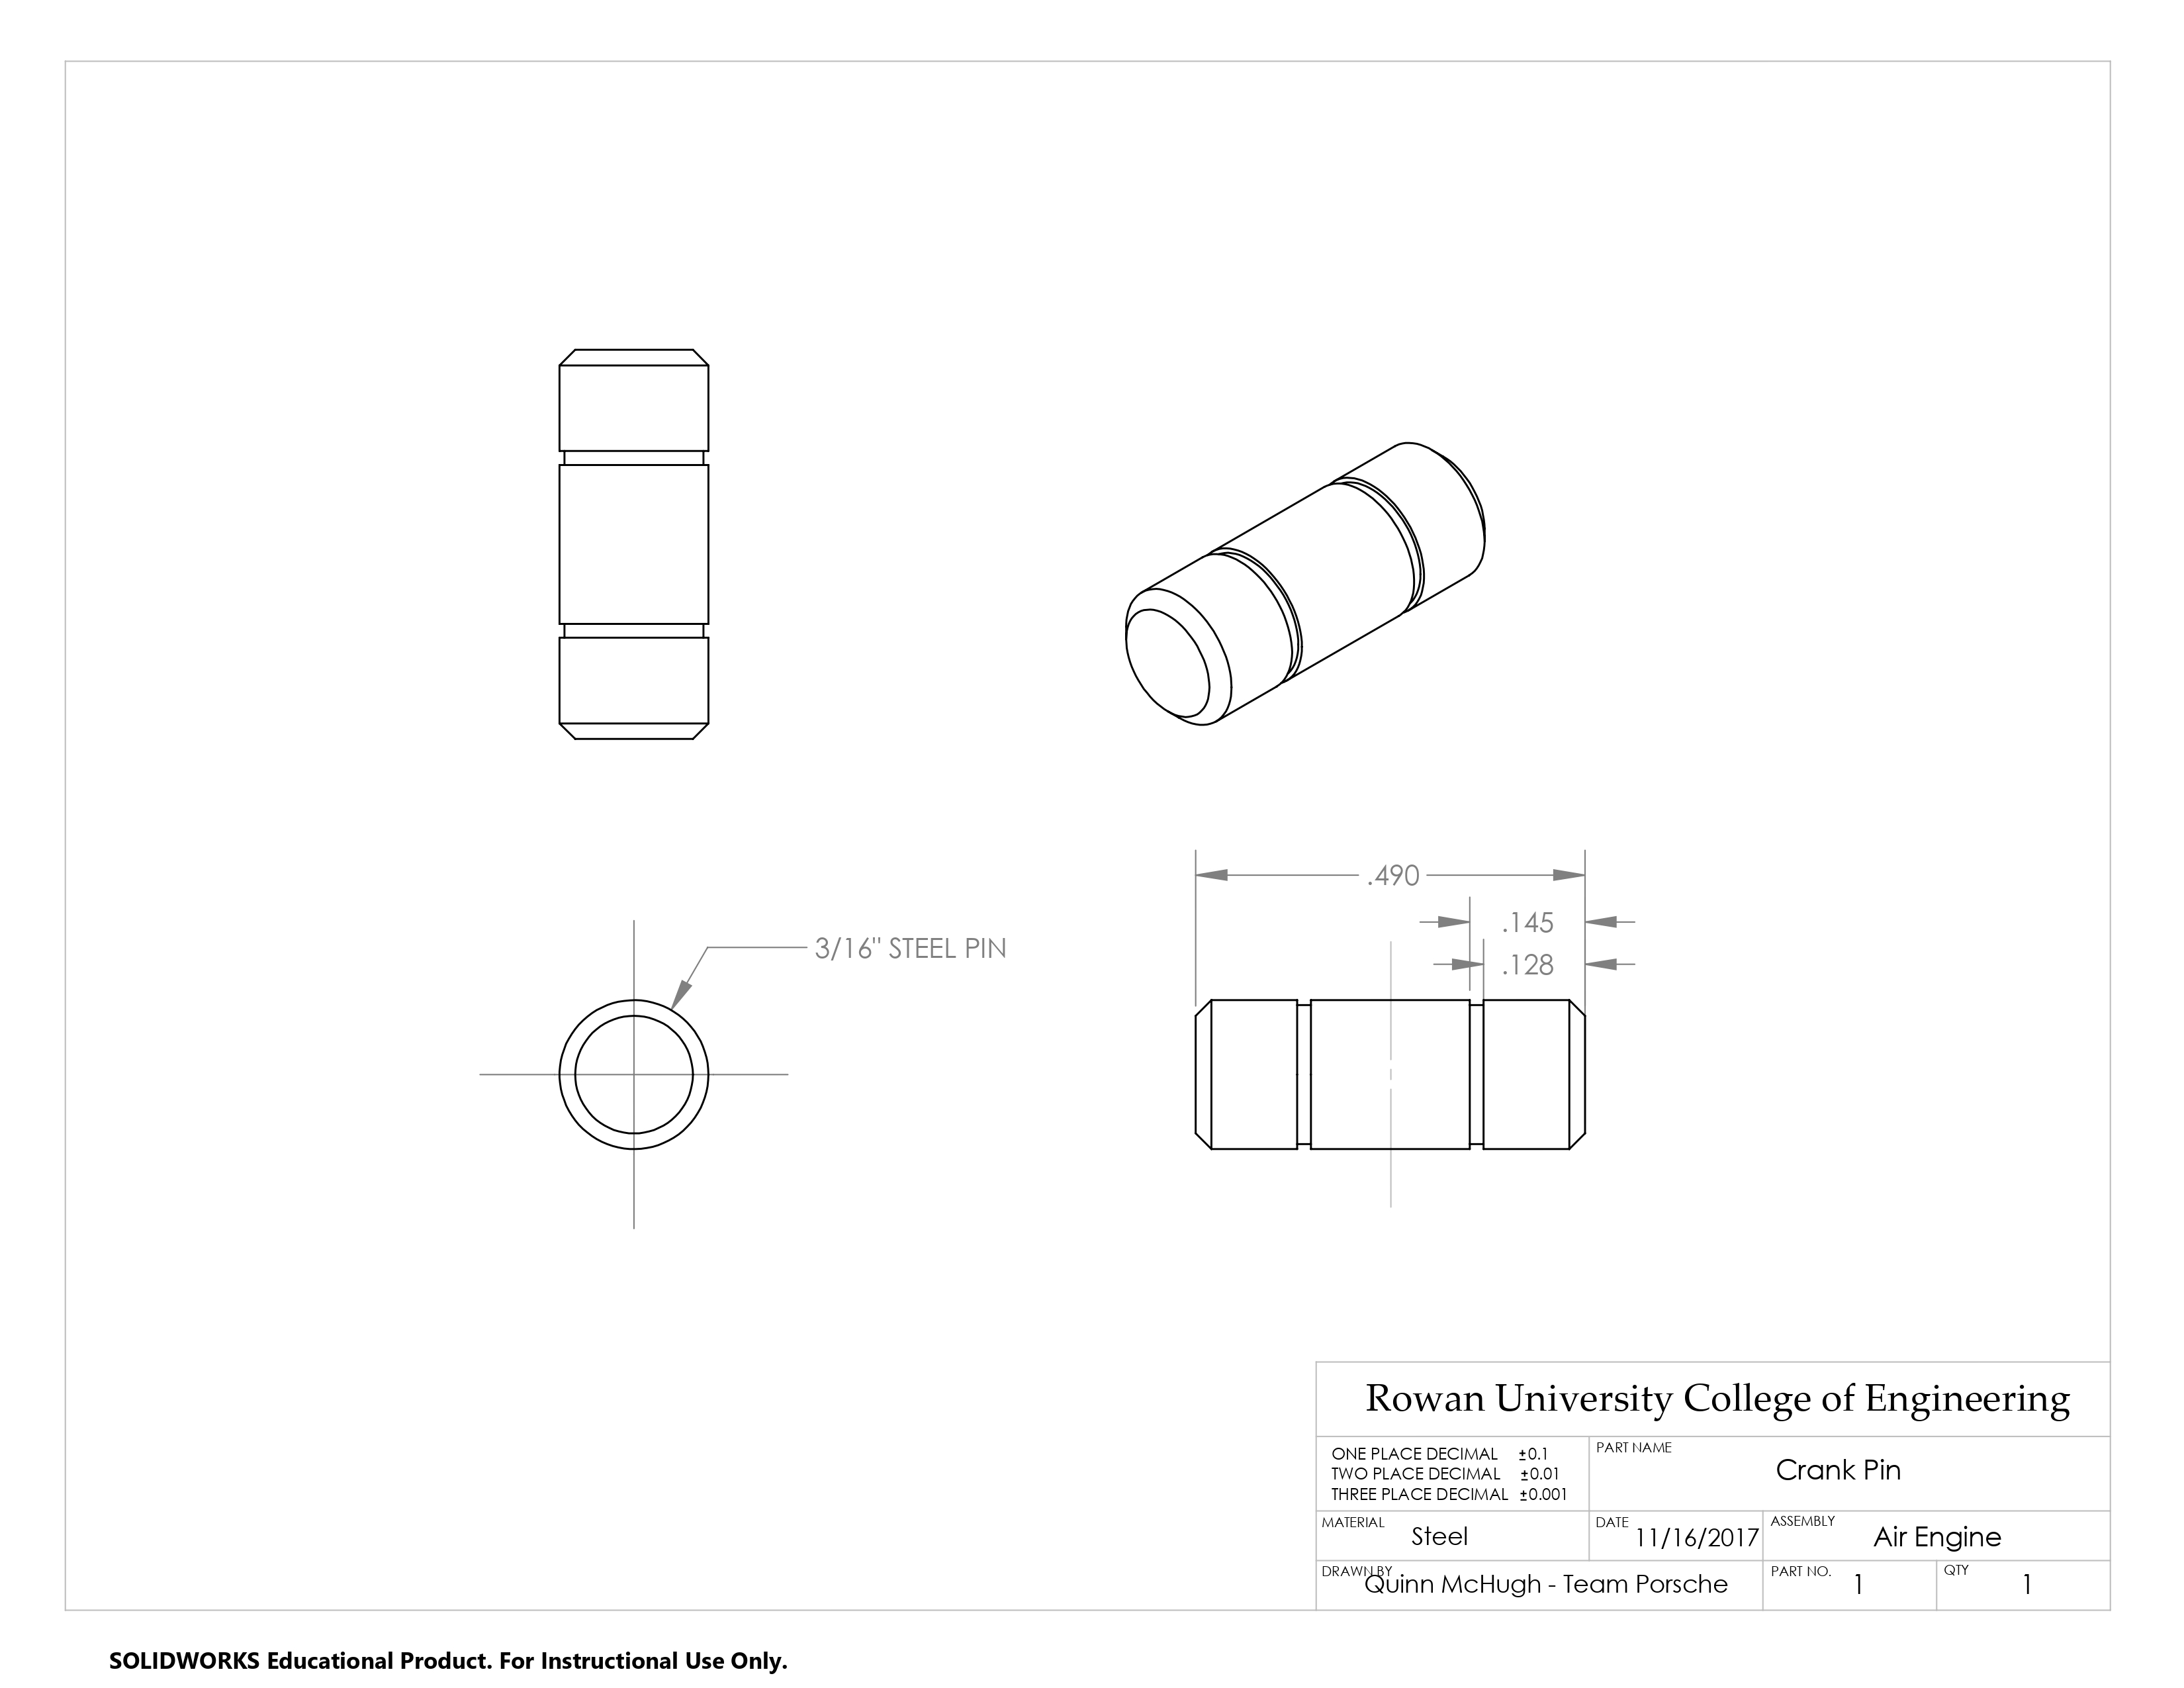
During the design phase of this project, a large portion of the technical research regarding air engine design and the design of our engine assembly in SolidWorks was done by myself in collaboration with the rest of my team. To significantly reduce the amount of time required to optimize our engine's valve timing, I also created an equation-driven graphical linkage synthesis for both the power and valve cylinder slider-crank mechanisms in SolidWorks that could graphically solve for the valve cylinder stroke as well as the exhaust and exhaust lap dimensions of the valve cylinder piston. This enabled us to modify the cylinder and linkage dimensions of our design and immediately see the effect that these changes had on the timing of our engine. After we were satisfied with our engine design, I created drawings for each of our the custom engine parts for machining purposes and the engine was fabricated by myself and the rest of my team using mills, lathes, and a waterjet cutting machine.
Challenges
The most difficult aspect of this project would have to be the fabrication phase. Due to the limited number of machines available to us, fabrication and assembly of the device took considerably longer than expected. In an effort to ensure efficient use of our time, I created a spreadsheet containing all of our parts-to-be-fabricated with a list of machining processes required for each part. This spreadsheet, however, went largely unused by the majority of my team.
Improvements
Although our team was satisfied with our engine, we did identify a number of things that could be improved regarding its design:
- At higher RPMs, the seal between the piston head and body of our power cylinder was less than ideal, causing our engine to lose a significant amount of torque during operation. To resolve this additional or larger diameter o-rings could have been added to our power cylinder piston in order to improve this seal.
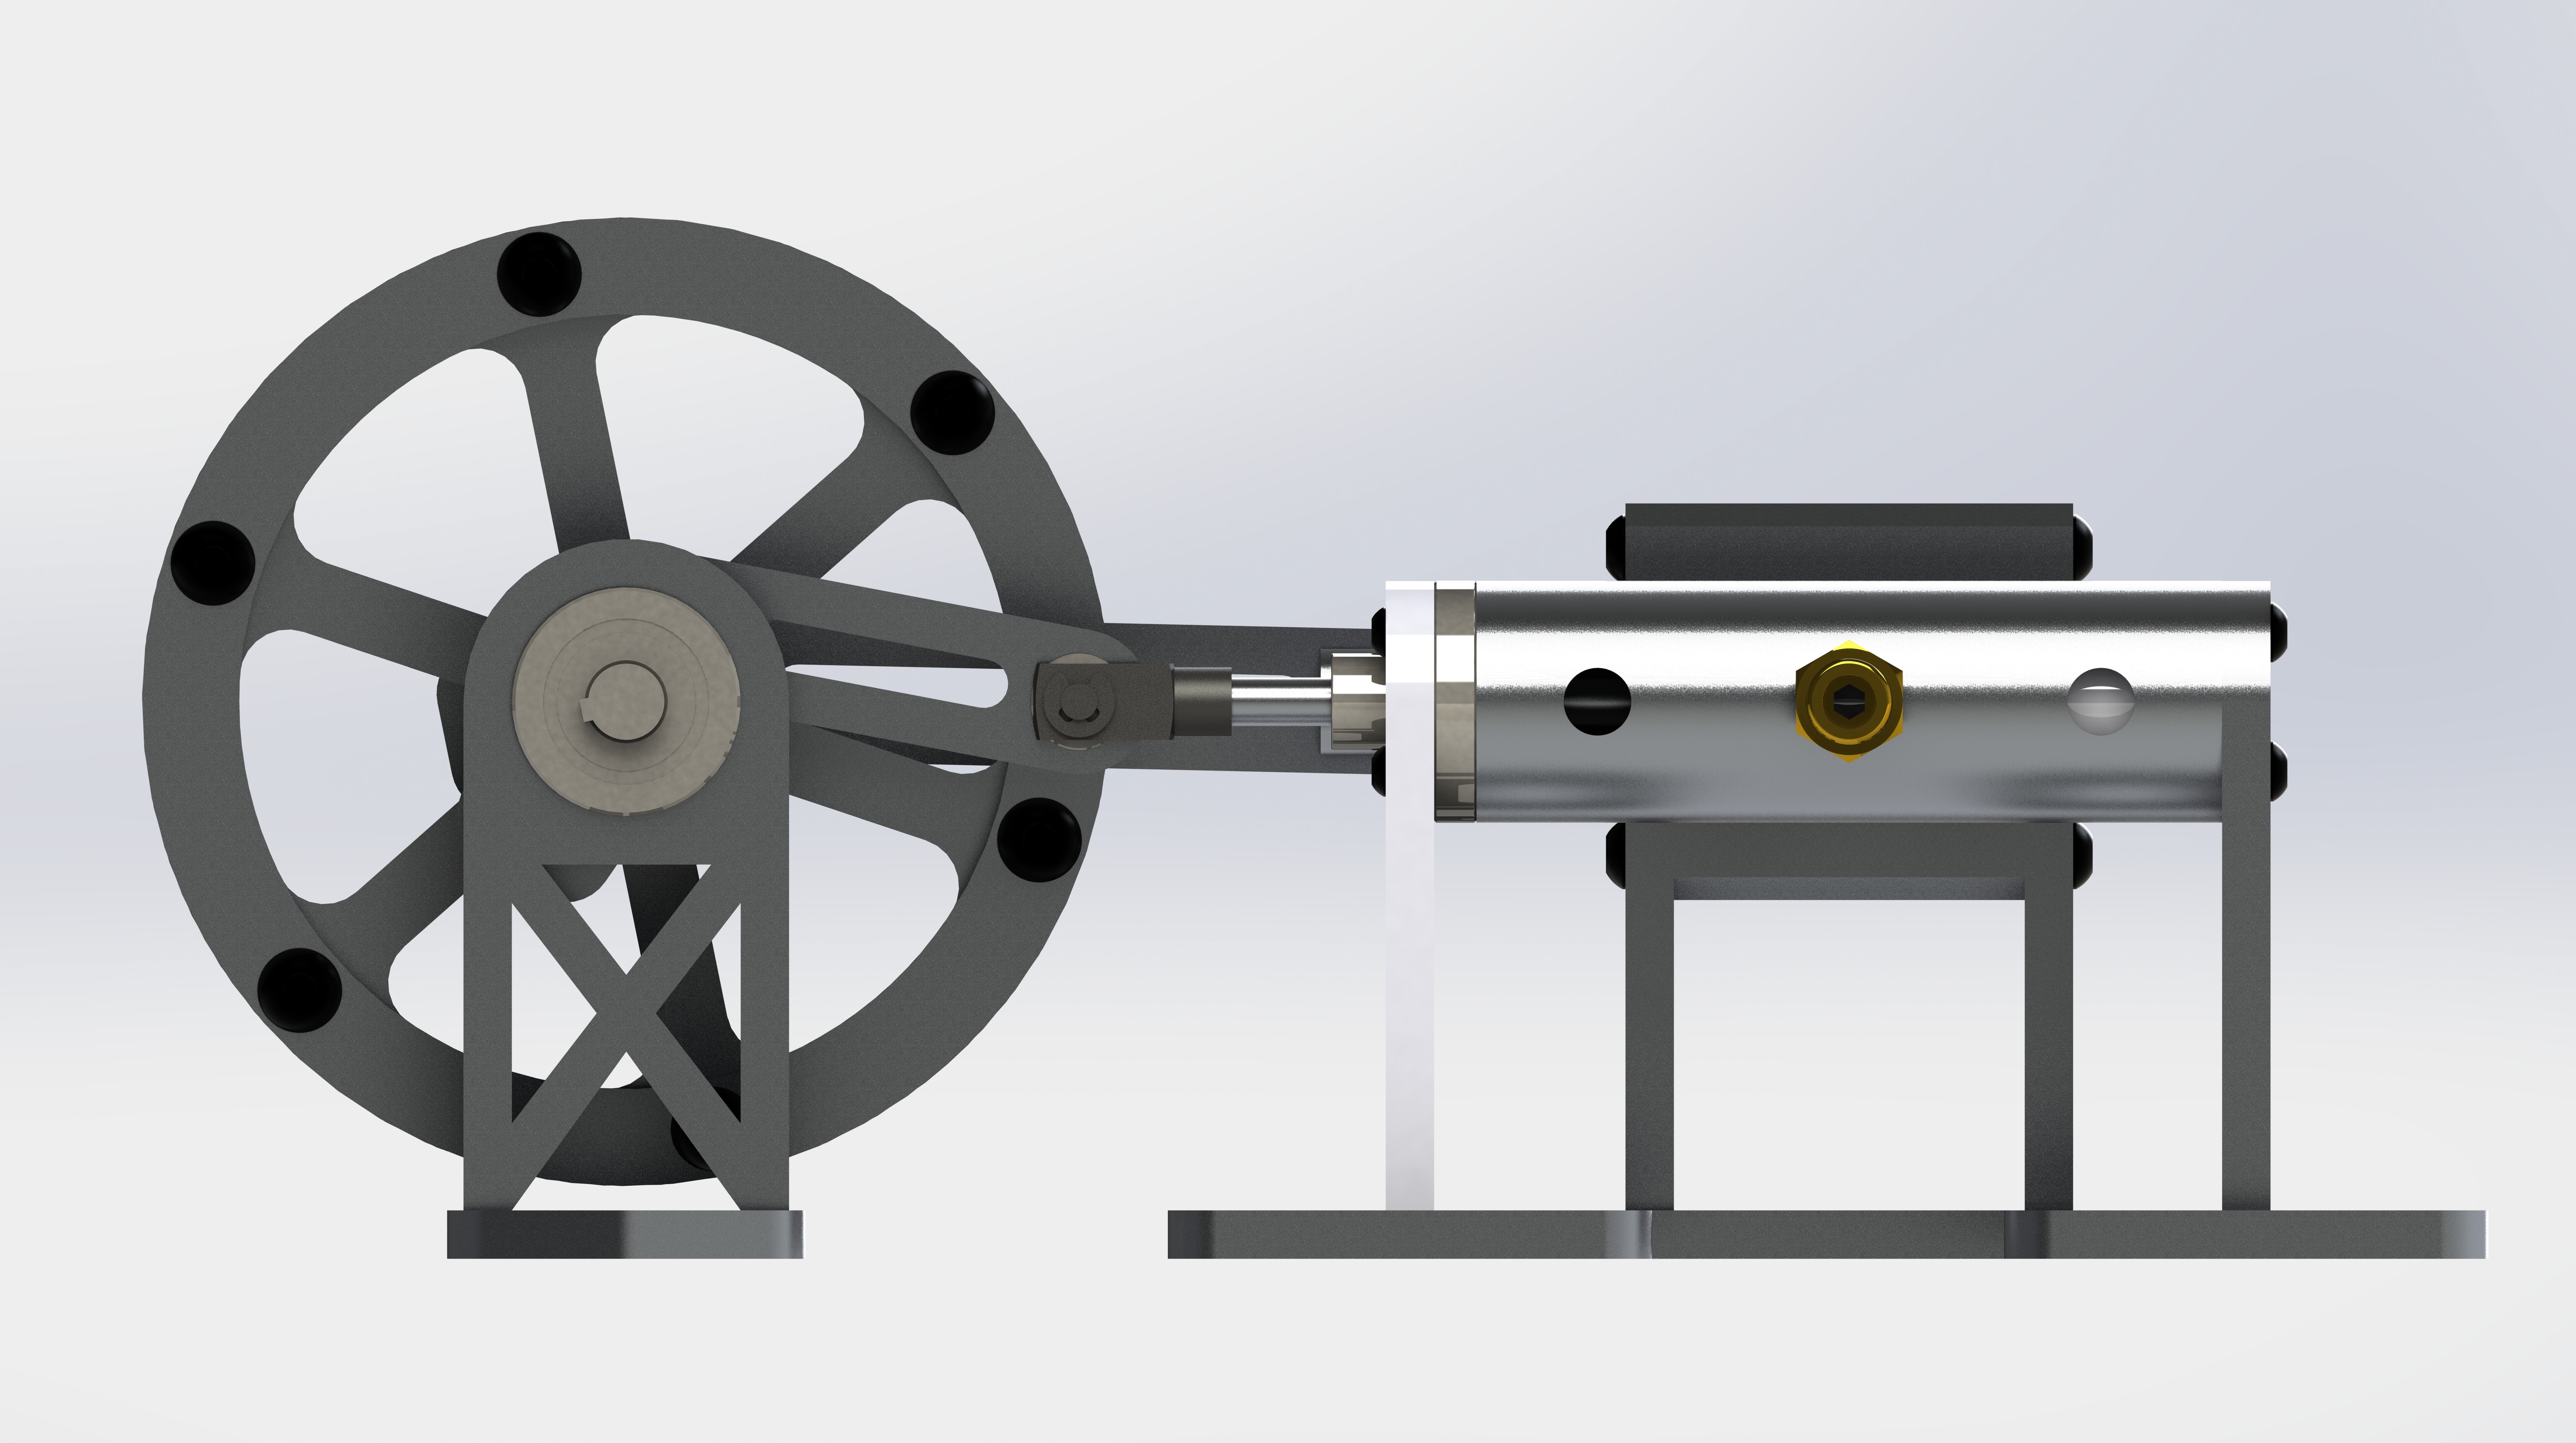
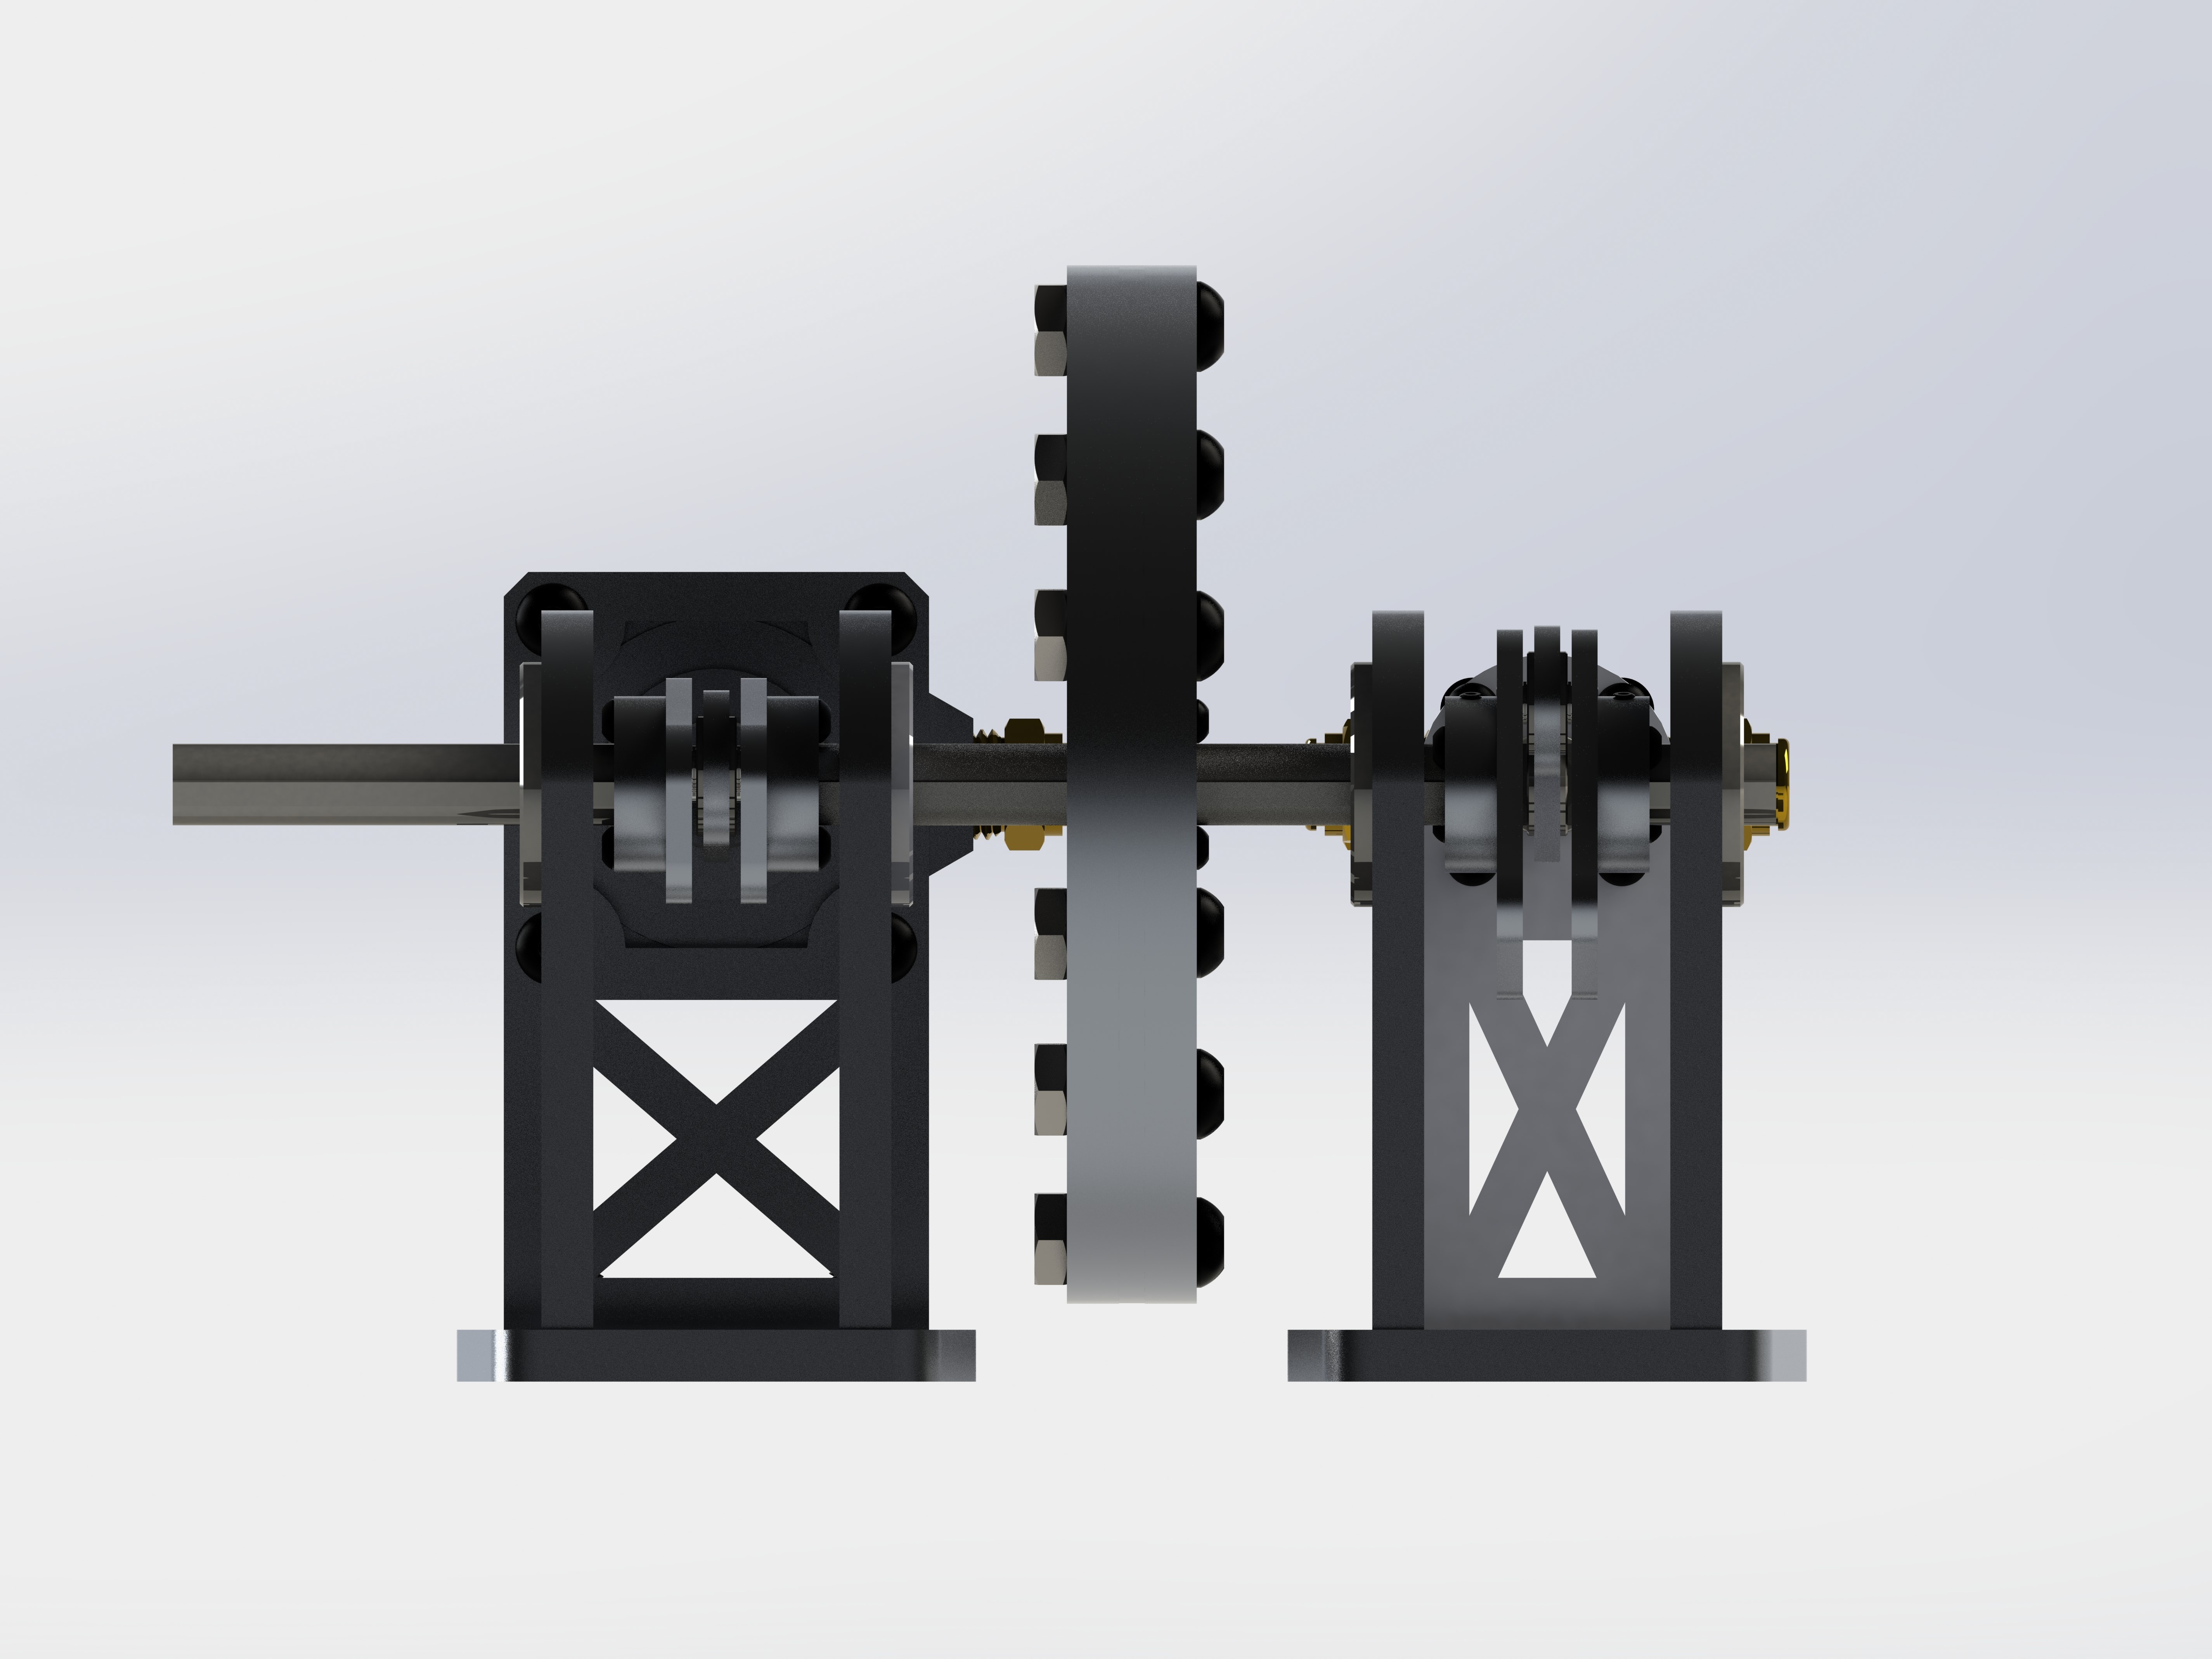
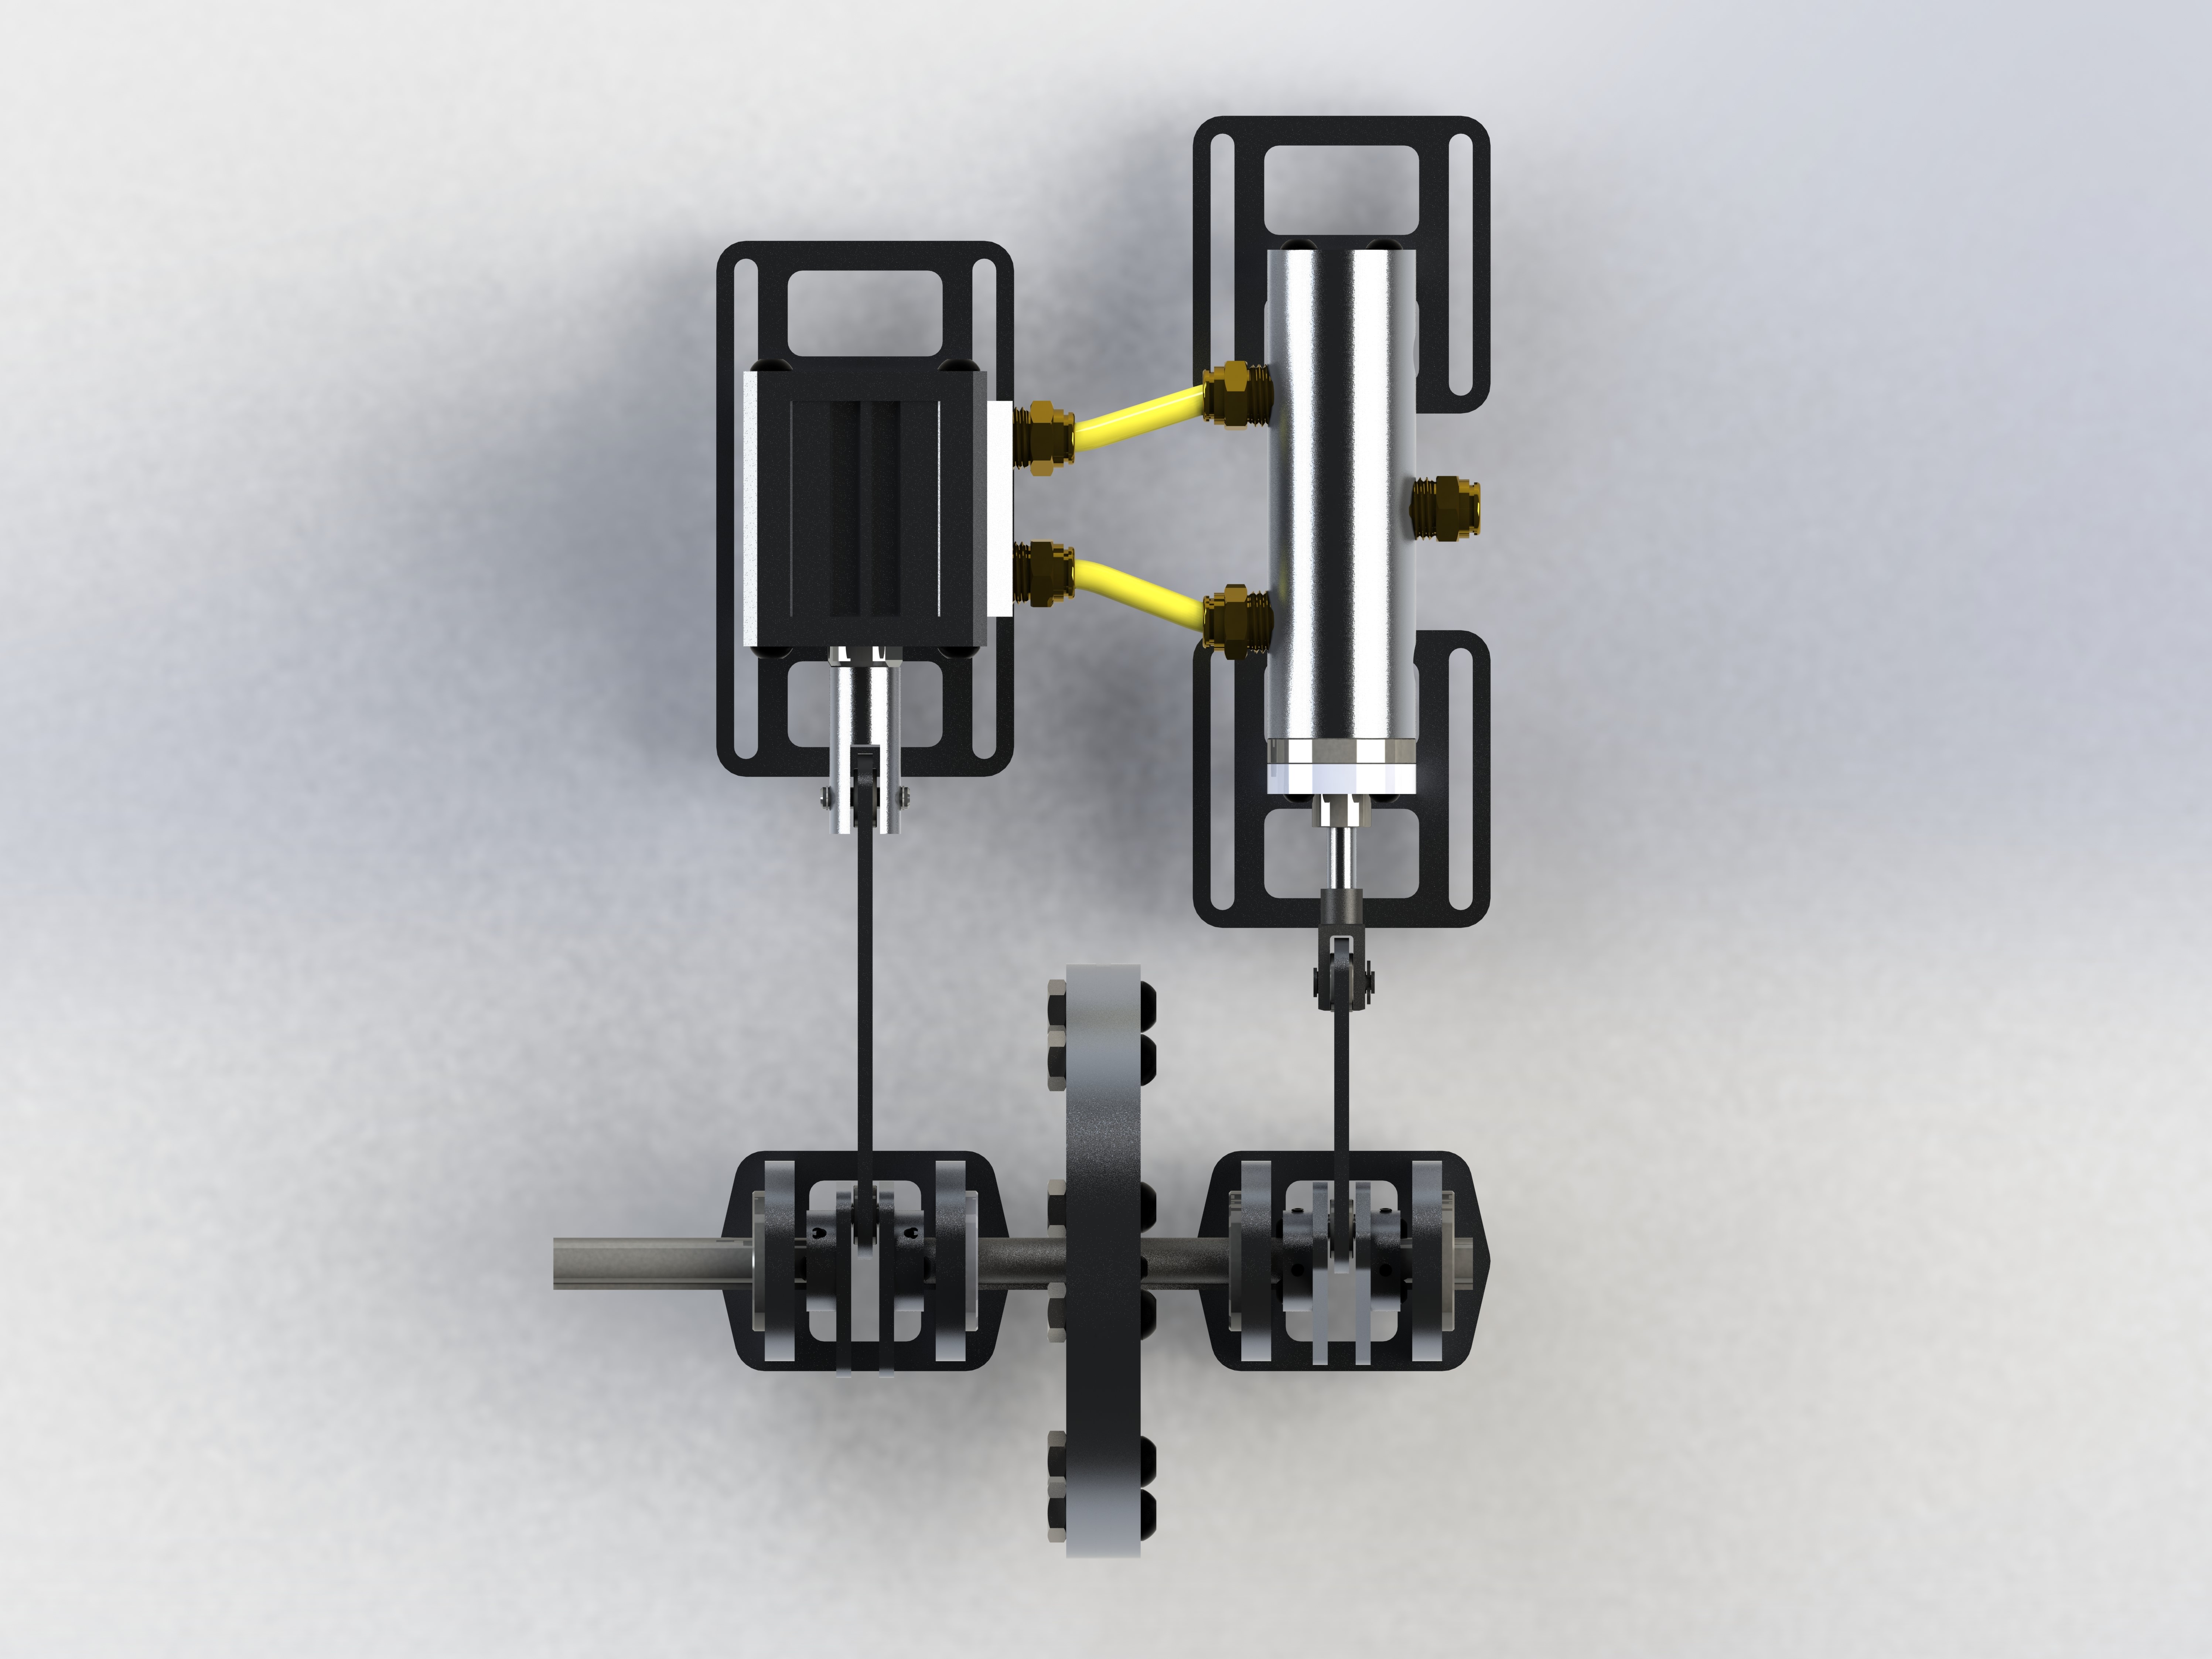
- As shown in the SolidWorks renders below, our engine was originally designed to maximize airflow efficiency by putting the power and valve cylinder valves and tubing on the same plane. Due to the geometry of our power and valve cylinder, however, the original engine design required a small offset between the valve holes, which required the tubing to be bent slightly. Due to the tubing's limited flexibility, however, we were unable to bend the tubing between the valves in such a way that did not introduce additional air leakage. Thus, we decided to orient the power and valve cylinder valves vertically and route the tubing in a traditional method. For future design iterations, the distance between the air valves of the power cylinder and the air valves of the valve cylinder should be equal, which would alleviate the air leakage issue mentioned above.
- Since our team strived to maximize the rpm-weight ratio of our engine, we wanted to minimize the amount of material used in our design without making the engine structurally unstable. Although our engine faired well when run at reasonable speeds, considerable vibration would occur at high speeds. To reduce these vibrations and increase efficiency, additional material could be added between the engine's supports.
Gallery
Design
Air Engine Timing Diagram (for determining ideal component dimensions)
CAD Drawings
CAD Renders
Build
Analysis
